

How to add a contact form to any website and get notified for free
Gerald
Software Engineer
10 Minutes
October 11th, 2024
Wouldn't it be awesome if you could easily add a contact form to your website and get notified whenever someone submits it? In this article, I’ll show you how to set up a contact form using Formbricks and start receiving notifications for free.
Quick Overview
This tutorial covers how to add a contact form to your website using Formbricks with instant email notifications for each submission. Let’s dive in!

Getting started with Formbricks
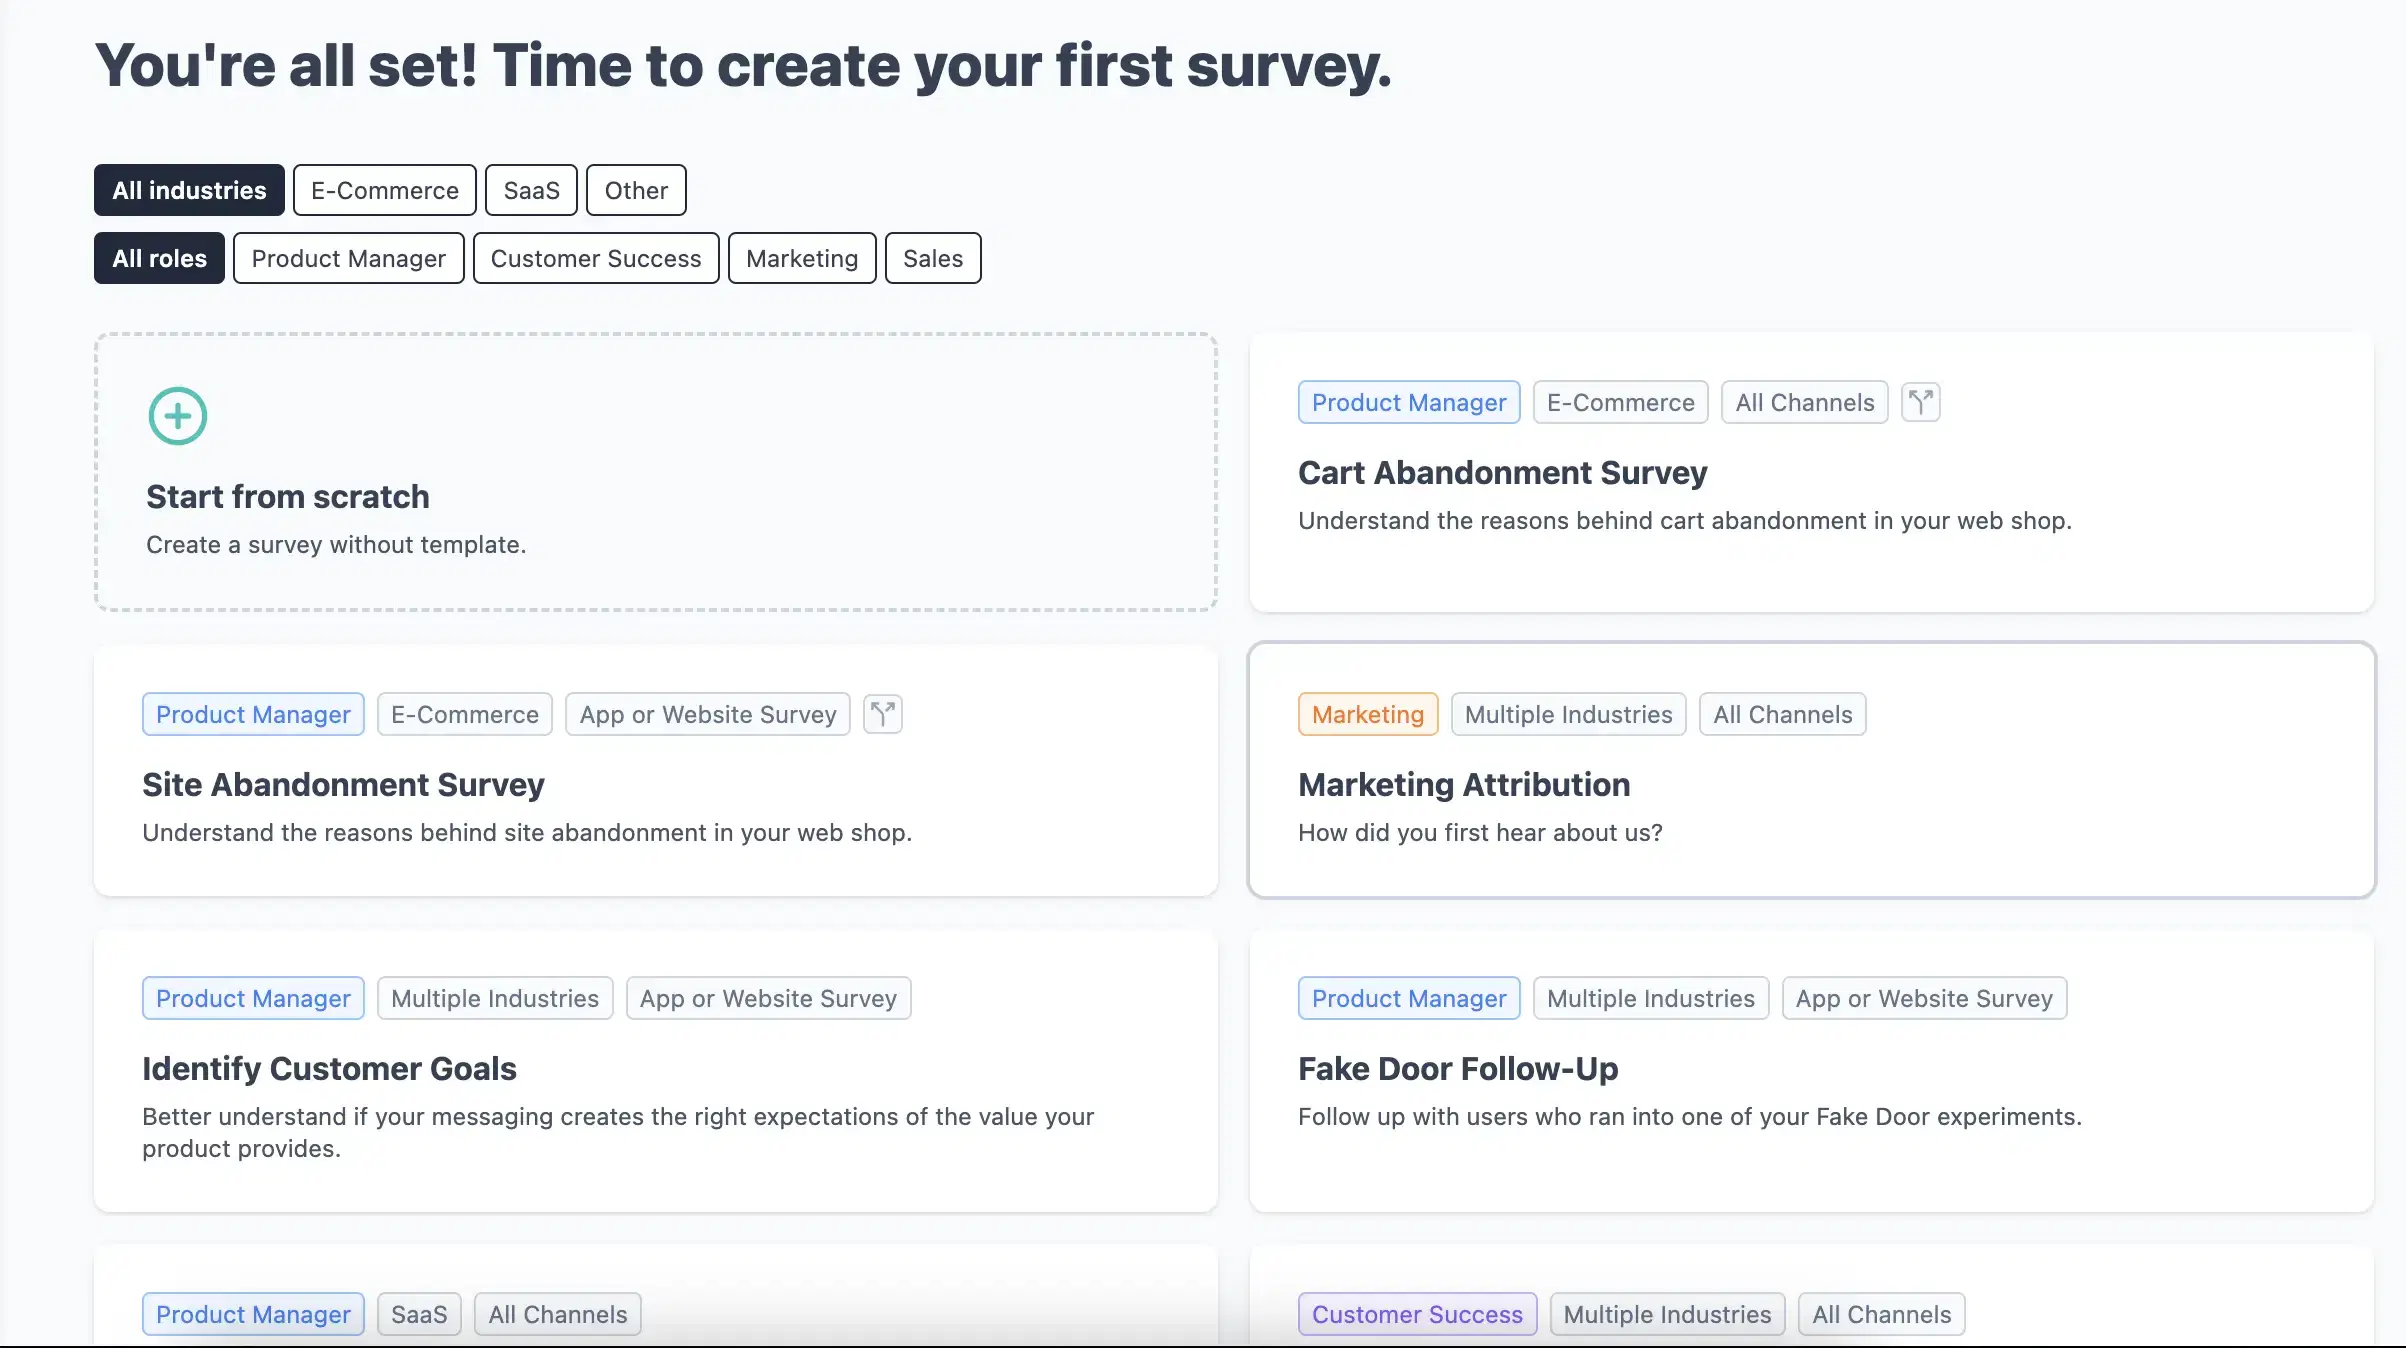
First, head over to Formbricks.com and click on Get started for free. Complete the quick onboarding process until you land on the dashboard, which should look something like this:
How to create a contact form
On the dashboard, click on Start from Scratch > Create Survey. This will bring up the questions panel, as shown below:
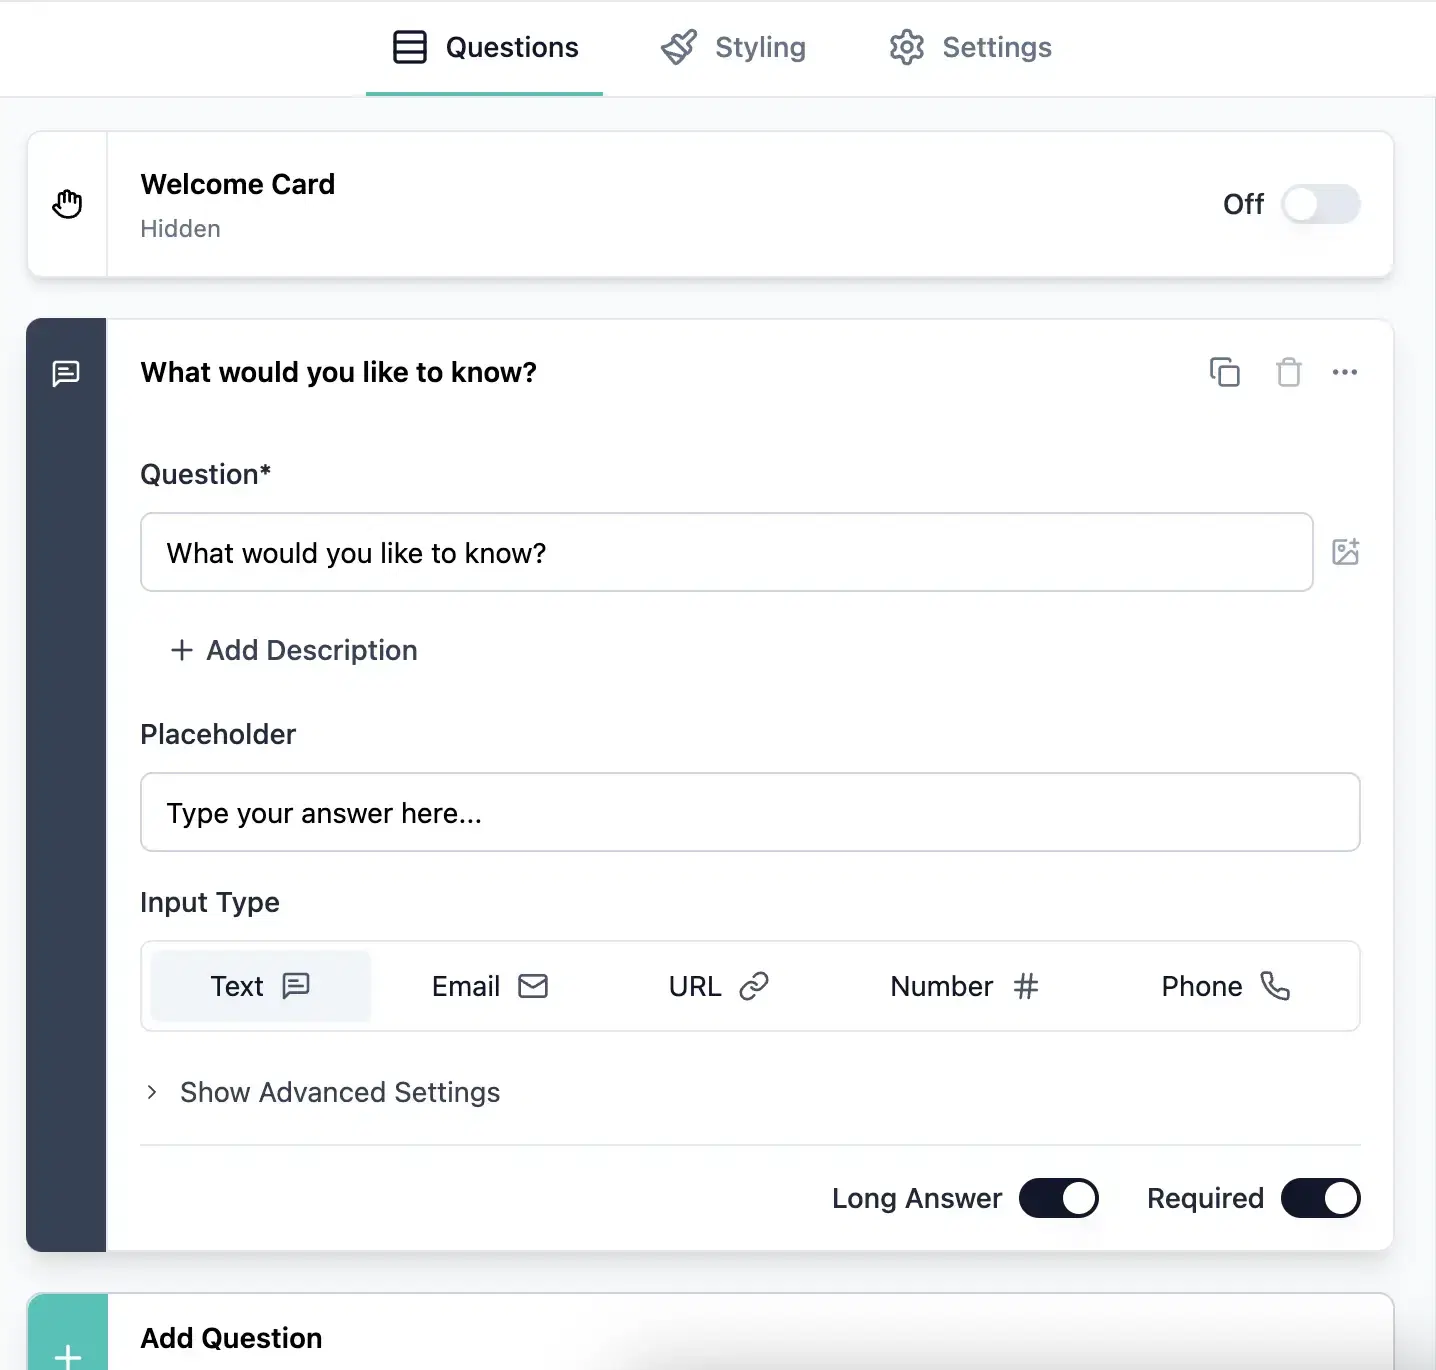
Next, click on the three dots to modify the field to "Contact Info".

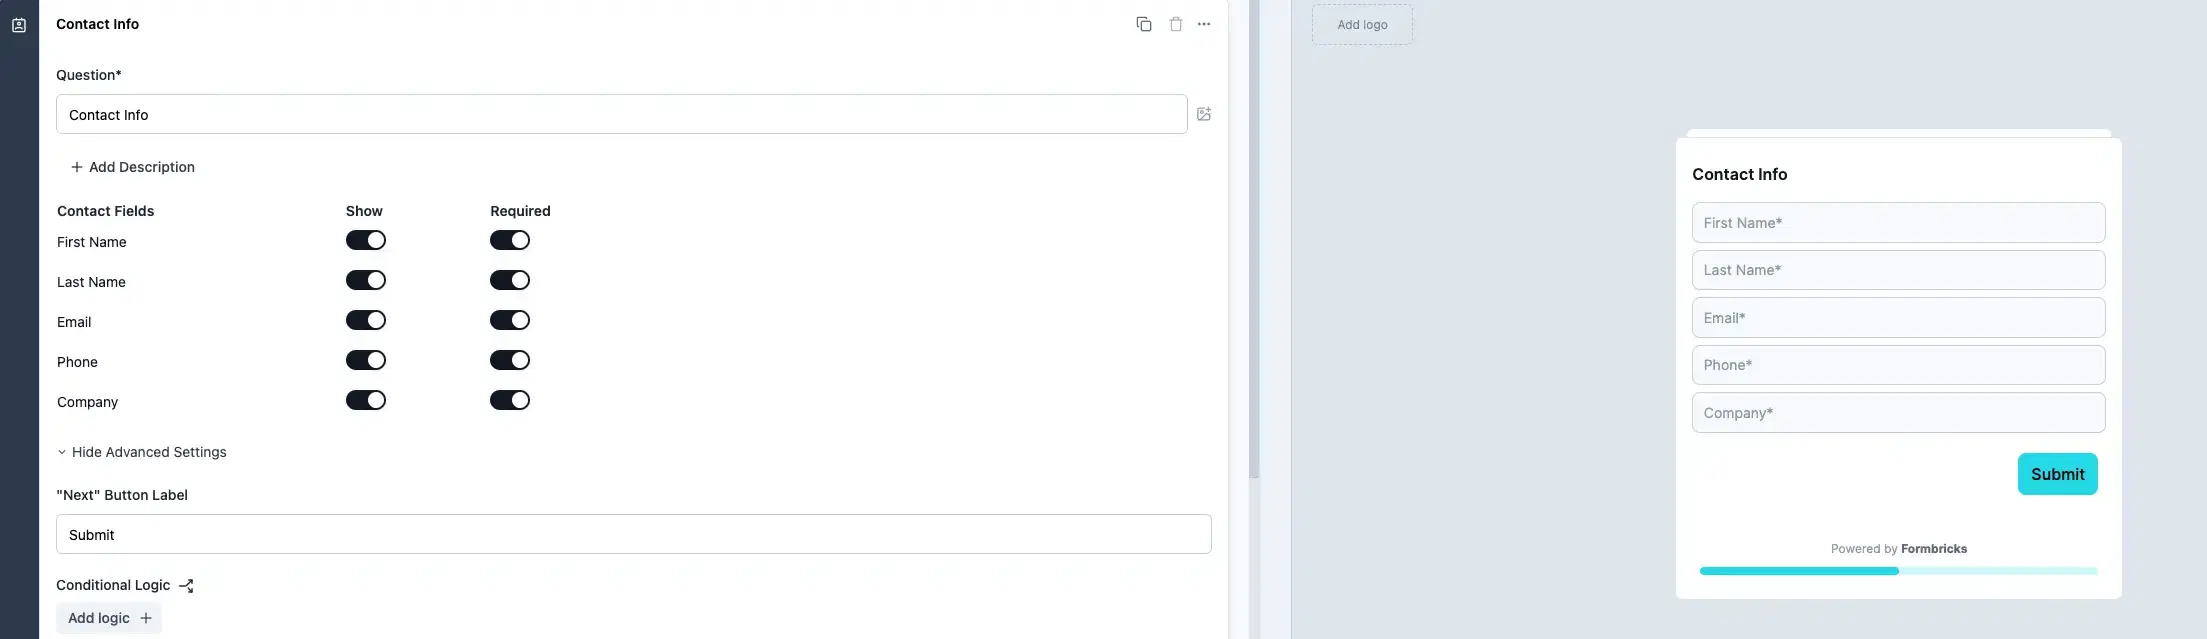
Expand Show Advanced Settings and type Submit in the "Next" Button Label field as shown below:

Rename the Question field to Contact Info. You can choose to disable some fields on the contact info form, but for this tutorial, we’ll keep all fields enabled.
Once updated, your form should look like this:
Customizing the Ending Card
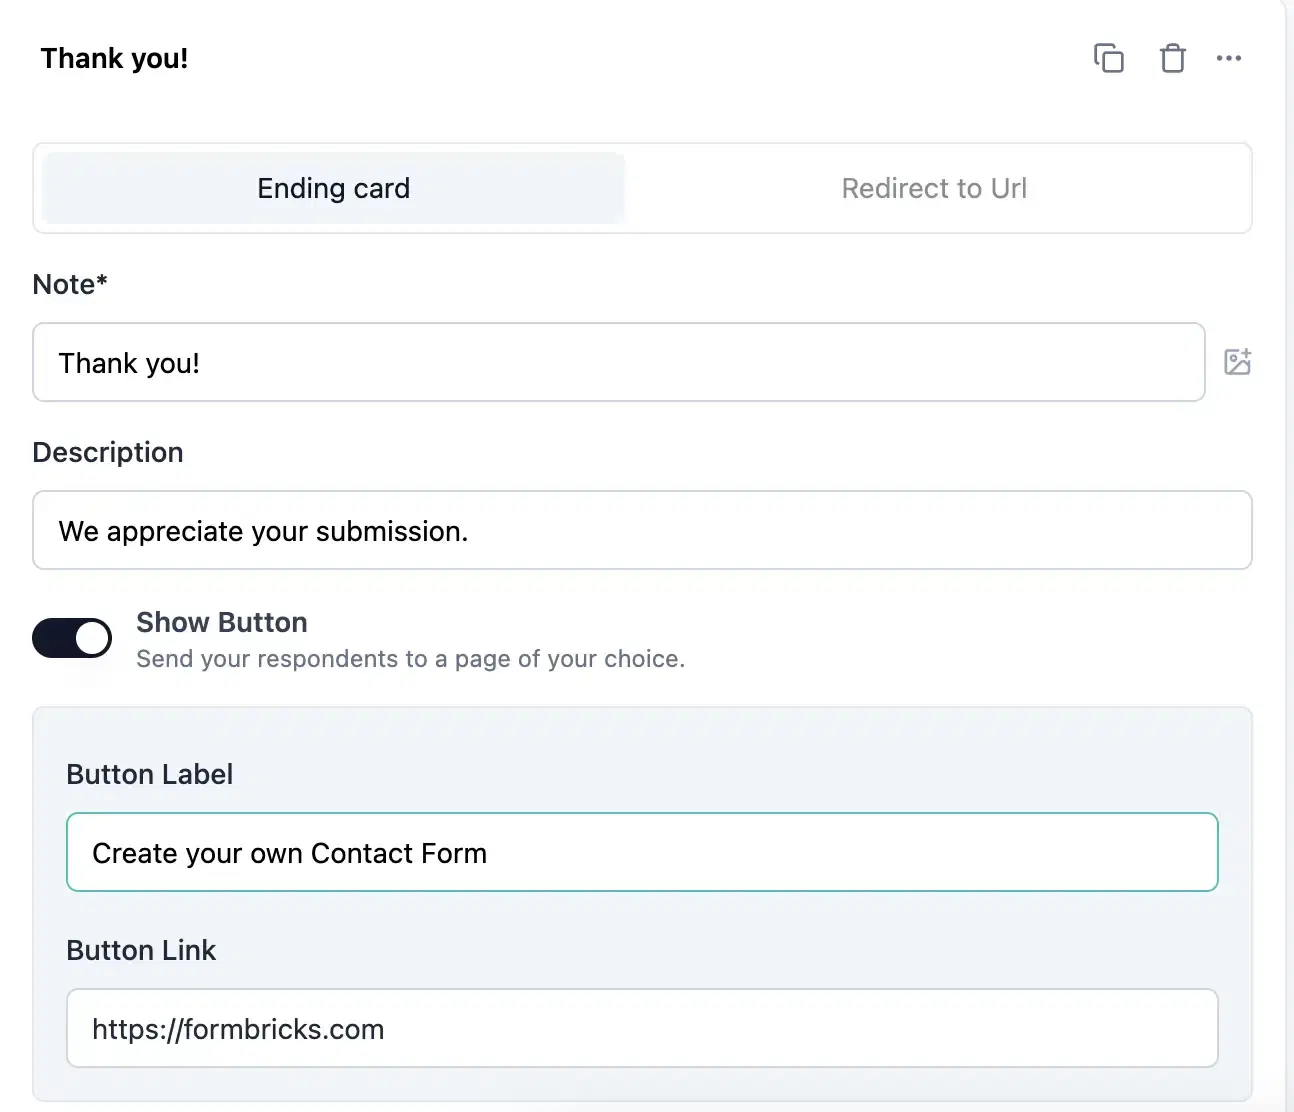
Let’s personalize the Ending card to enhance the user experience. Click on the card and modify the Description and Button Label.

Here is how it might look after customization:
Publish Your Contact Form
Once you're happy with your form and its settings, click on Publish:
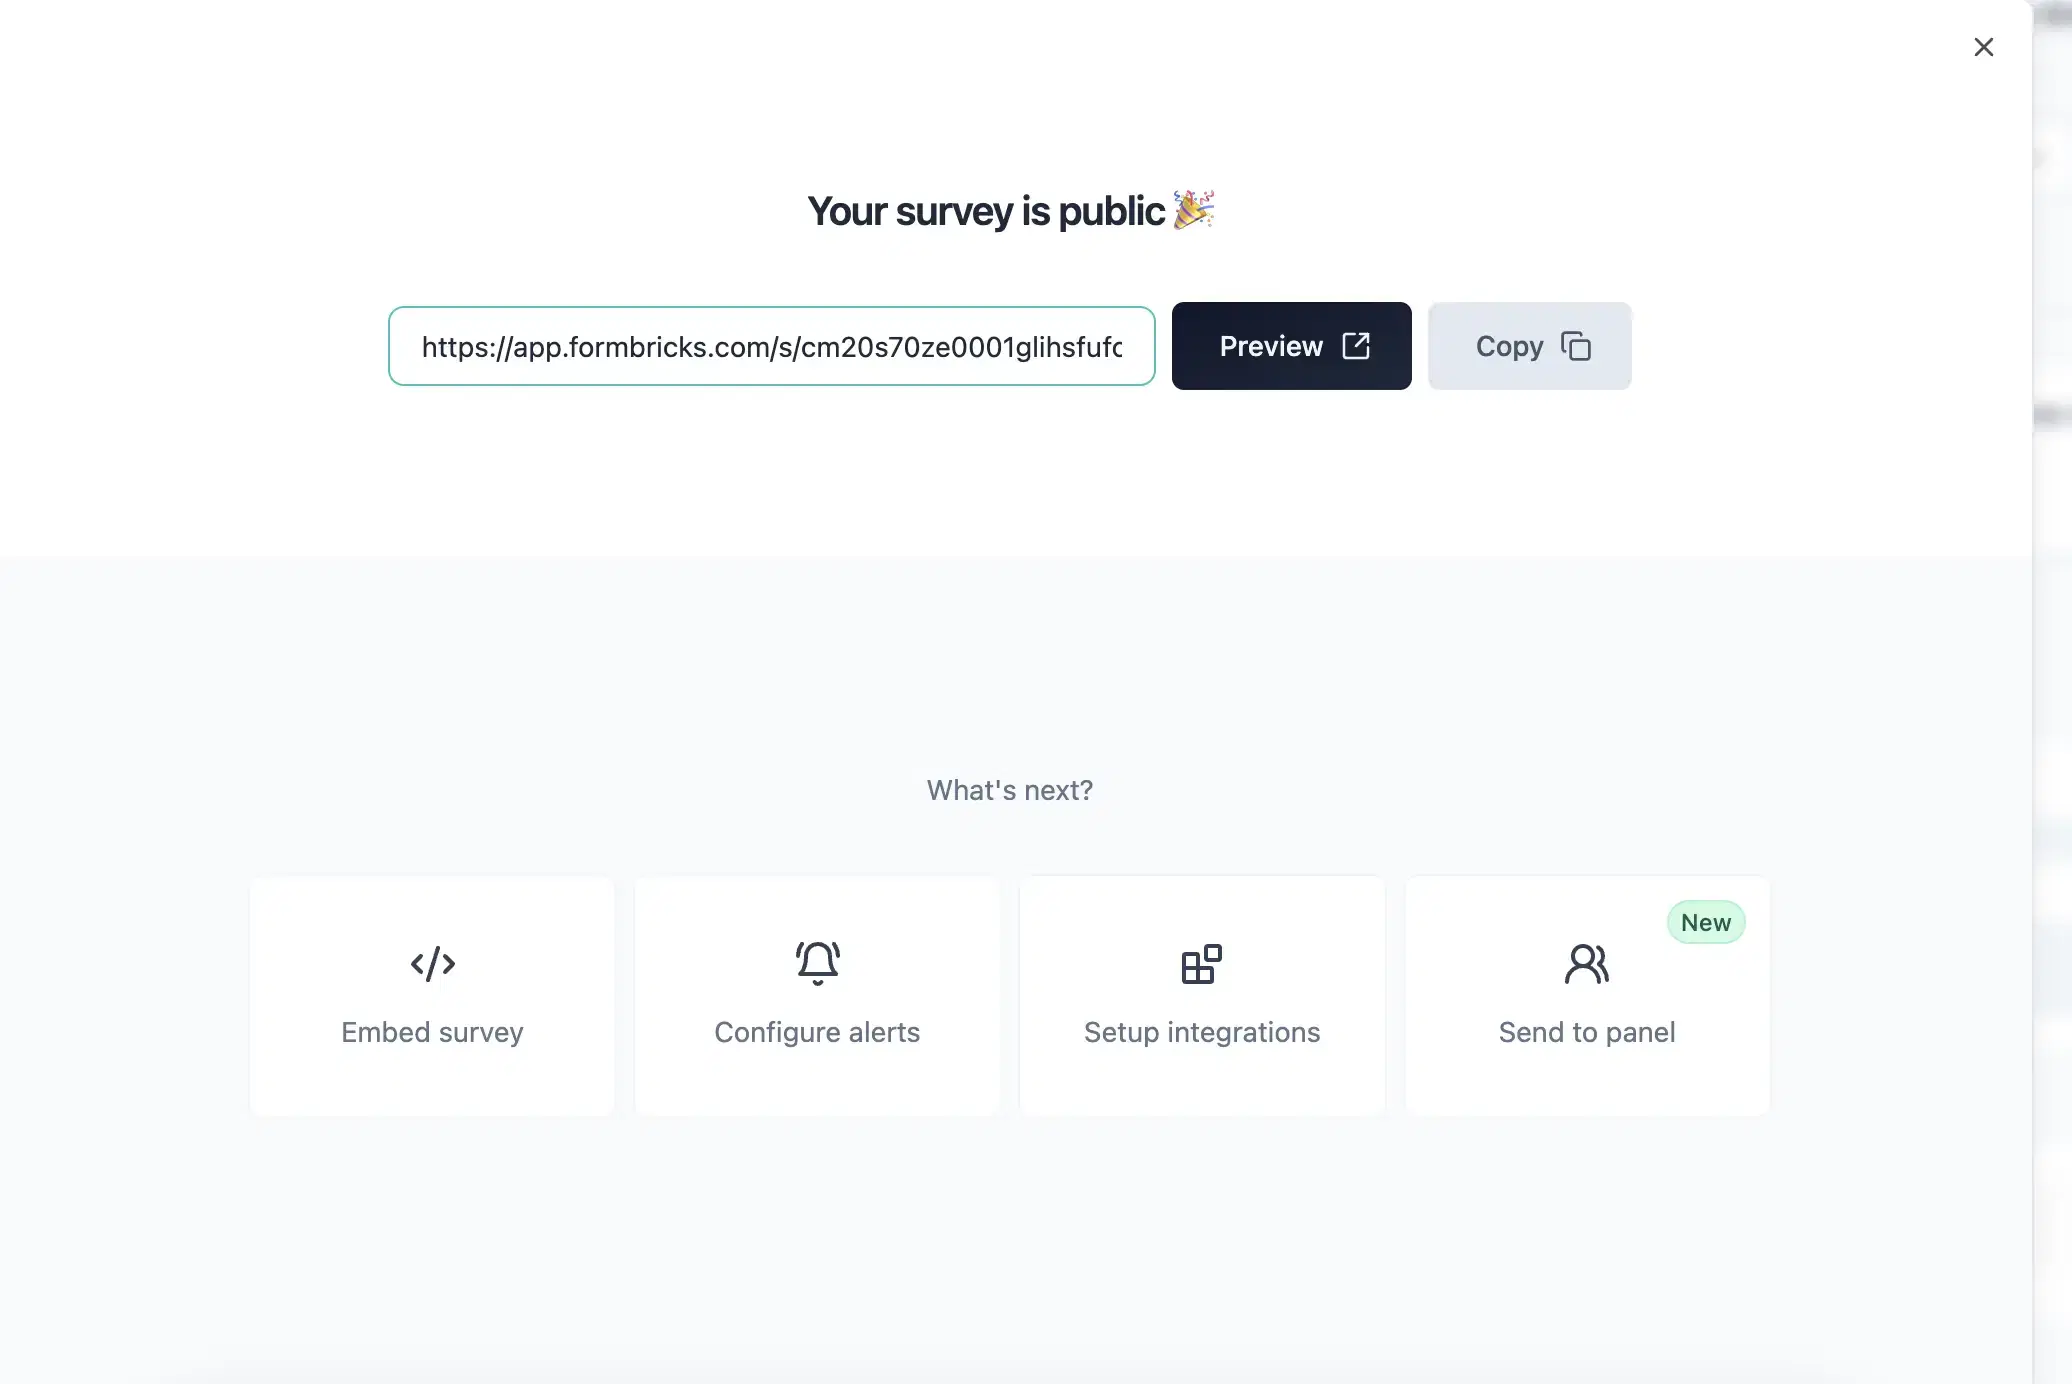
Your form is now live and ready to be embedded on your website!
Adding the form to your website
Now that the form is published, it's time to add it to your website. Go to Embed Survey > Embed on Website and copy the HTML code provided.
For this tutorial, I’ve prepared a basic HTML file where we can embed the form. Here’s what the HTML code looks like with the form embedded:
<!DOCTYPE html>
<html lang="en">
<head>
    <meta charset="UTF-8">
    <meta name="viewport" content="width=device-width, initial-scale=1.0">
    <title>Contact Info</title>
</head>
<body>
    <h2 style="text-align: center;">Contact Info</h2>
    <div style="position: relative; height:80dvh; overflow:auto;">
        <iframe src="https://app.formbricks.com/s/cm20s70ze0001glihsfufoox1" frameborder="0" style="position: absolute; left:0; top:0; width:100%; height:100%; border:0;"></iframe>
    </div>
</body>
</html>
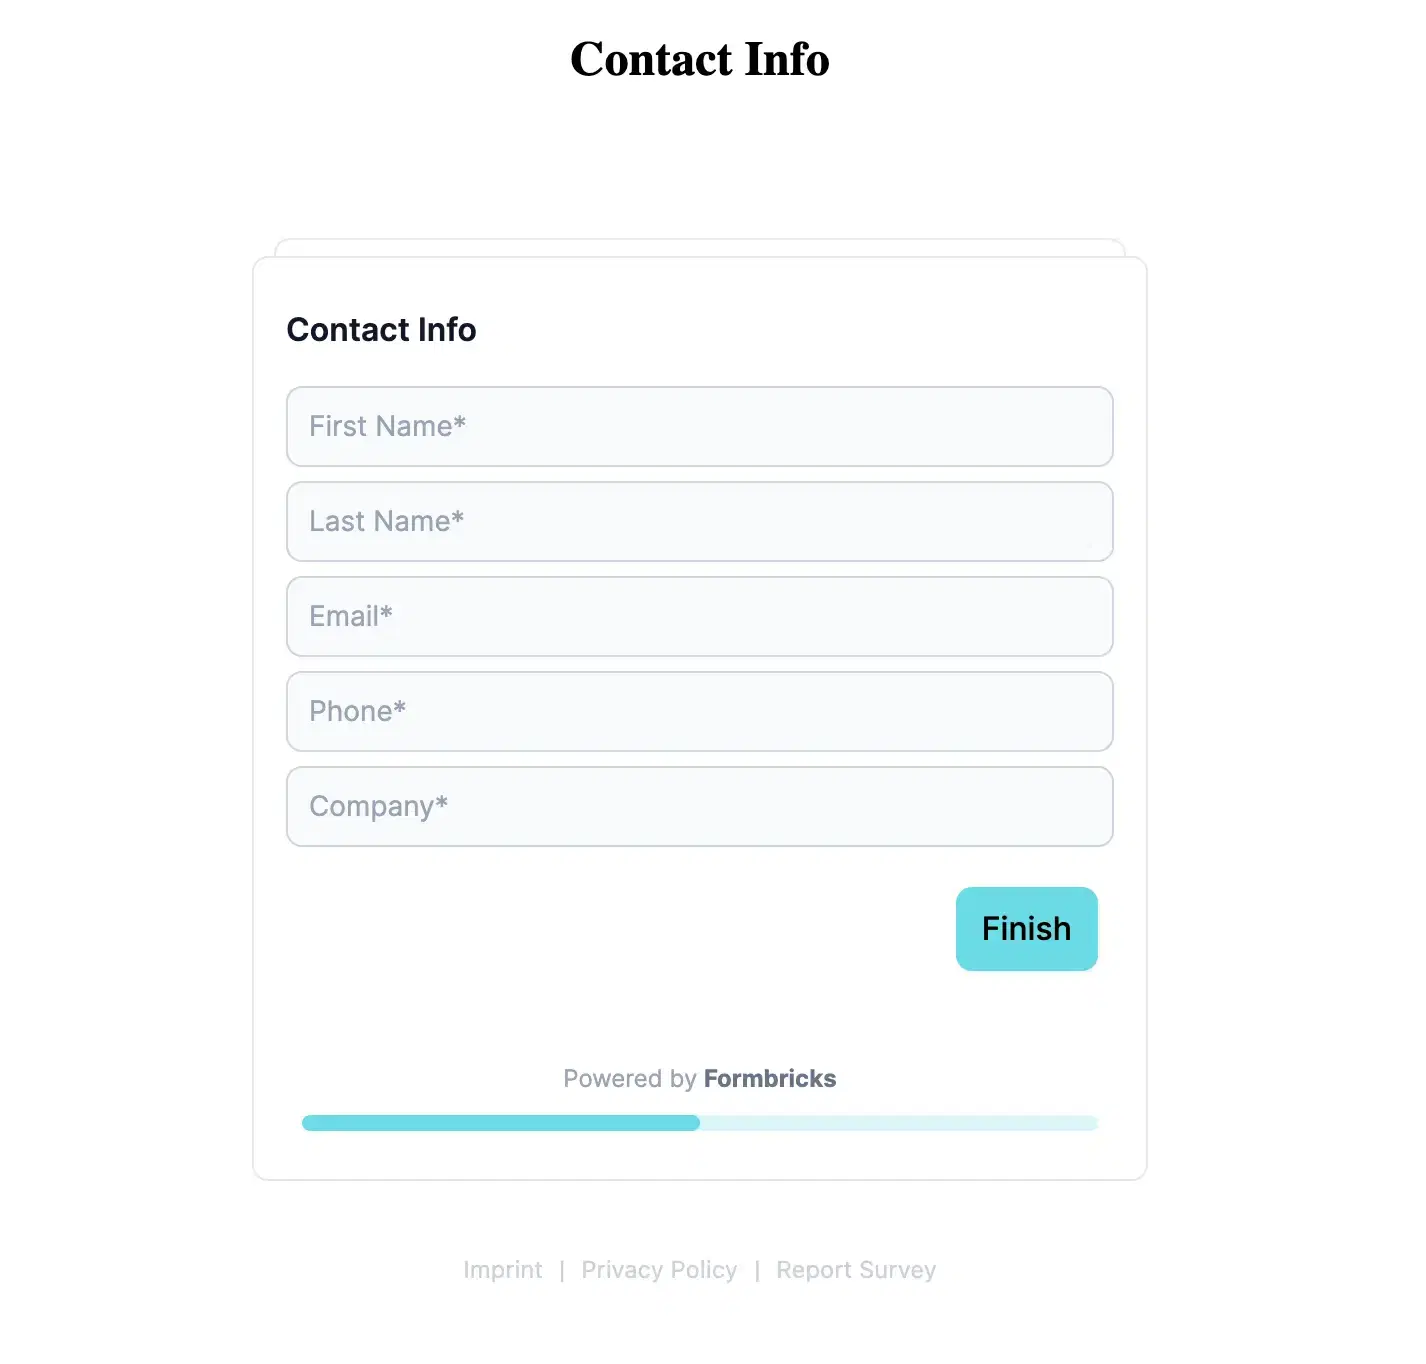
Here is how the form will appear on your website:
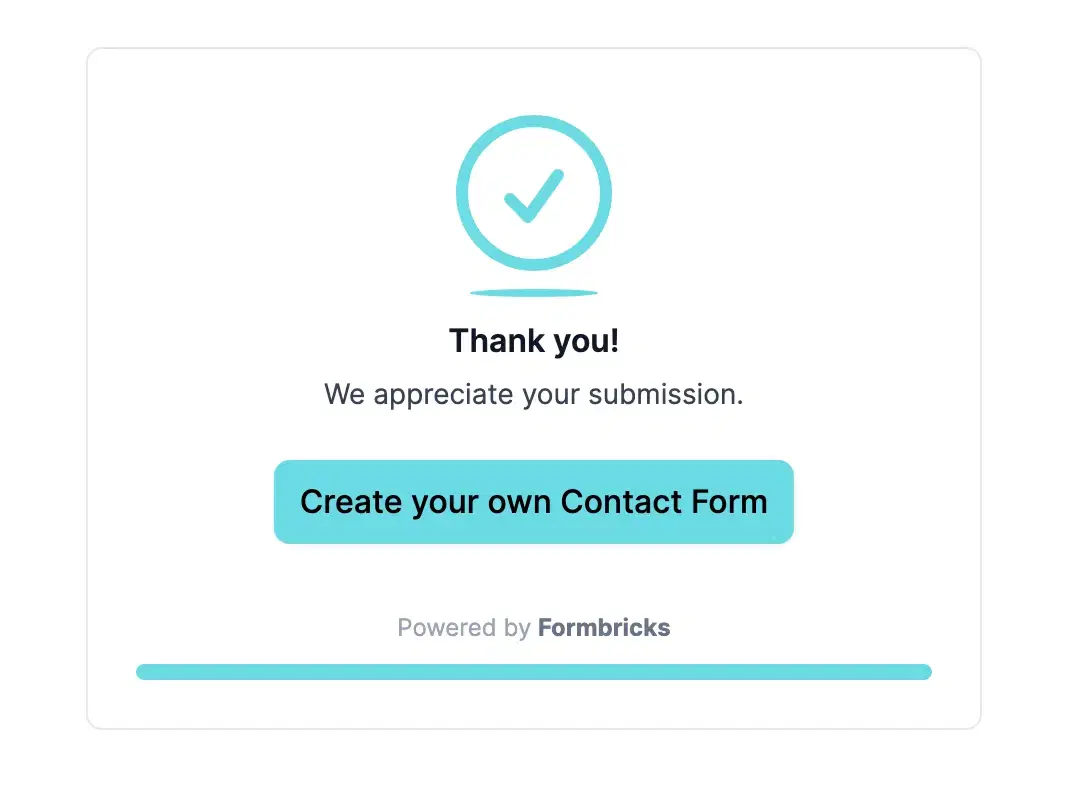
And here is the ending card after the form is submitted:
Receiving Notifications
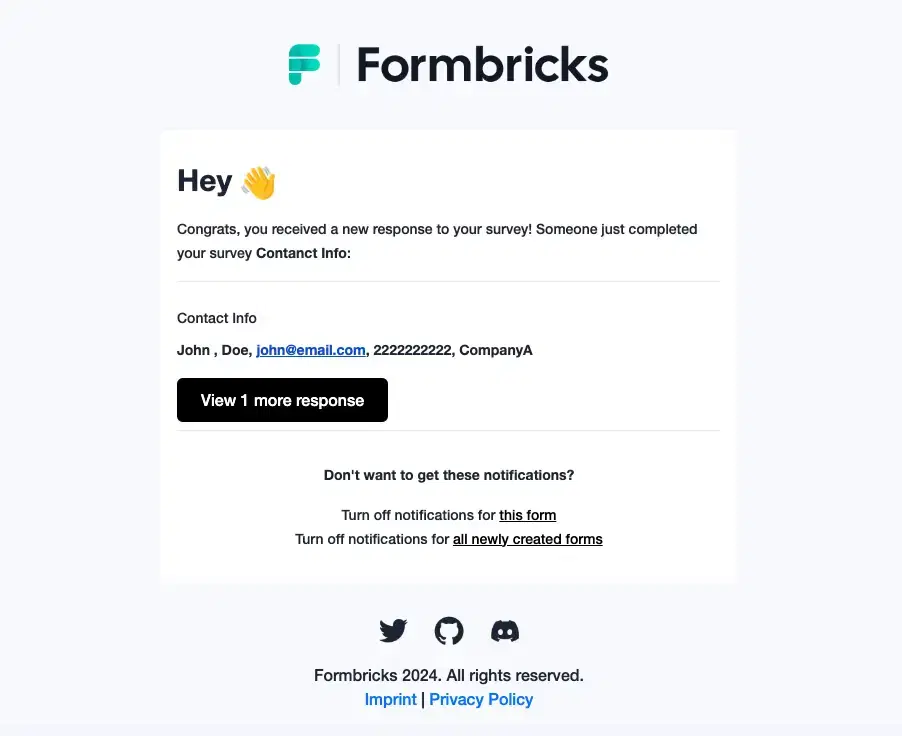
Once the form is embedded, you’ll receive an email notification at the email address configured in your Formbricks dashboard every time a user submits their contact information. Here is what the email notification looks like:
Conclusion
In this tutorial, we've shown how easy it is to add a contact form to any website using Formbricks. You don’t need to worry about back-end configurations or complex setups. Simply embed the form, and you’ll start receiving submissions instantly.
Feel free to explore Formbricks further, especially if you’re looking for more advanced form management such as user surveys and feedback collection.
If you like Formbricks so far, please star the Formbricks repo on GitHub
Try Formbricks now
