1
Create a free Formbricks Cloud account
While you can self-host Formbricks, the quickest and easiest way to get started is with the free Cloud plan. Just sign up here and click through the onboarding.
2
Choose a template
In your workspace, click New Survey and pick Choose a template. We’ll use the Product Market Fit (Superhuman) template for this quickstart guide.Click the template to preview it, then hit Use this template.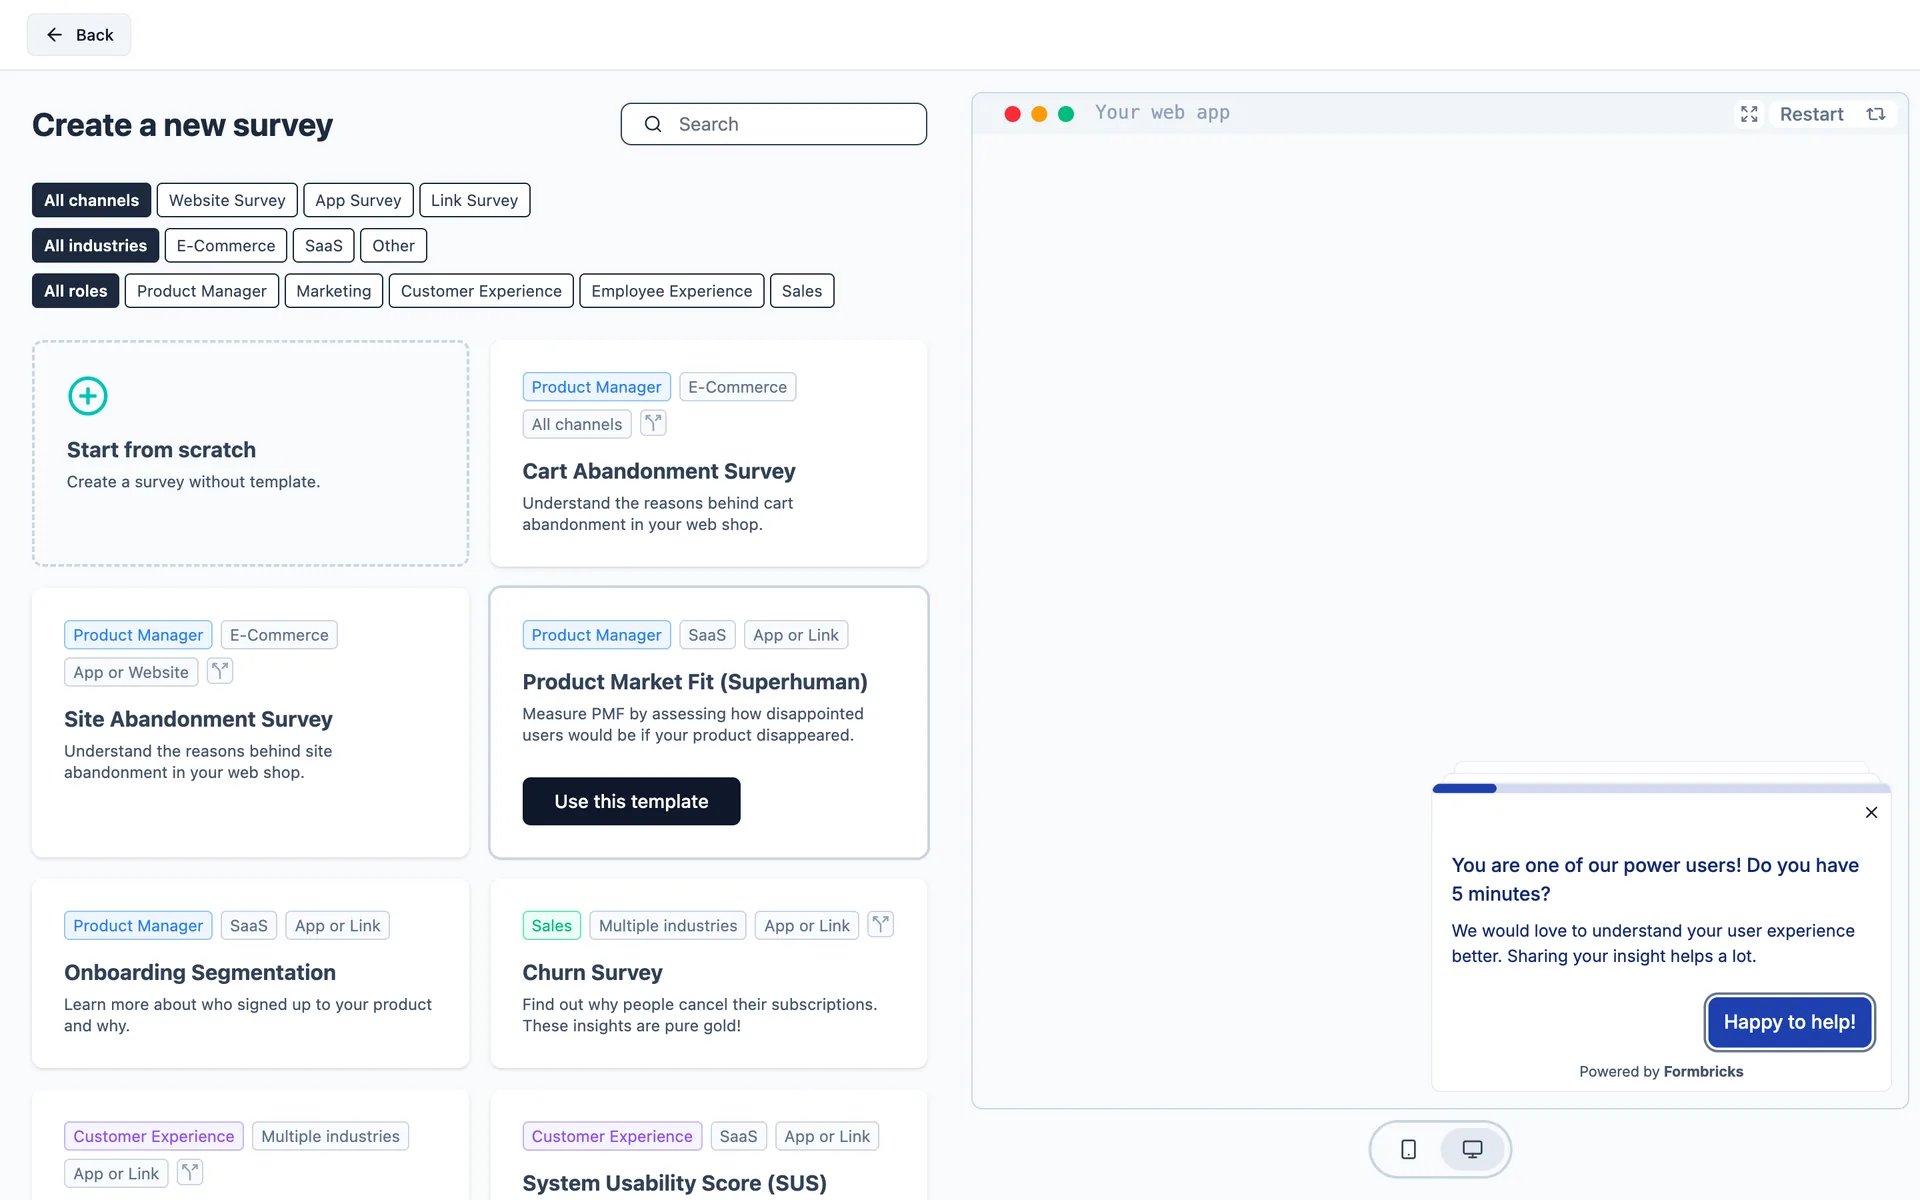
3
Create your first survey
You’ll be taken to the survey editor. The Questions tab holds the blocks and questions that came with the template, and the preview on the right updates as you edit. To keep it simple, we’ll leave the questions as they are.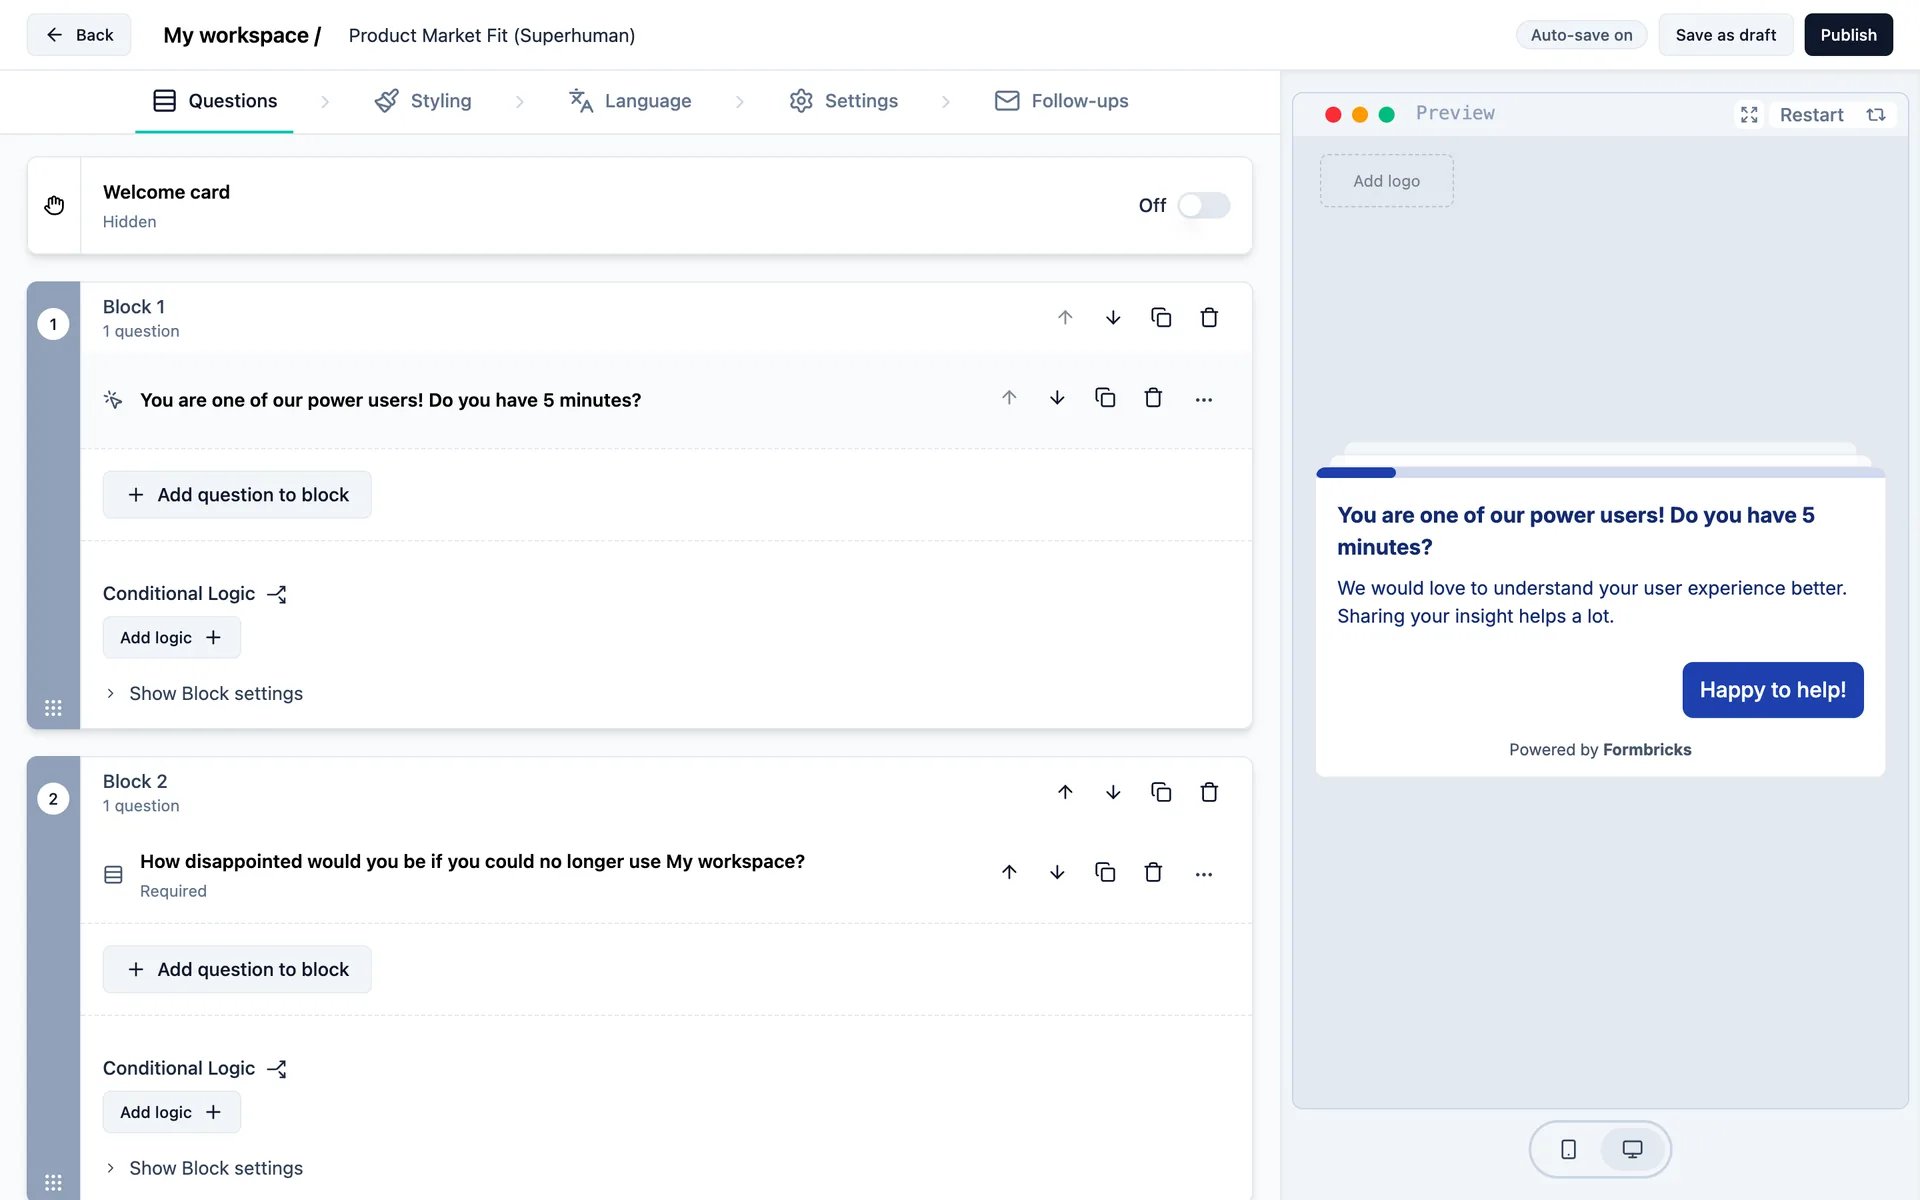
4
Set the survey type to Link Survey
Open the Settings tab and choose Link Survey under Survey Type. This is what gives your survey a shareable URL, instead of running it inside your app or website.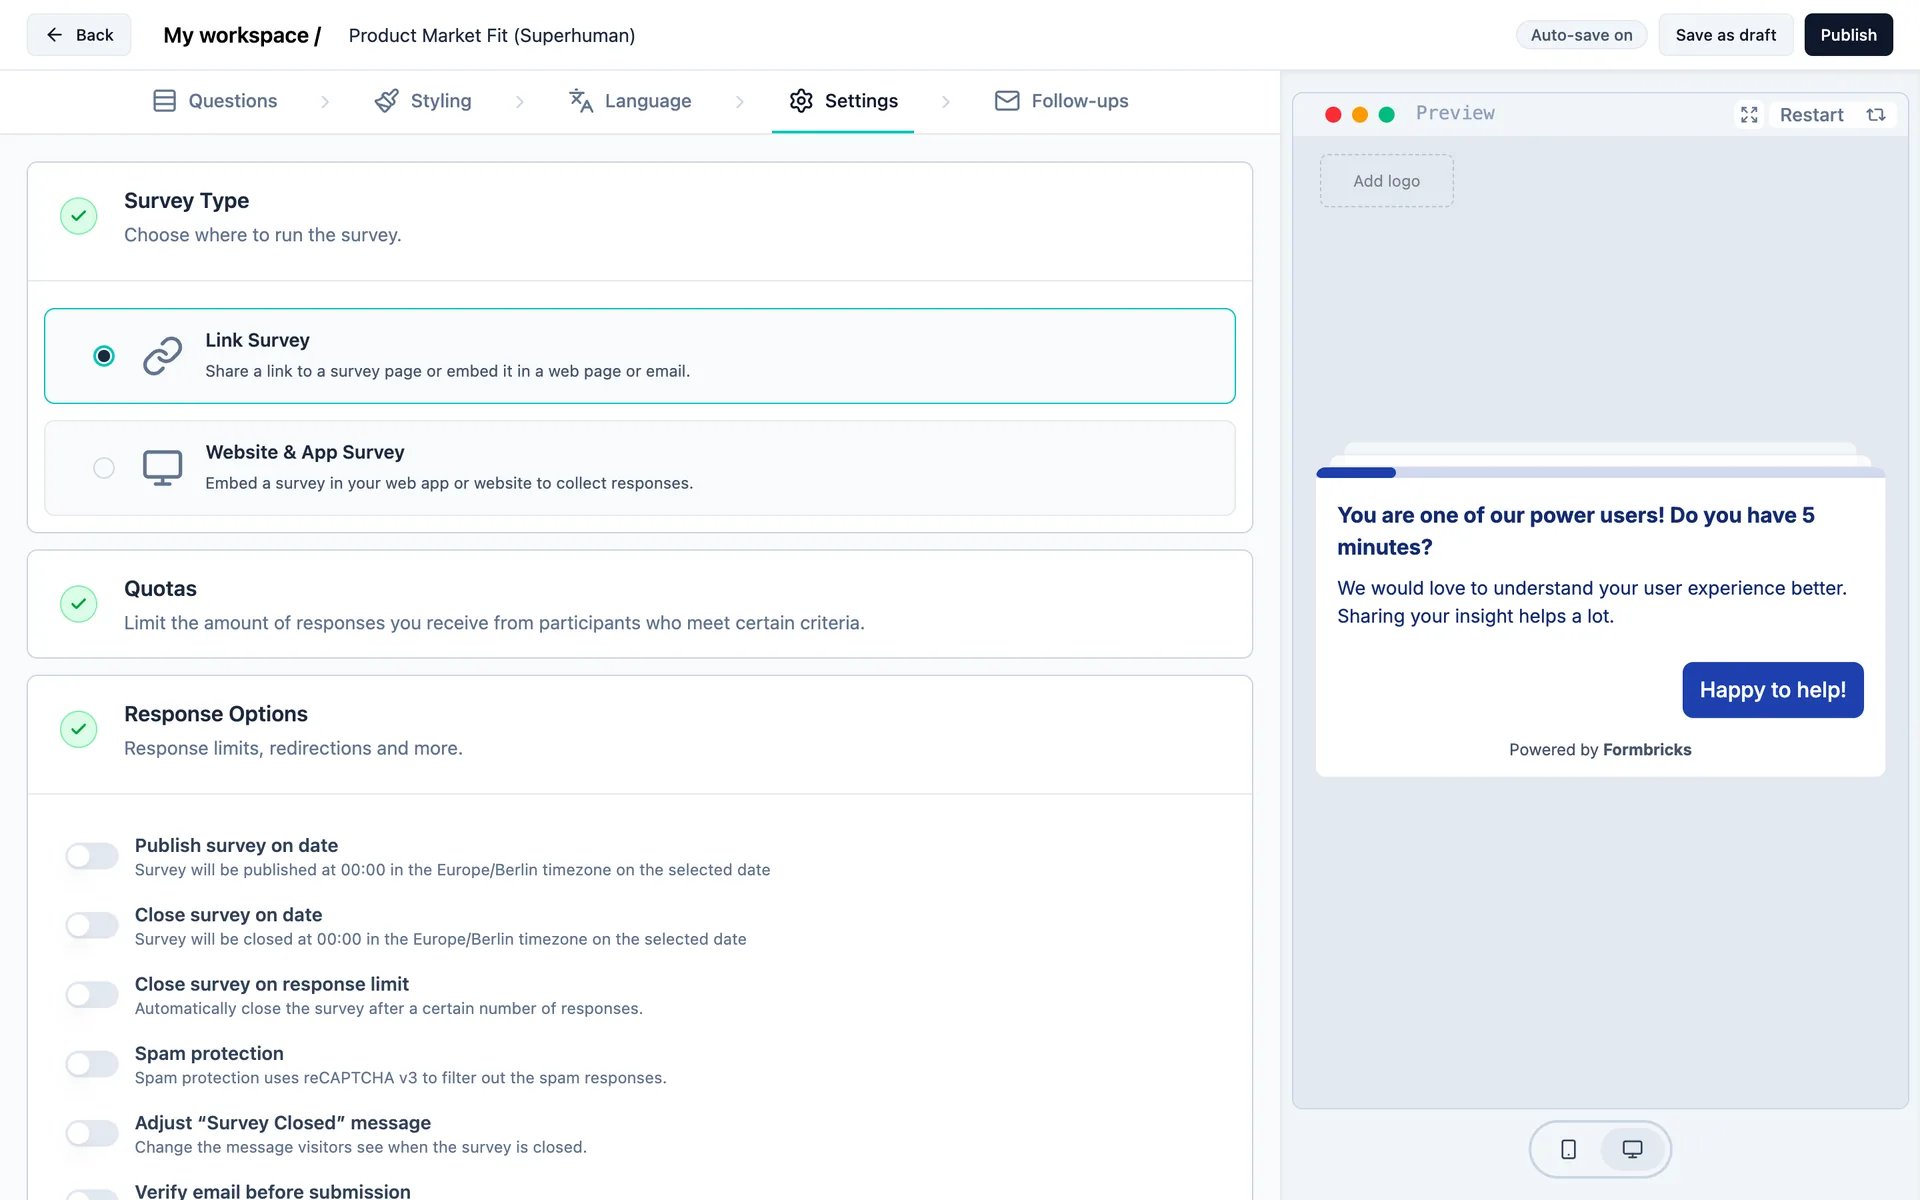
5
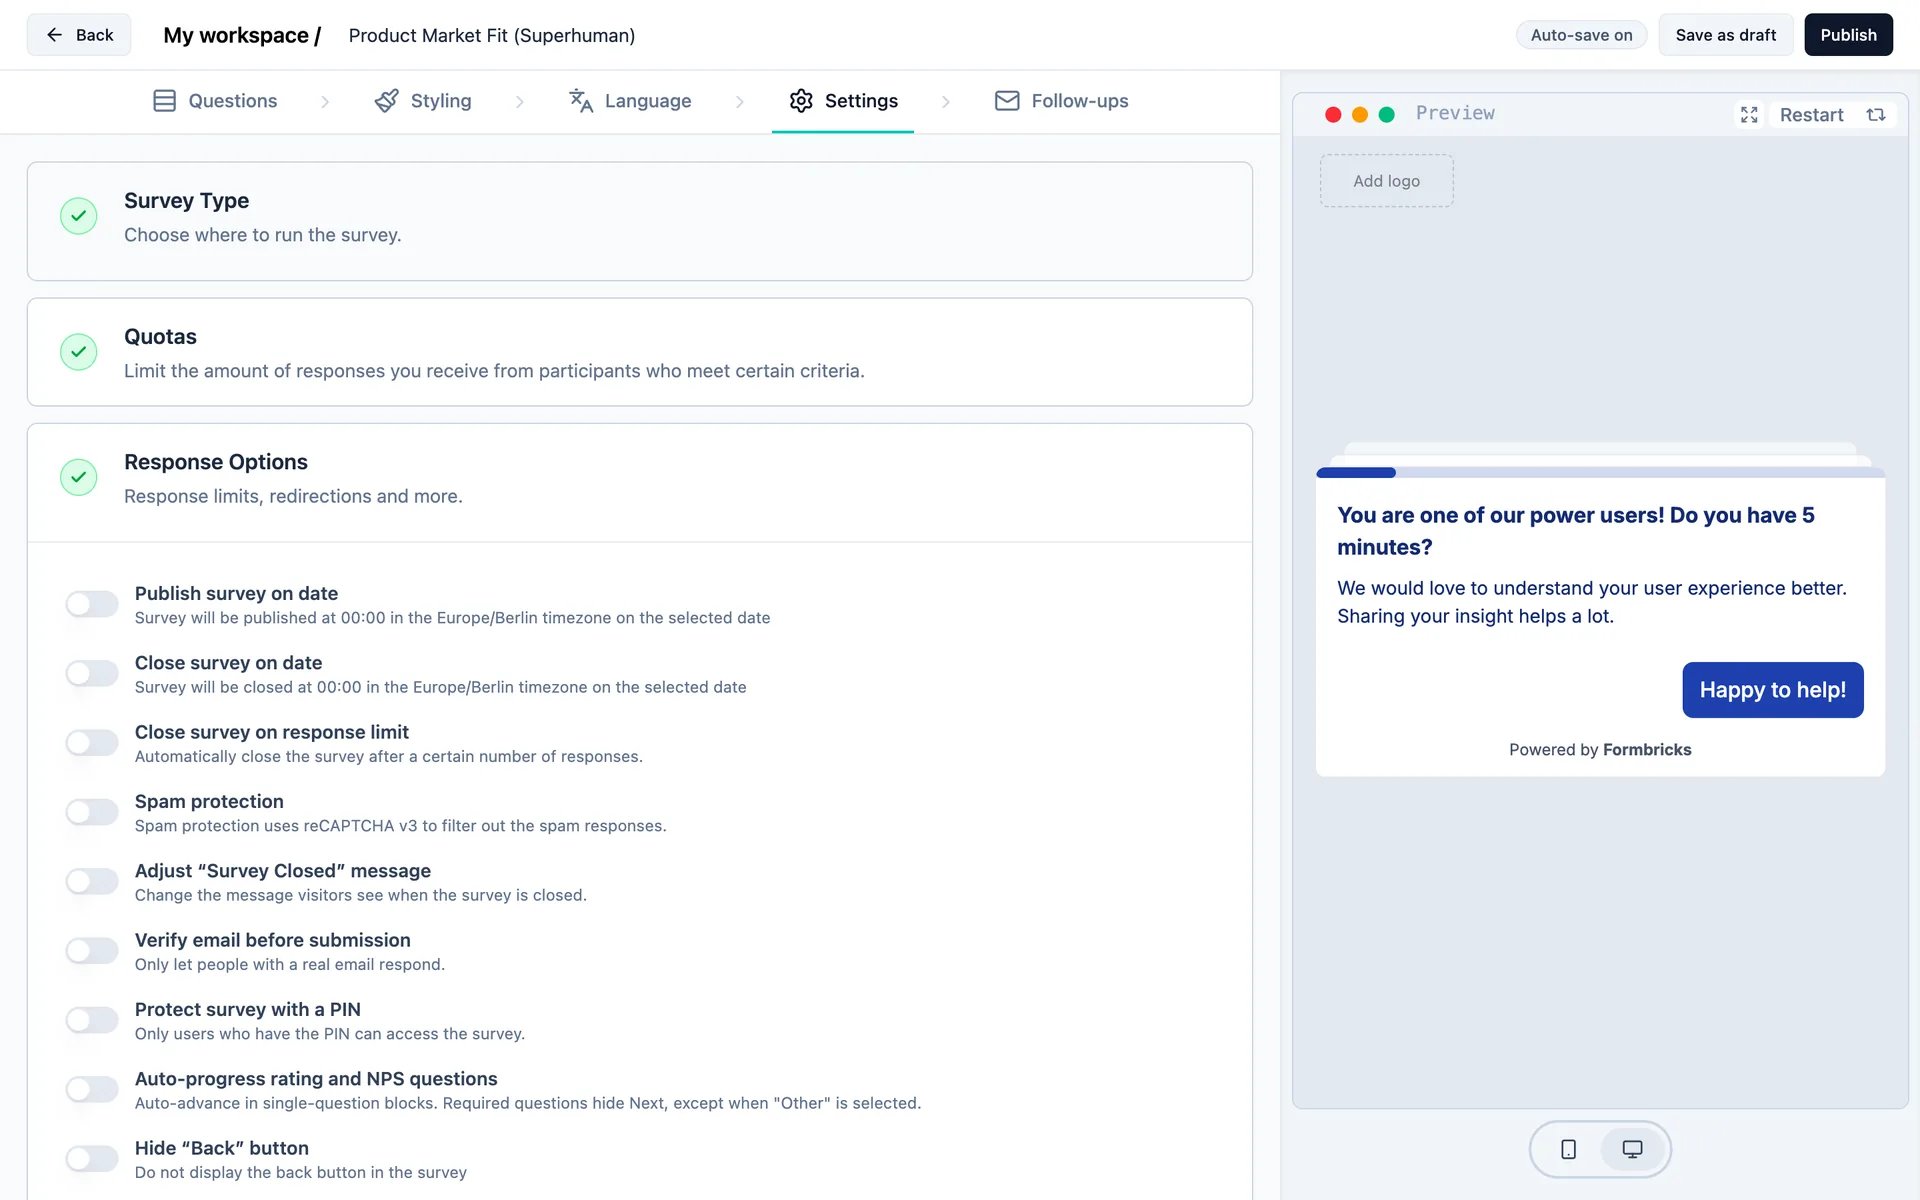
Configure your survey settings
Still in the Settings tab, open Response Options. Formbricks packs a lot of useful functionality out of the box. You can:
- Close the survey on a specific date
- Close the survey after a number of responses
- Redirect users to a URL after they completed the survey
- Protect the survey with a PIN
-
… and much more!
6
Style your survey
Switch to the Styling tab and turn on Add custom styles to override your workspace theme for this survey. You can keep it simplistic or use animated backgrounds, and you can change the colors, the card layout and the logo.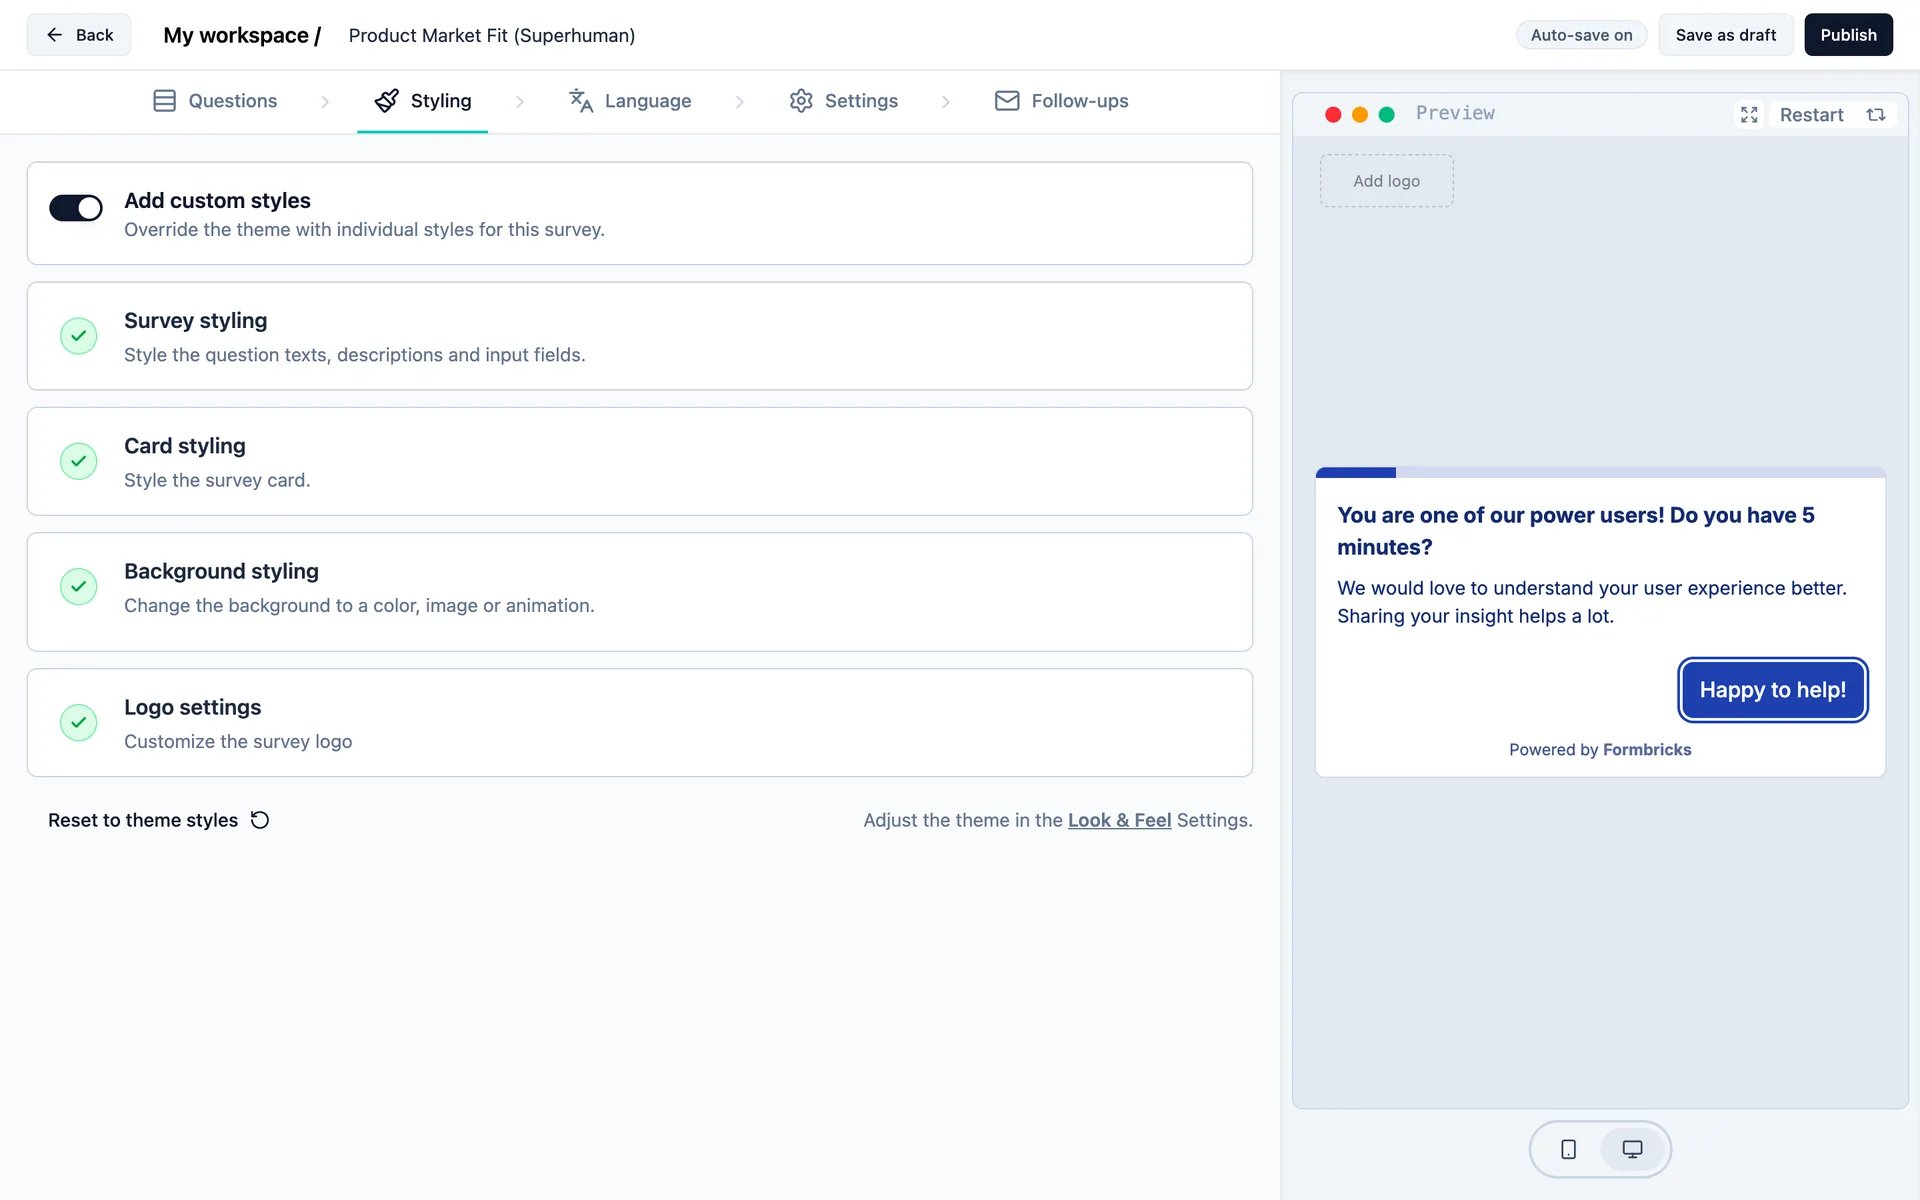
Want the same look across all of your surveys? Set your theme once in the Look & Feel settings instead. See Styling Theme.
7
Publish your survey
Once you’re happy with your survey settings, hit the Publish button. You’ll be forwarded to the Summary Page where all the responses to your survey will appear.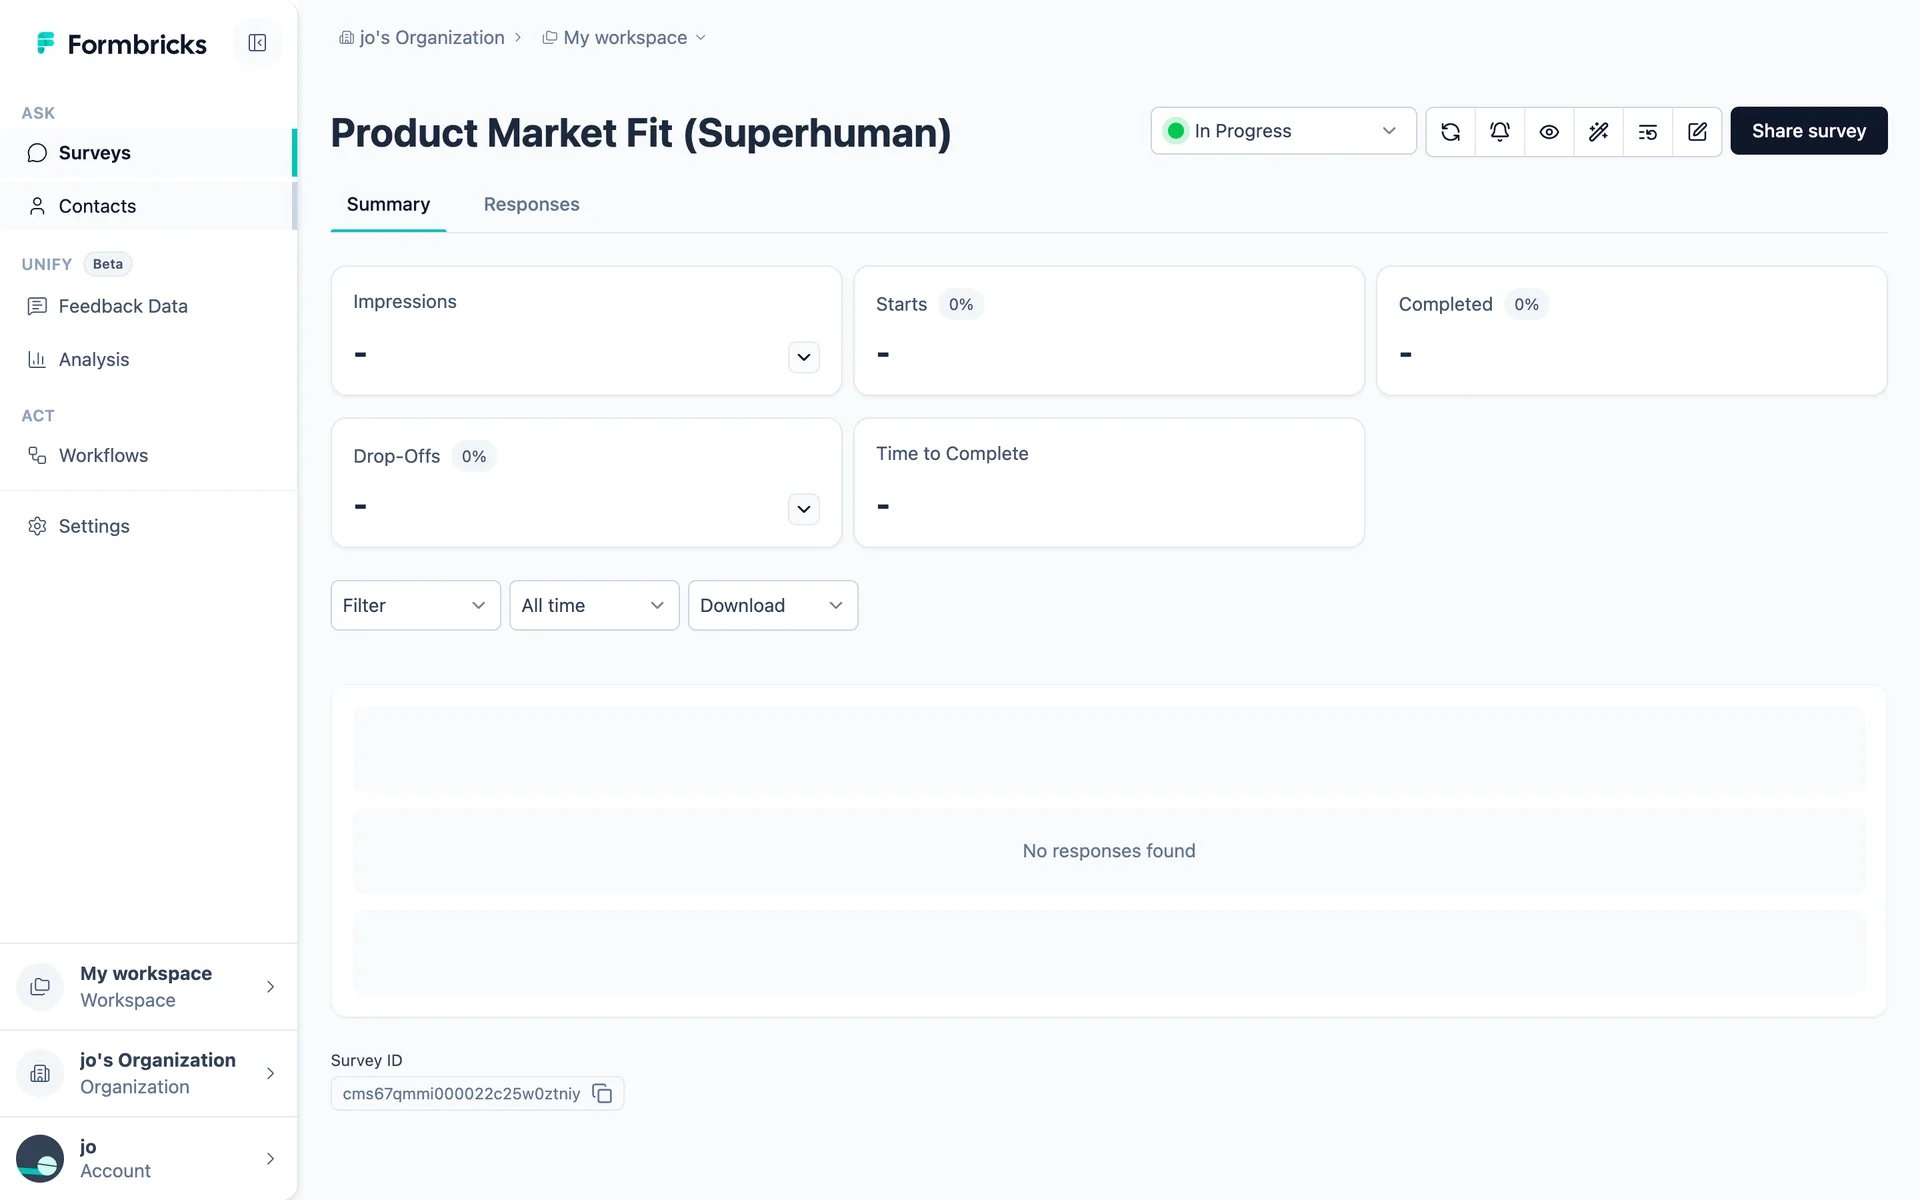
8
Share your survey
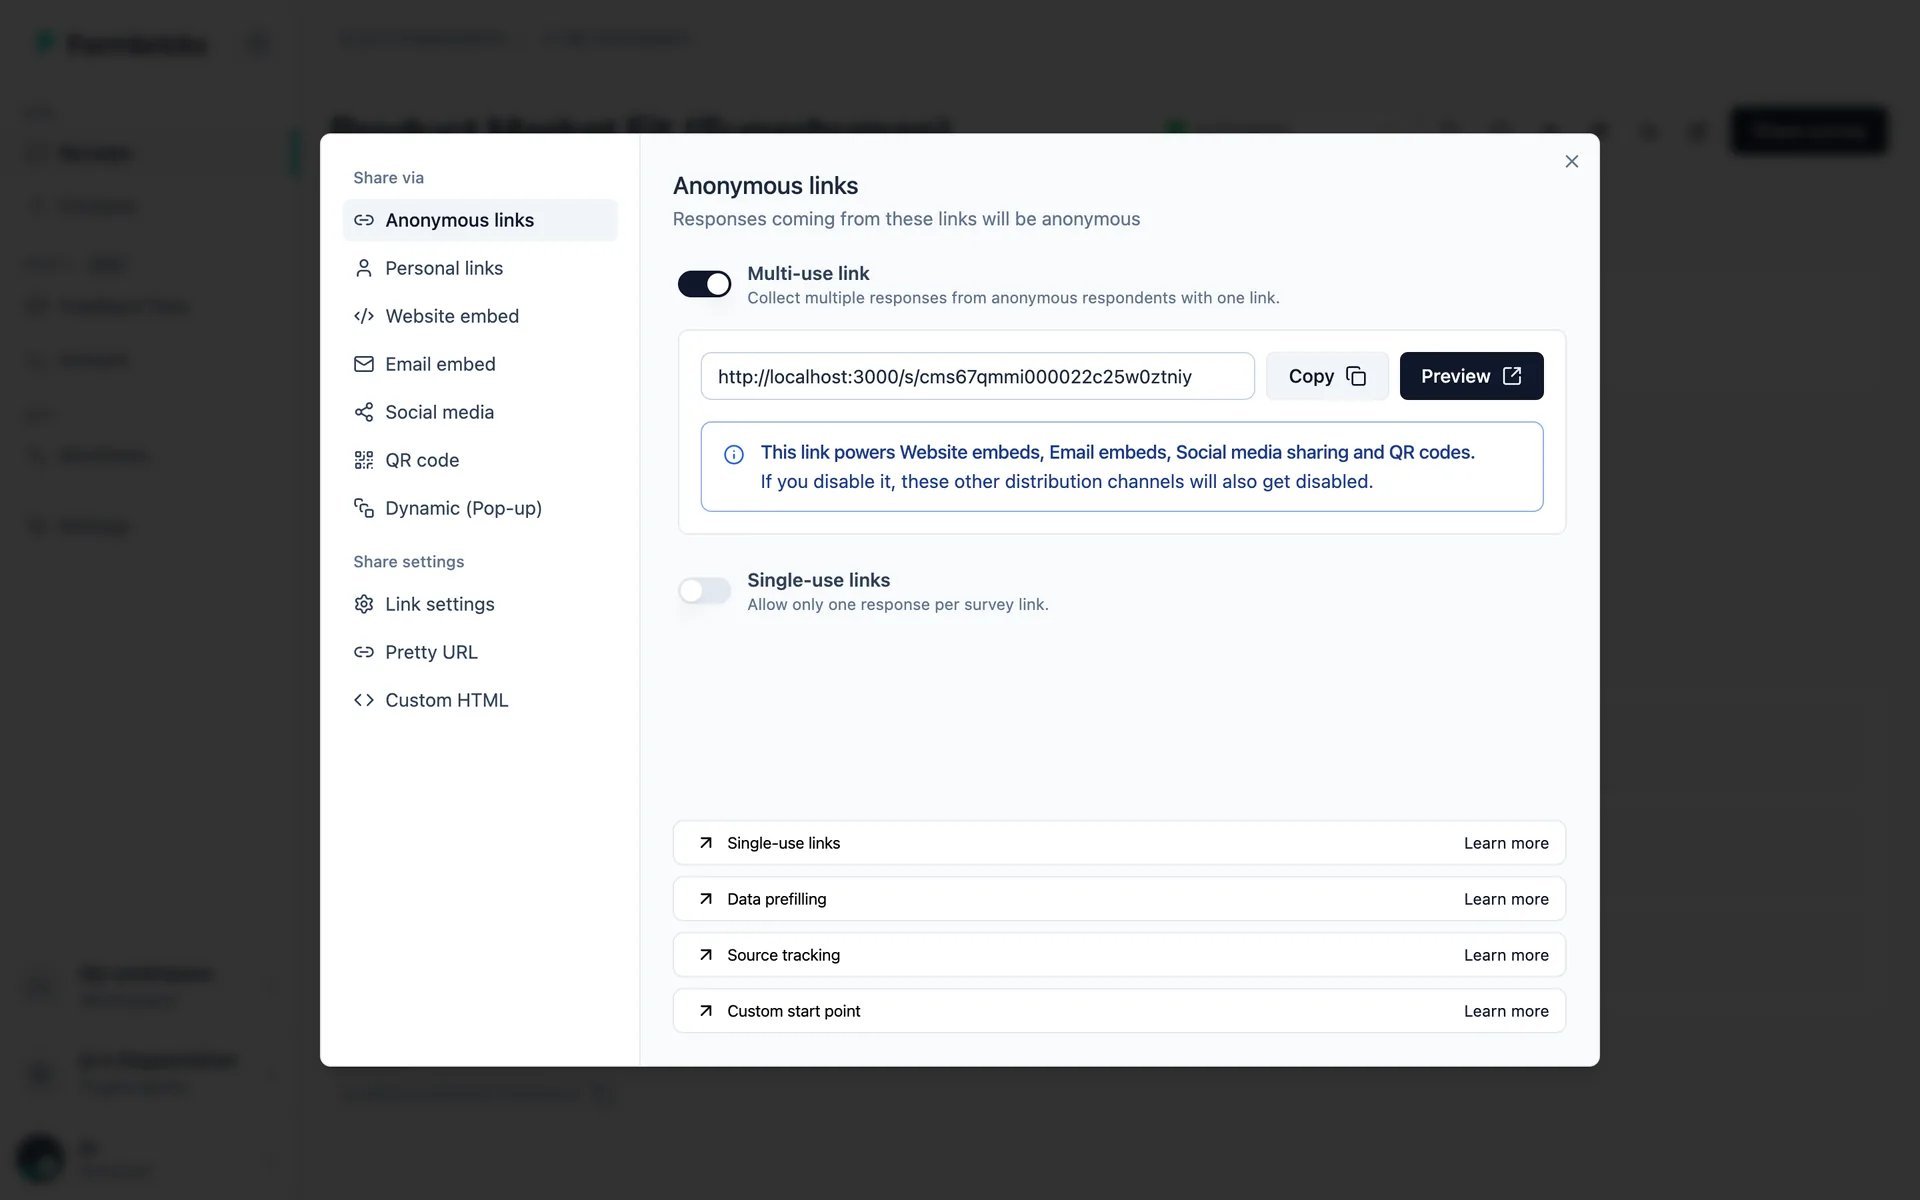
Congratulations! Your survey is now published and ready to be shared with your users. Click Share survey to copy the survey link, or pick one of the other channels: a website or email embed, social media, a QR code or a dynamic pop-up.