Ensure your survey is finalized before setting up Activepieces. Any changes in the survey will require additional adjustments in the workflow.
Step 1: Check your question codes
Every question has a question code, such asq1 or nps, and the dataByQuestionCode group of the trigger output shows your answers under these codes. You can read and change the code in the Settings tab of a question, under Recode, before you activate the survey. Once the survey is active, codes are locked, so the flow you build on them keeps working.
Question codes start with a lowercase letter and use lowercase letters, digits and
_. Pick short, readable names such as nps or visit_reason. Learn more in Question codes and answer codes.The Question ID of a question is generated and cannot be changed. If you need it, choose Copy question ID in the question’s ⋯ menu.
Step 2: Setup Activepieces
Visit Activepieces to start a new Flow.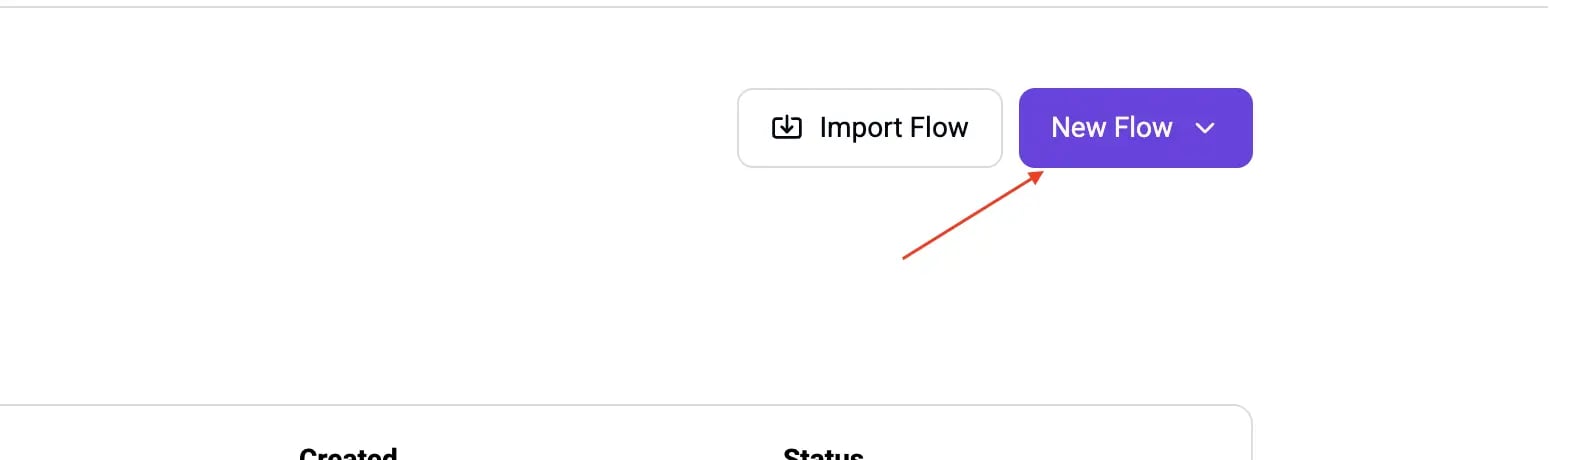
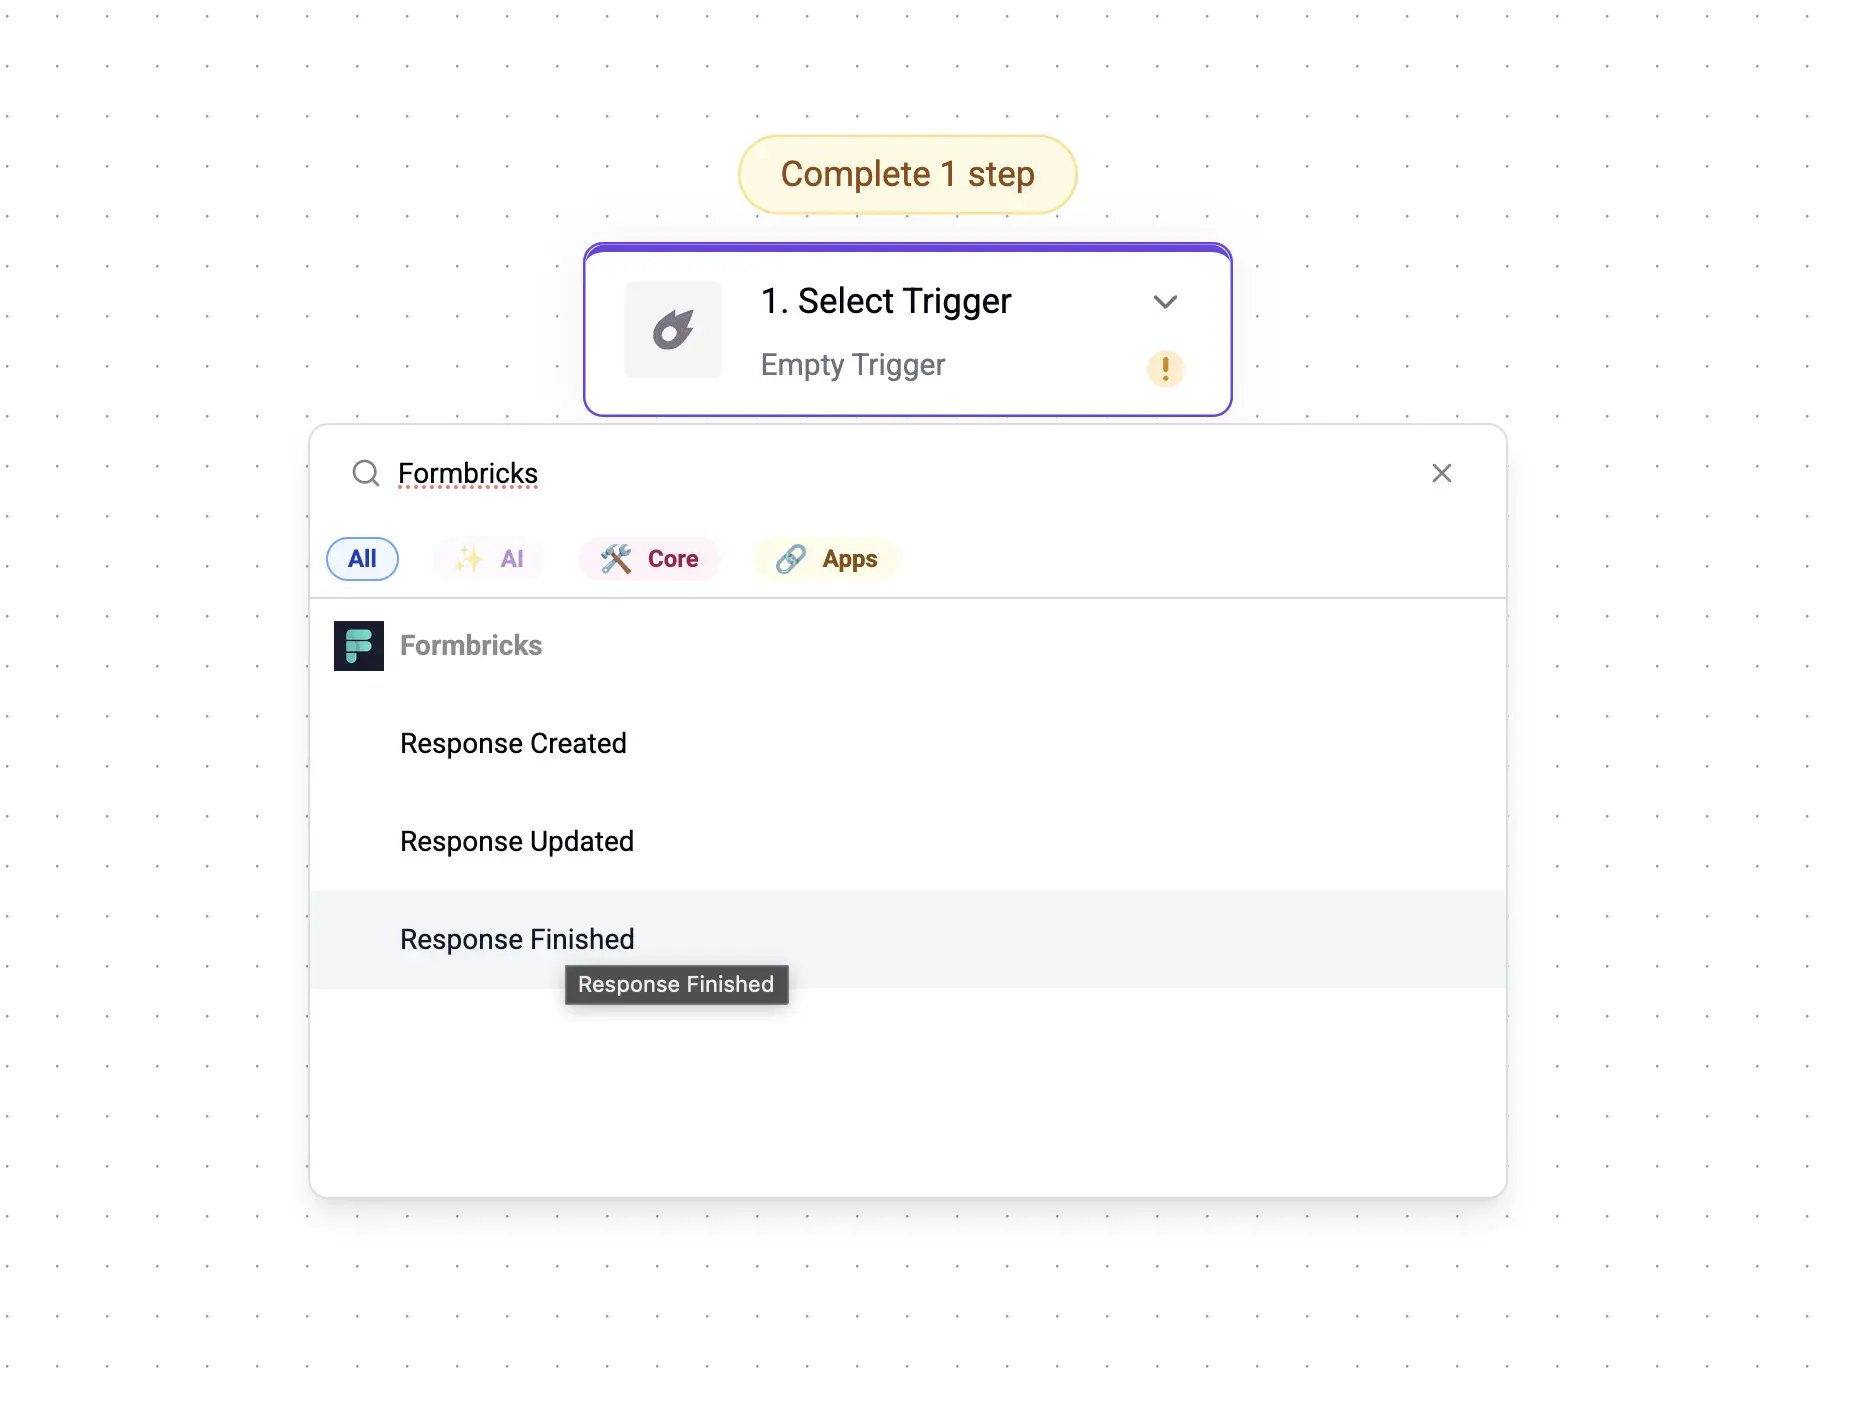
Formbricks and choose the event to trigger the flow, we will choose Response Finished here
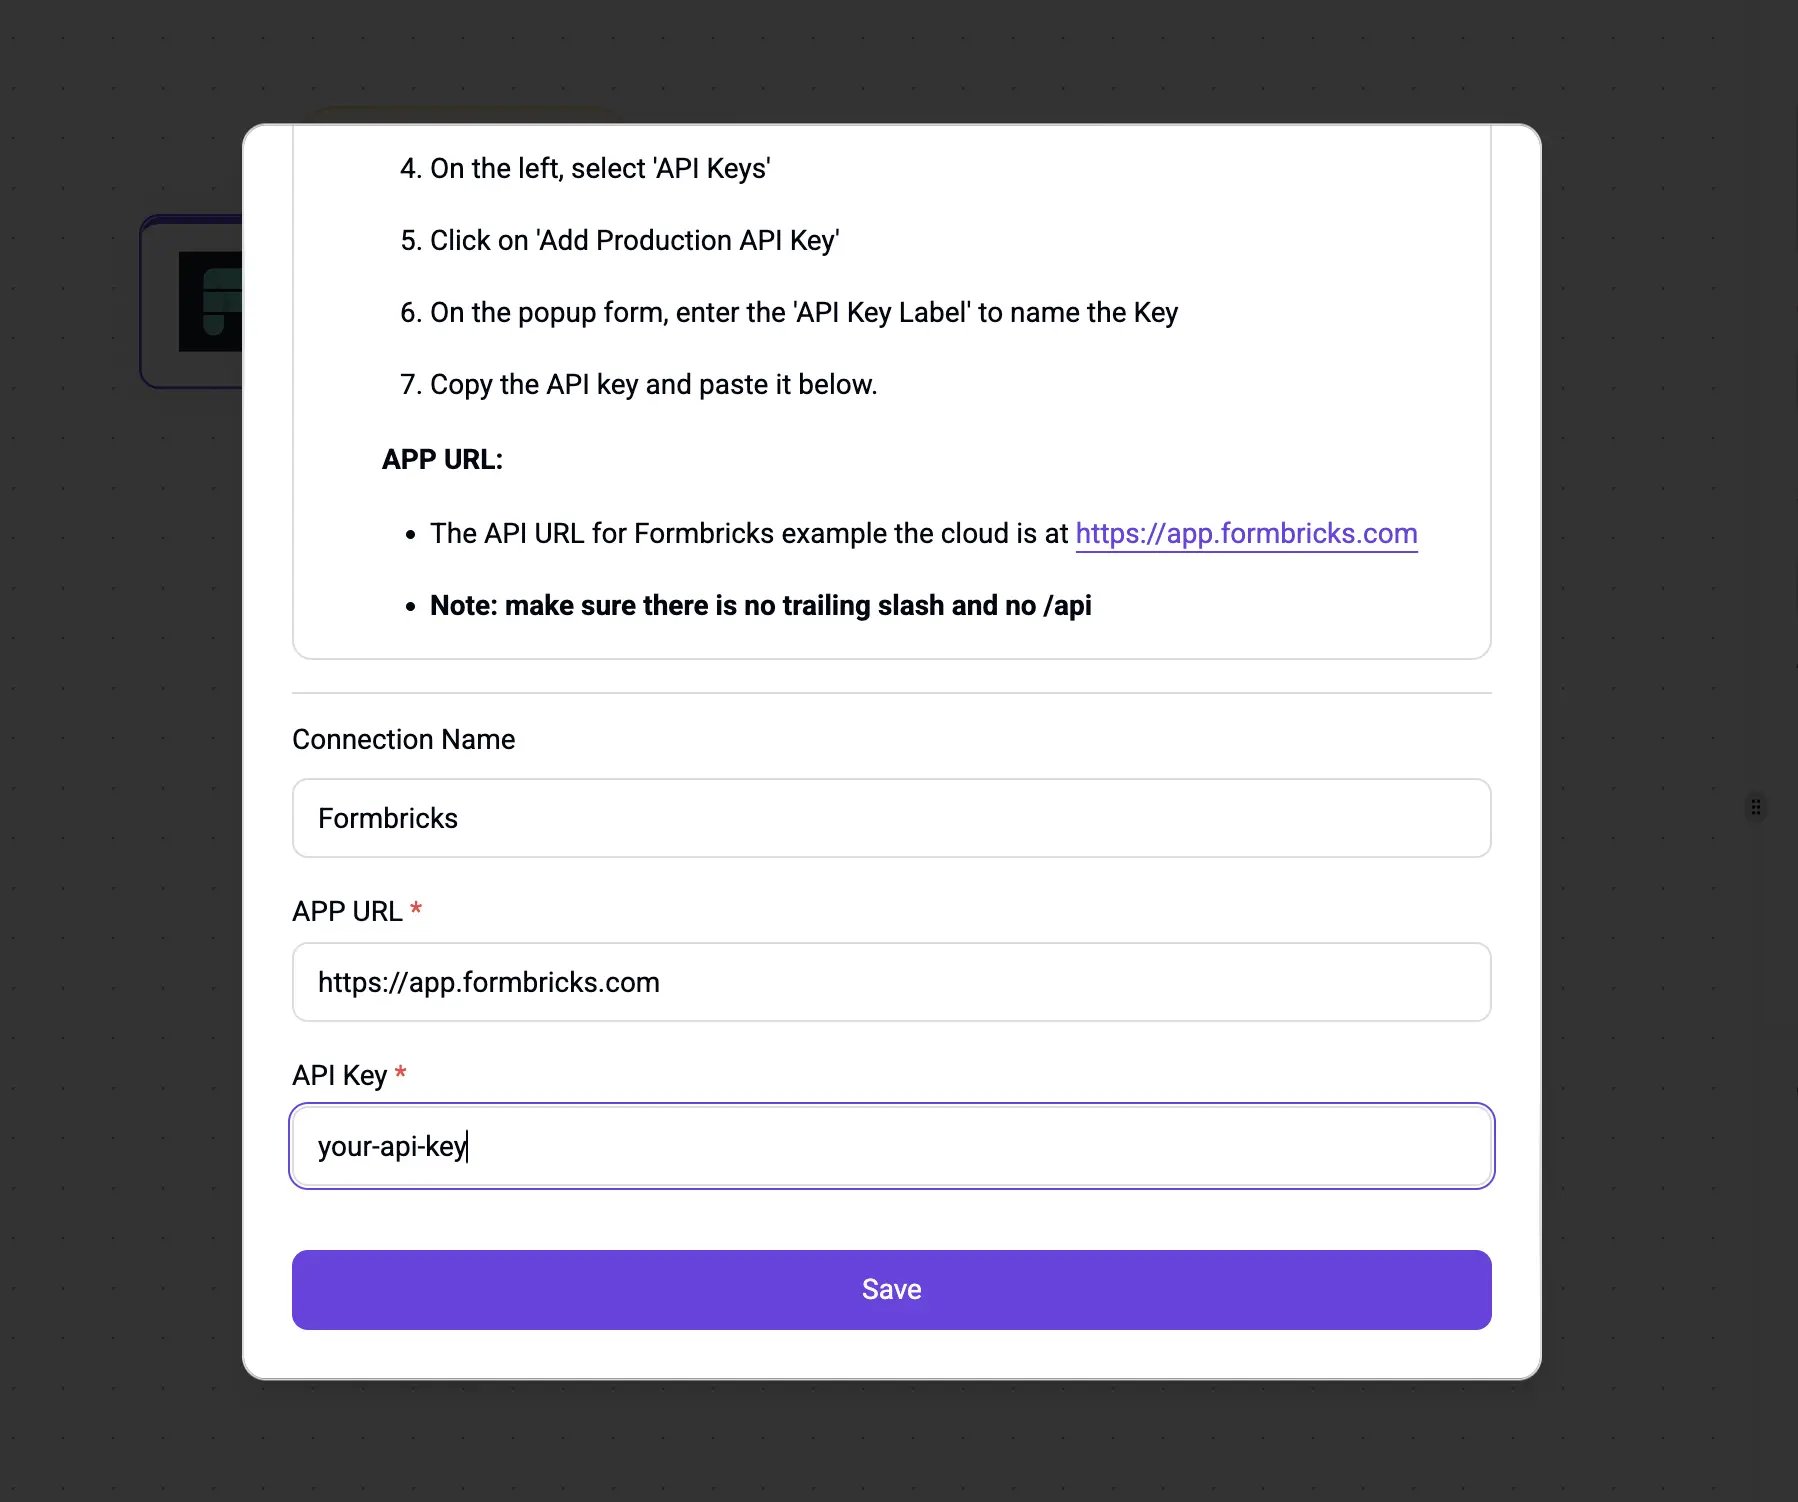
Step 3: Connect Formbricks with Activepieces
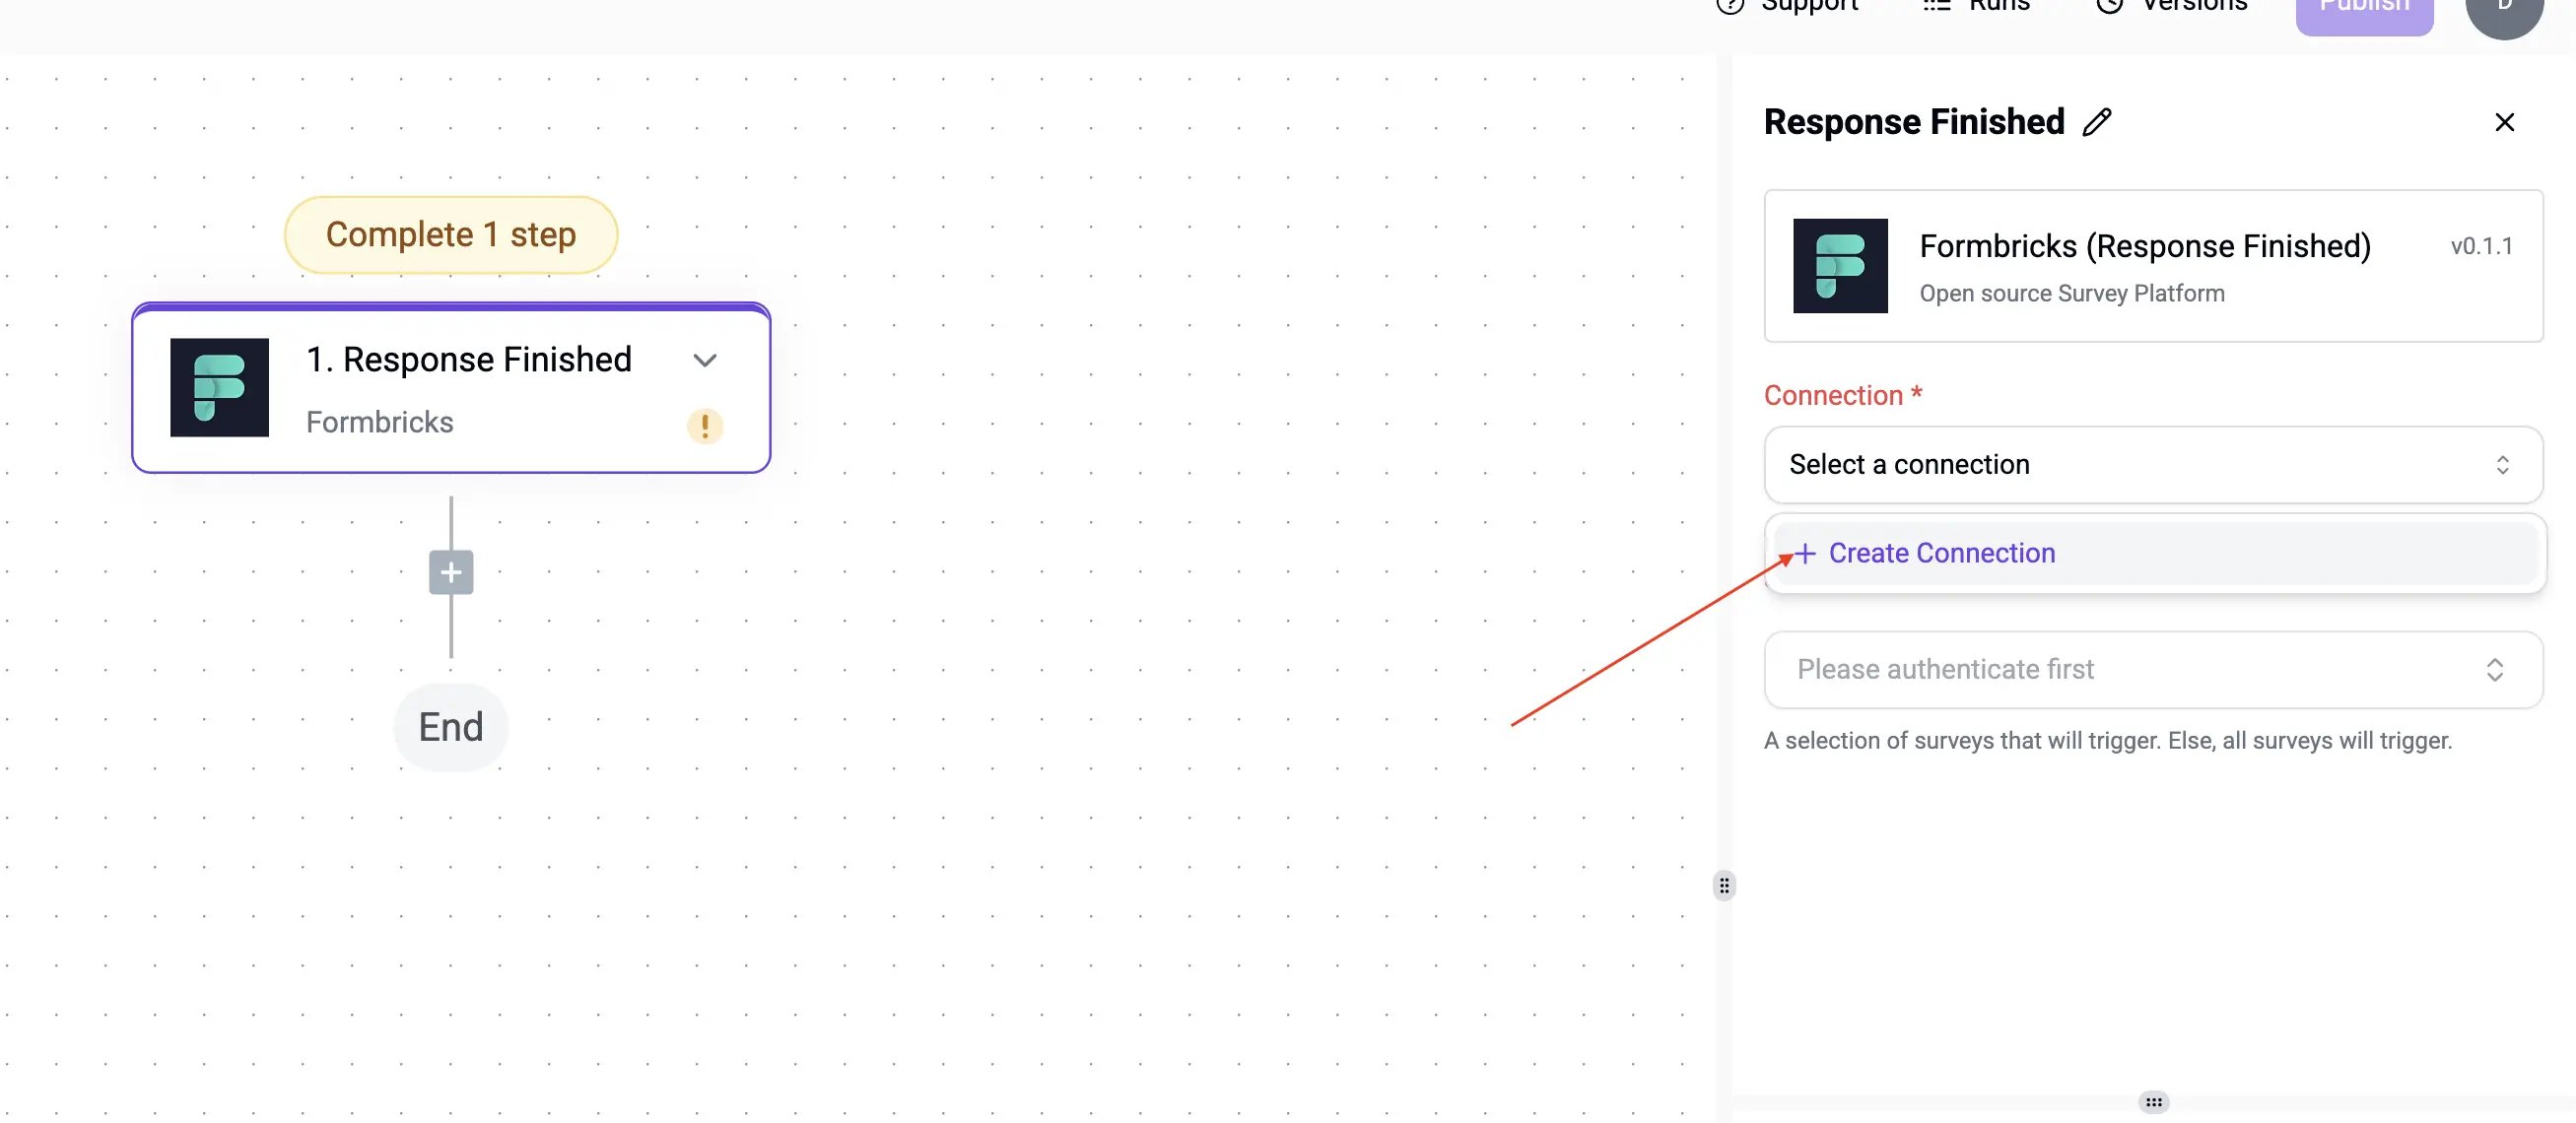
Click onCreate connection:
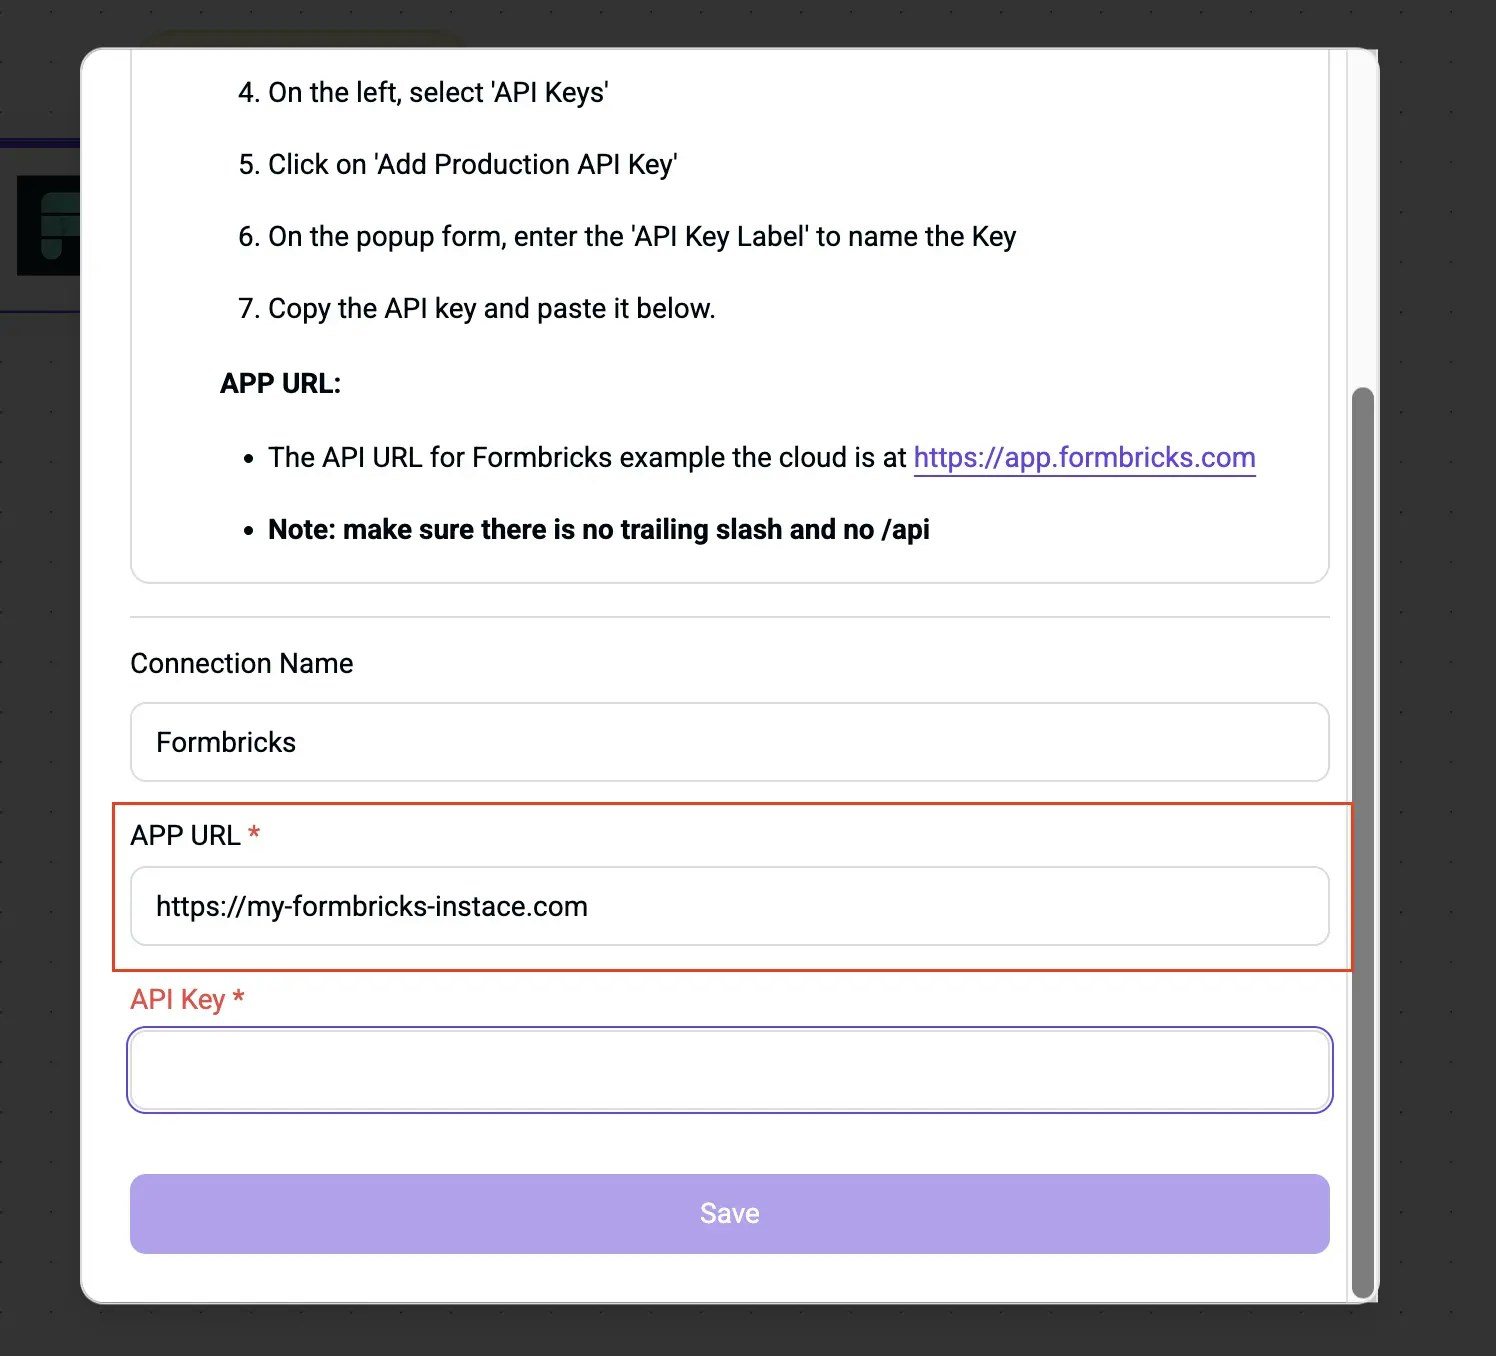
/api/v1/management/me; multi-workspace keys fail that check. Manage access lets the trigger delete its
webhook when the flow is disabled, as well as create it.
Step 4: Select Survey
Choose from your created surveys: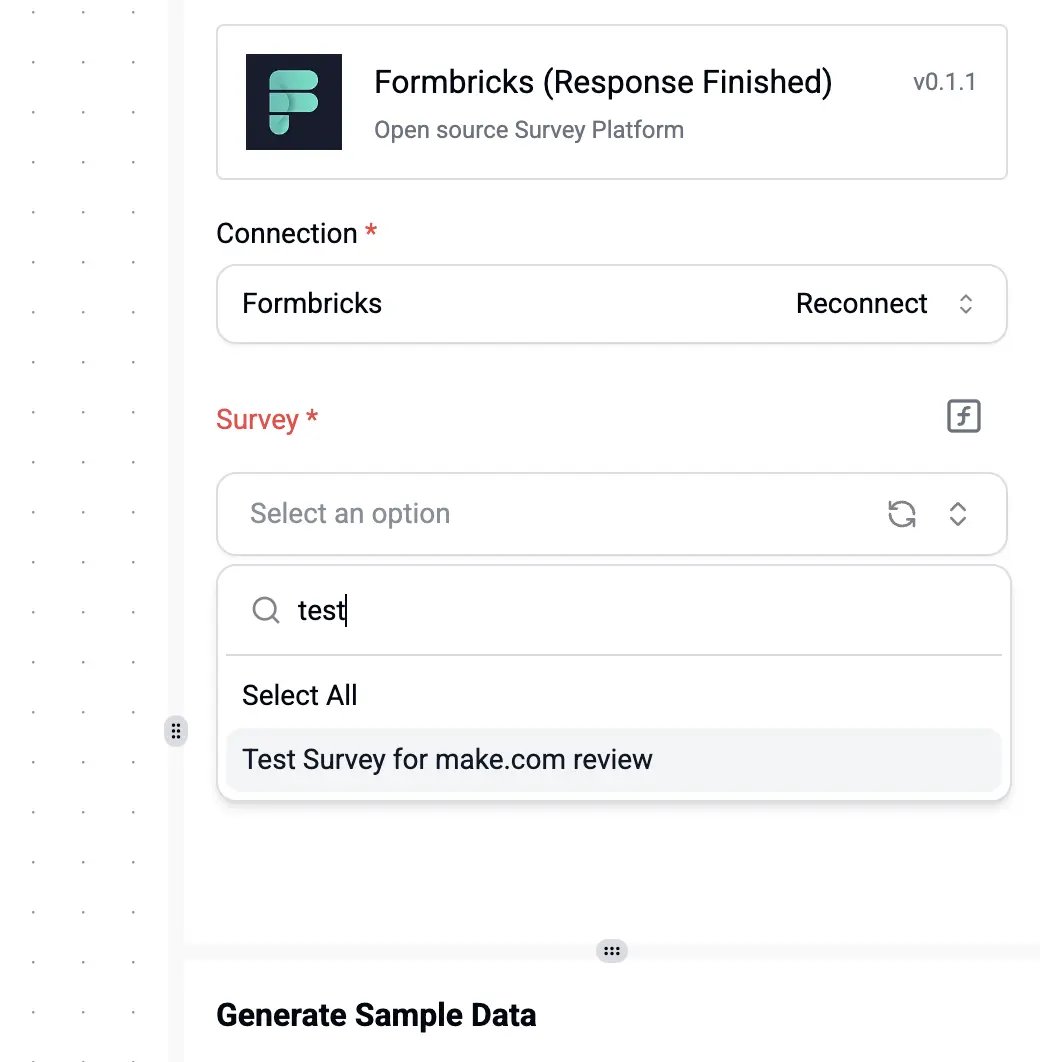
Step 5: Send a test response
You need a test response for Activepieces setup. Click on Test trigger and submit a test response in the connected Formbricks survey to see the data in Activepieces.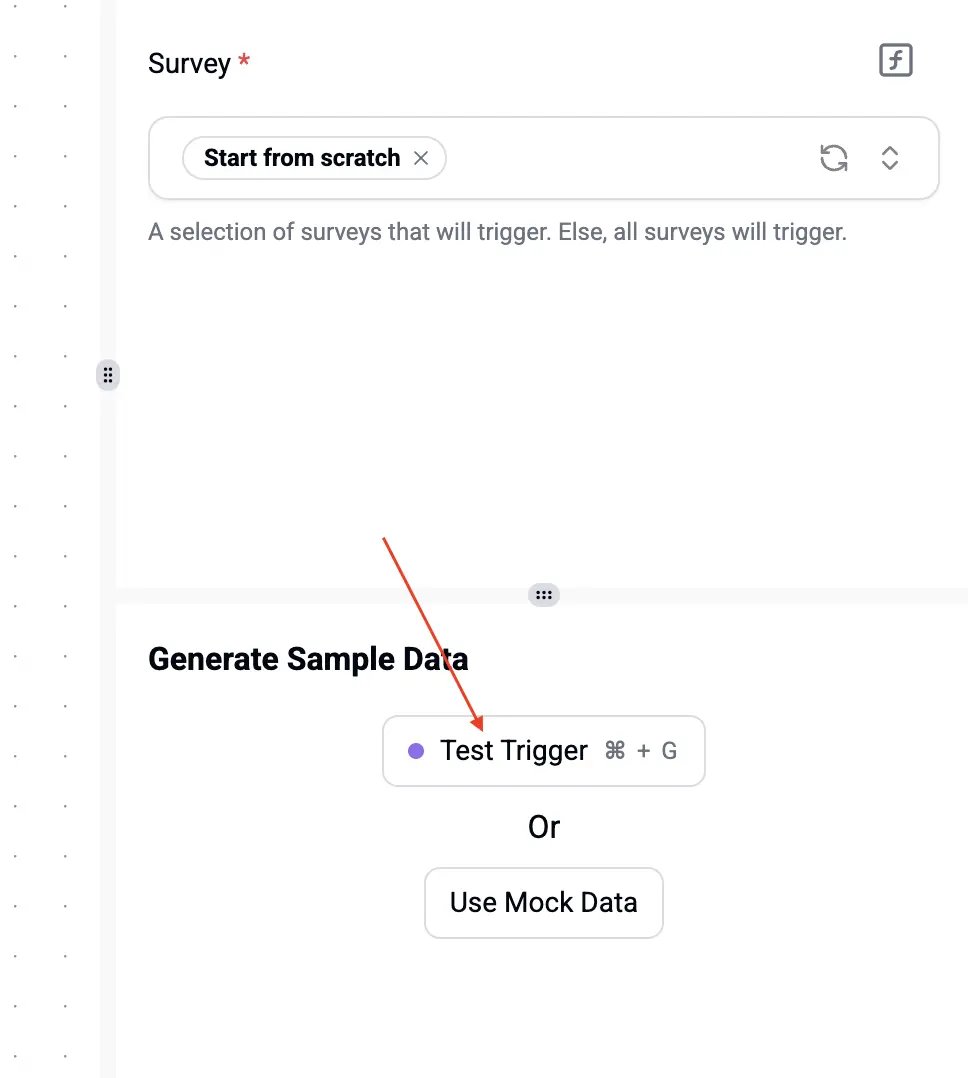
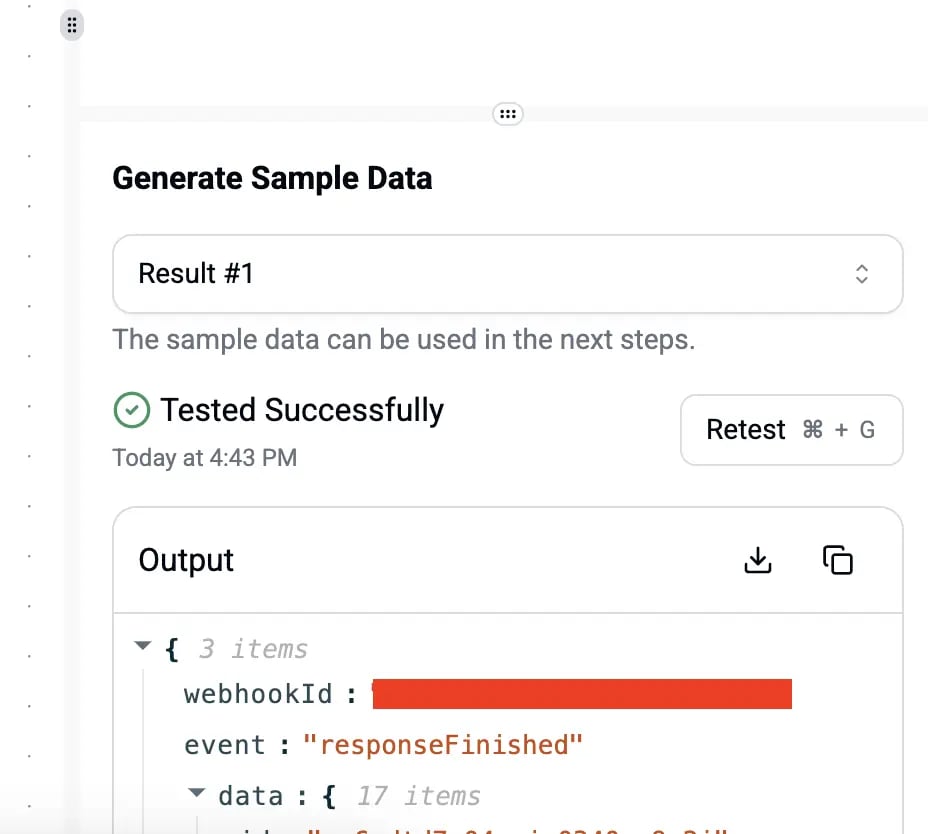
Step 6: Set up Google Sheet
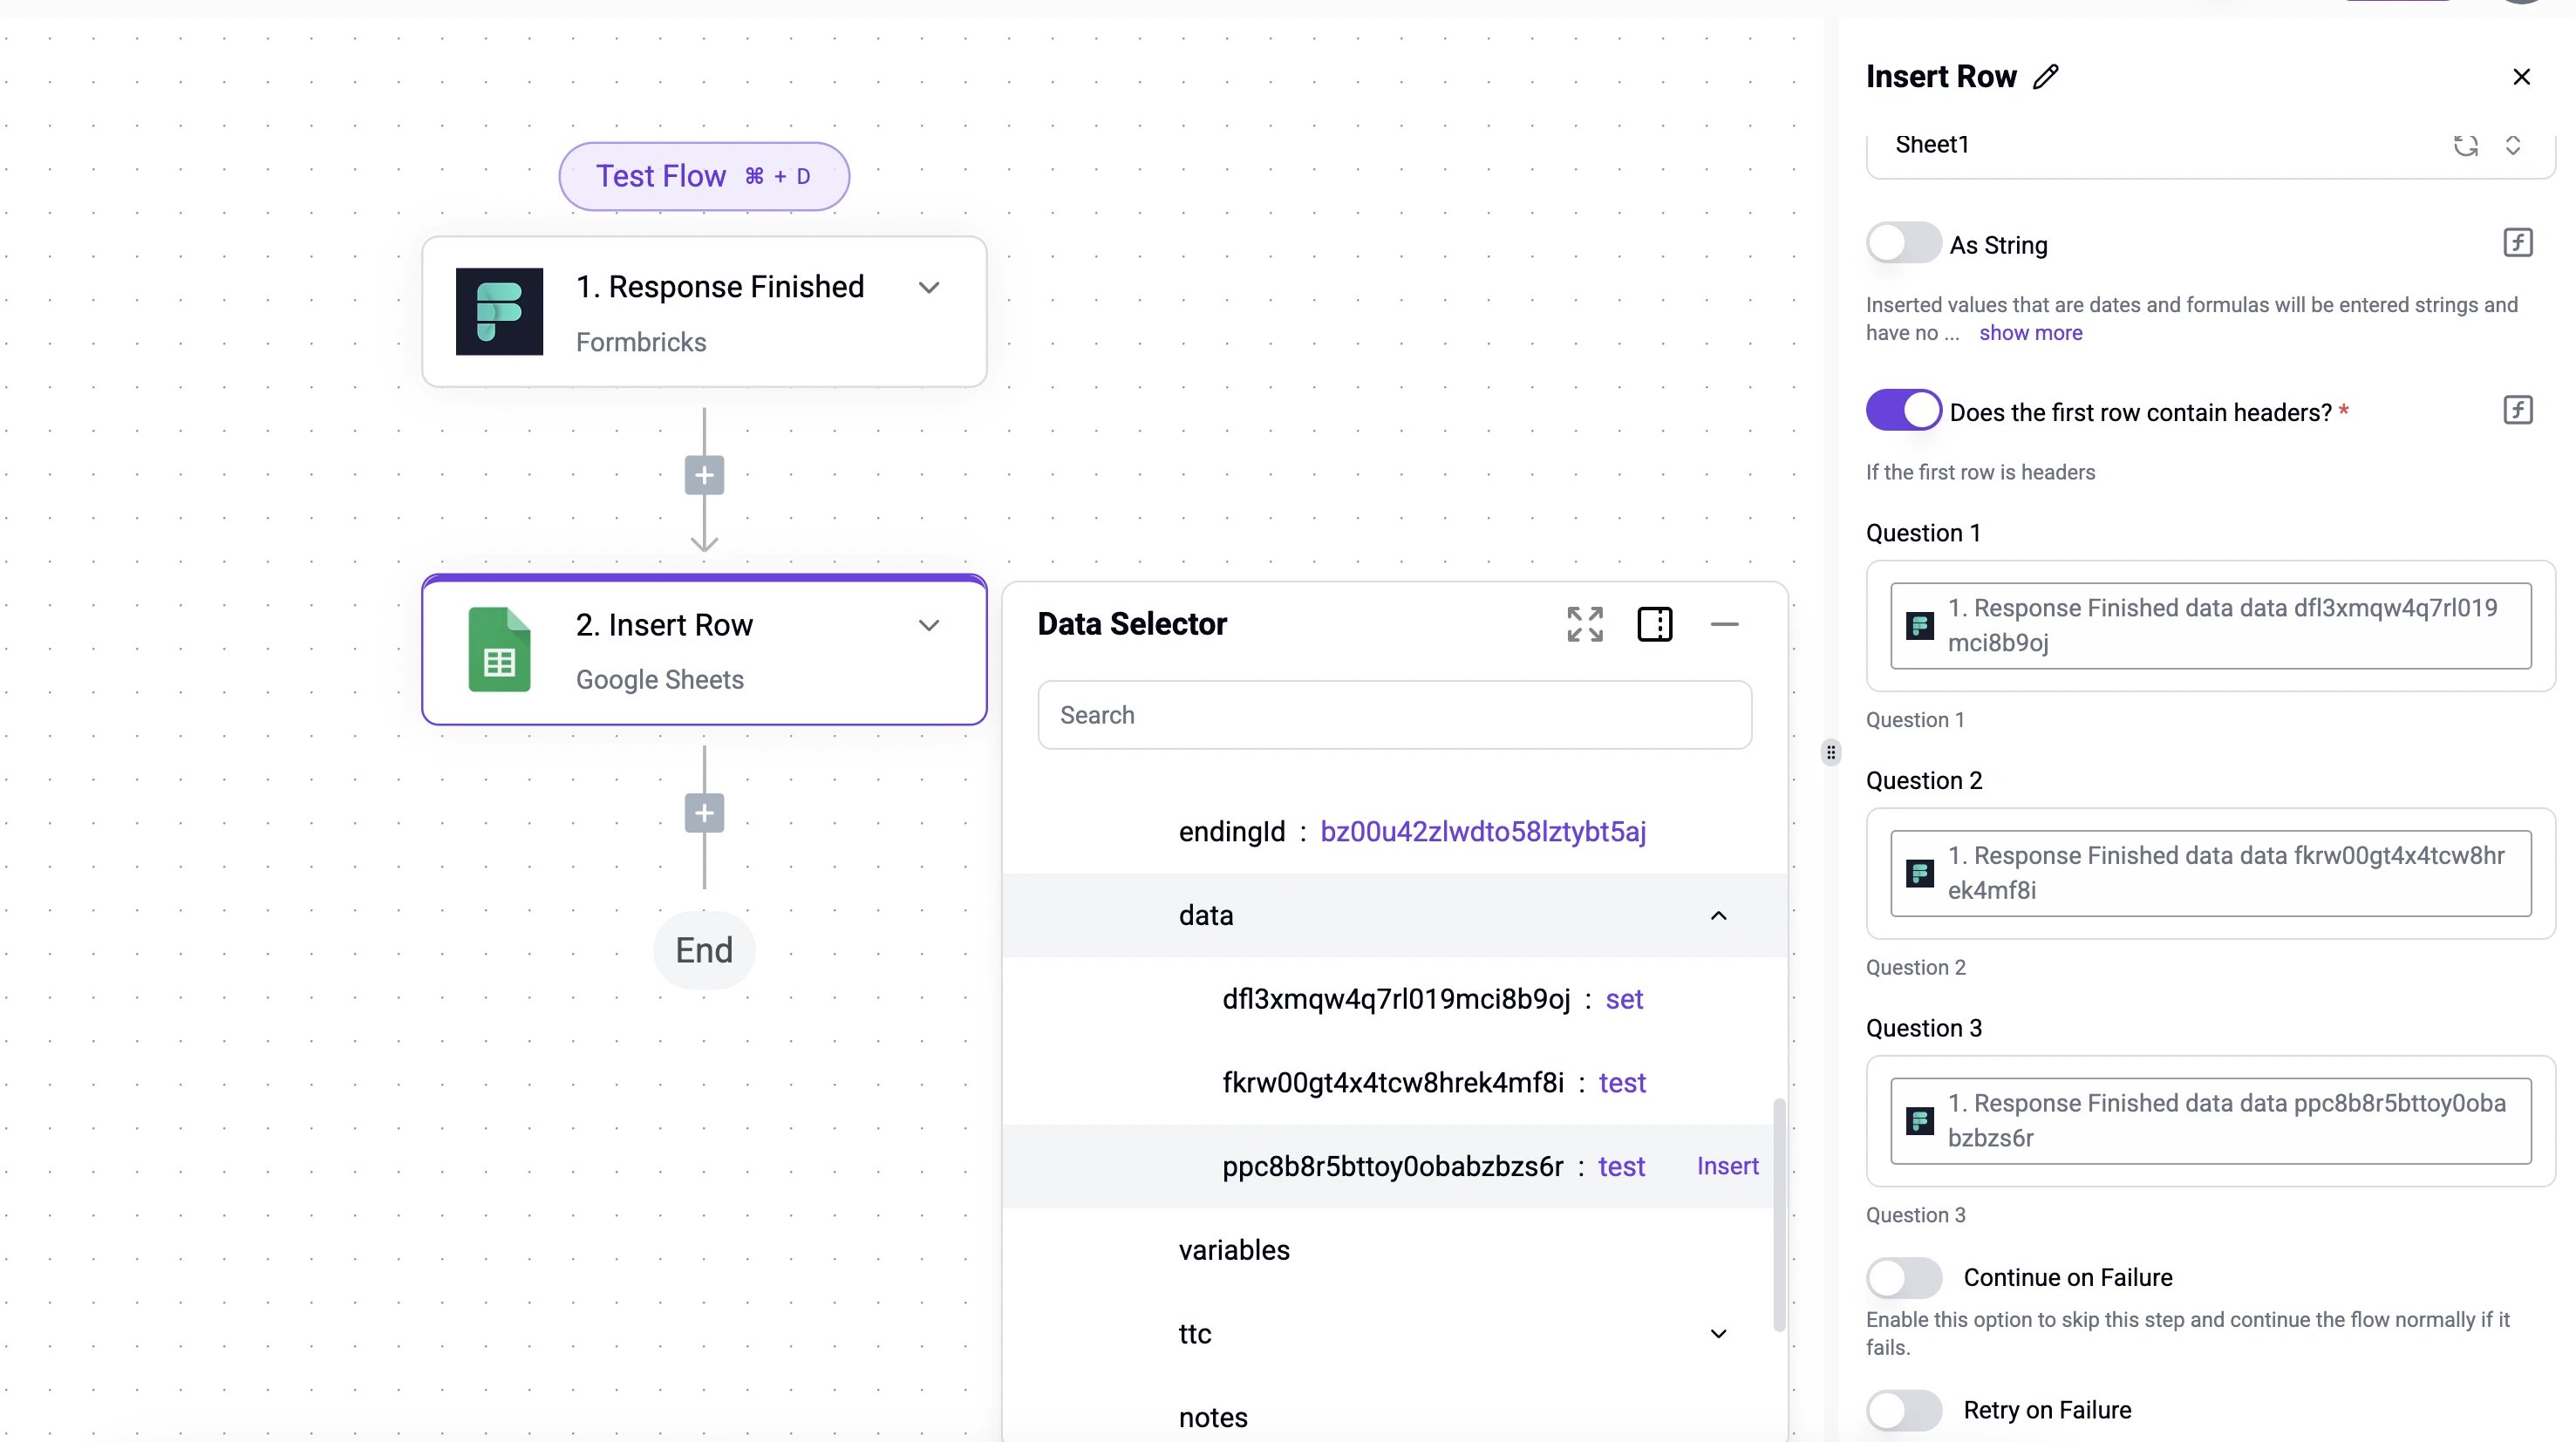
Decide on the desired action for the data. Here, we’ll send submissions to a Google Sheet. Add Google sheet step to your flow and configure it as follows: Choose “Add a Row” for the action. Authenticate with Google and select the spreadsheet you want to add the data to.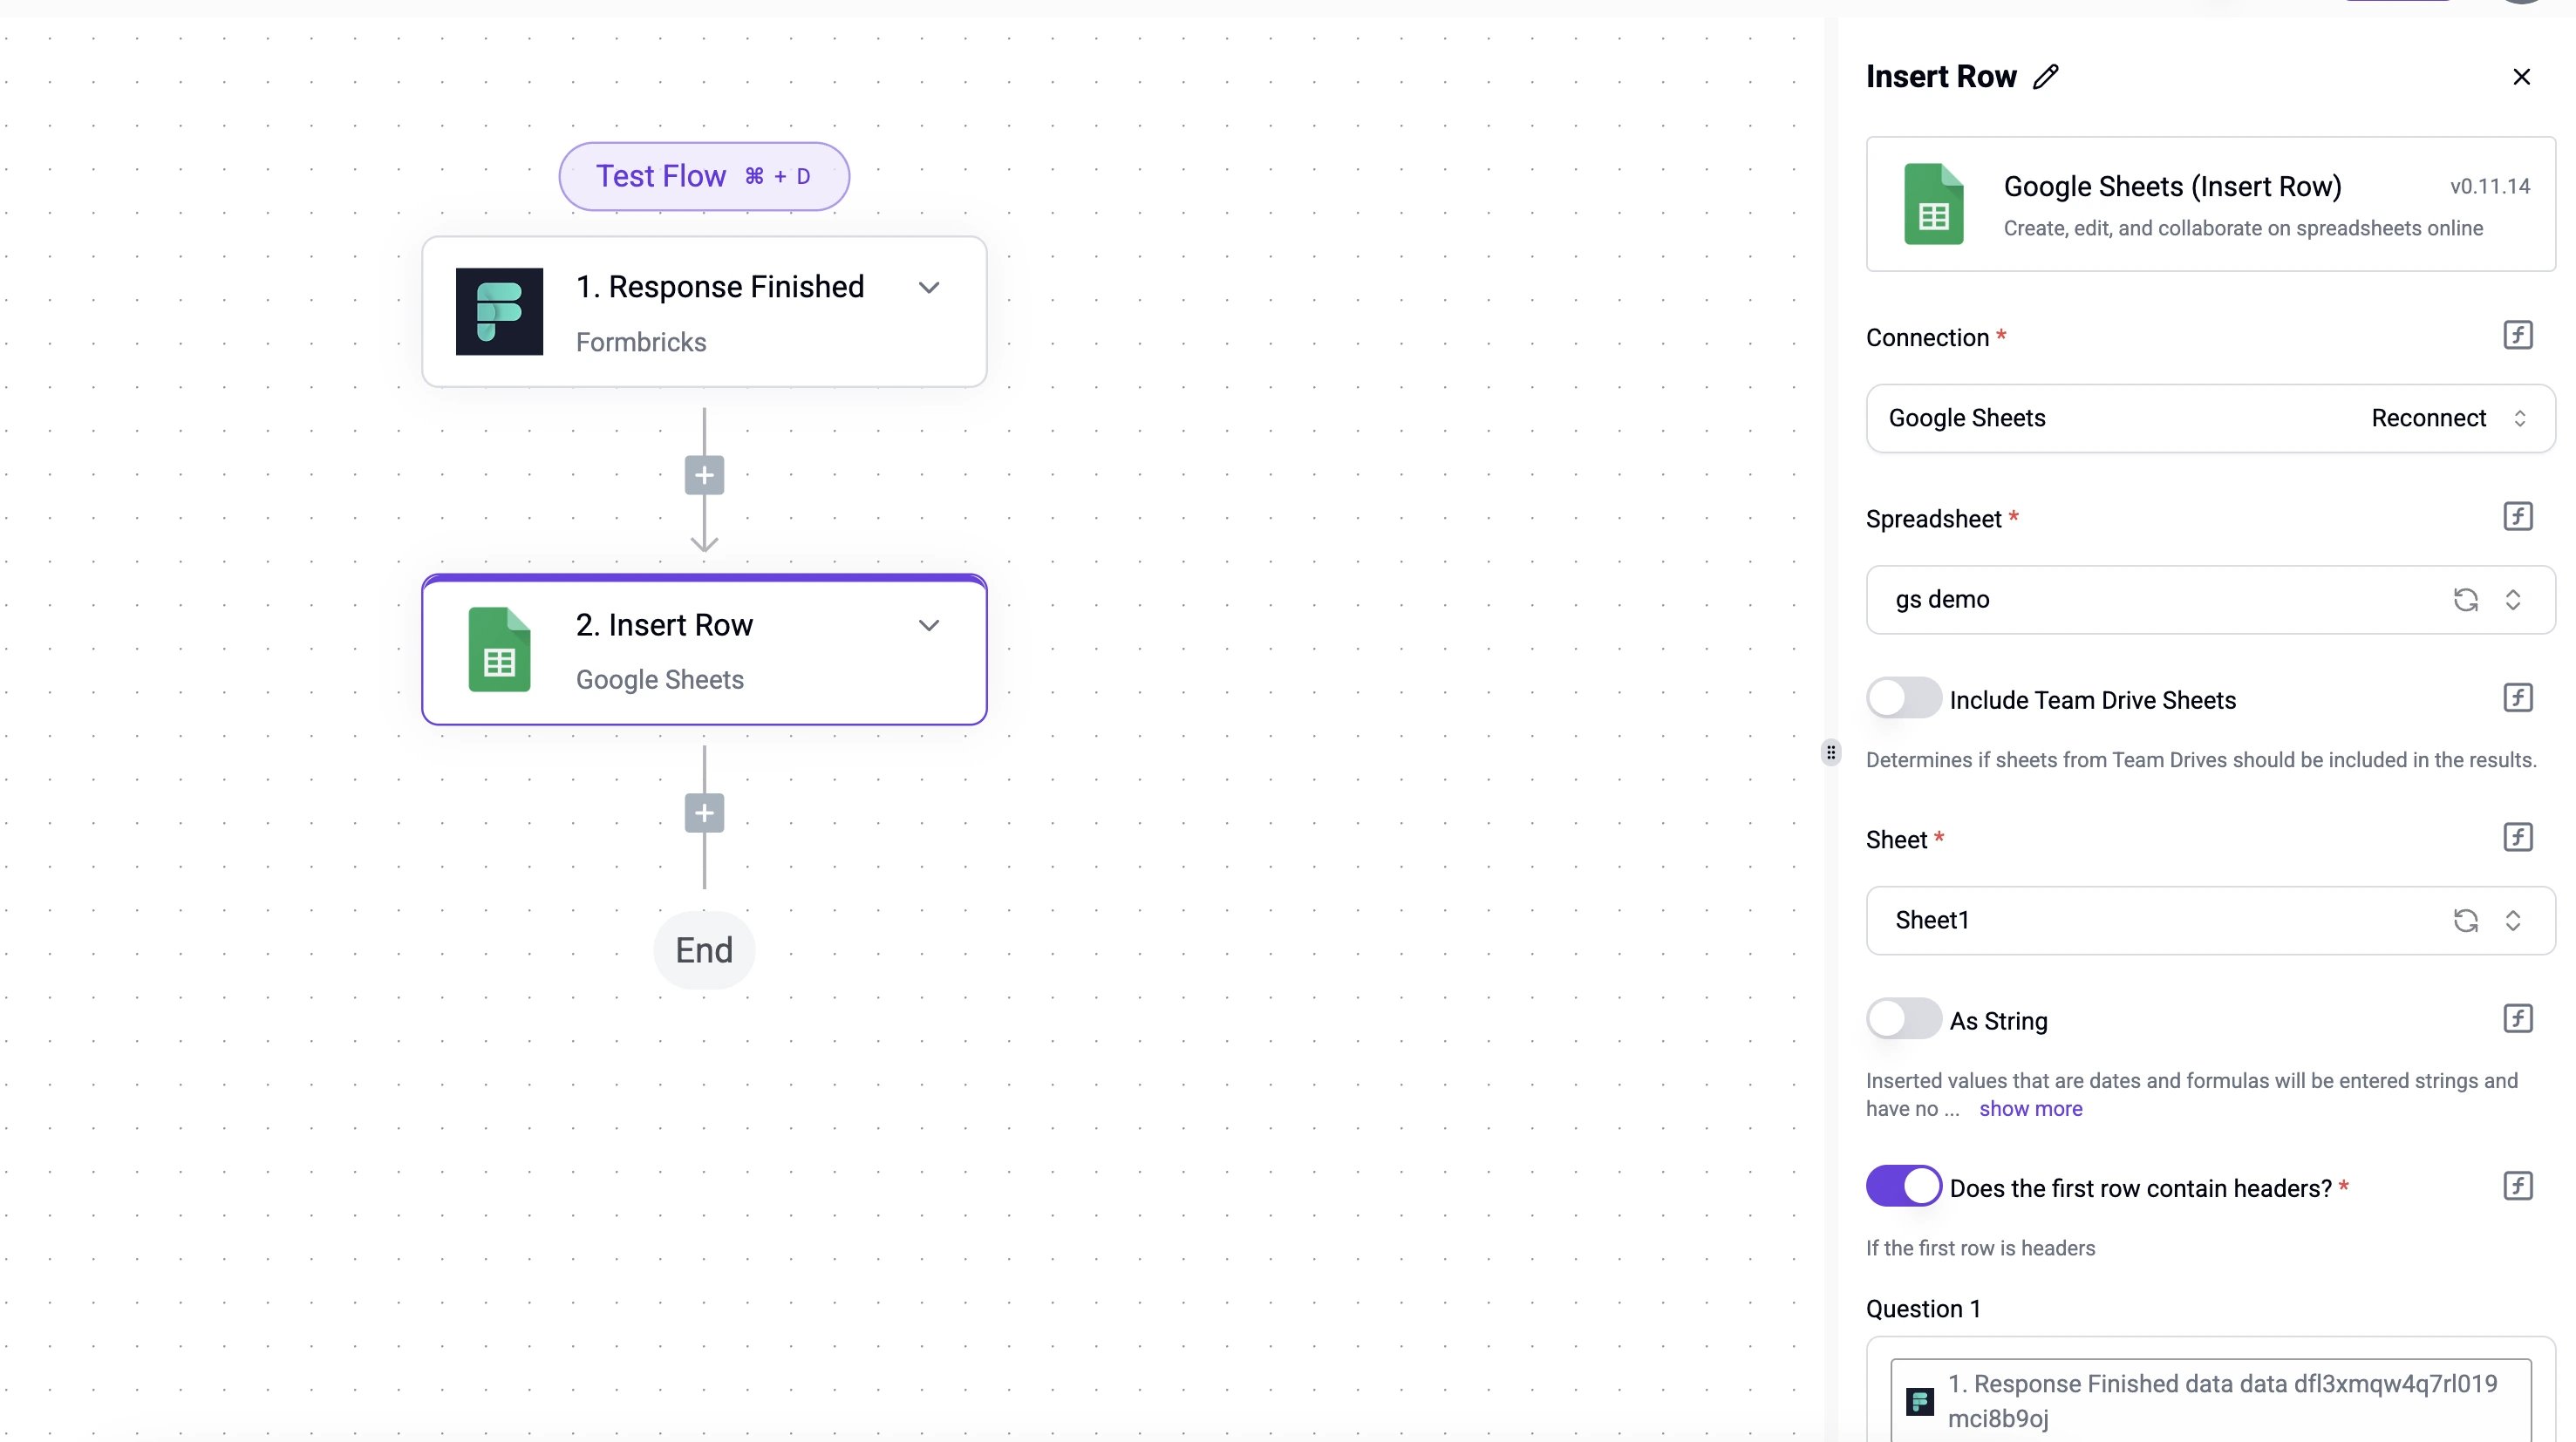

Self-hosted Formbricks
Use your instance’s public HTTPS URL instead ofhttps://app.formbricks.com when creating the
connection. Create a scoped API key on that same instance.
No Formbricks server environment variable is needed for this API-key connection.
Make sure the automation service can reach your instance, then submit a test survey response and
verify the expected workflow runs. Check host, key scopes and network access if it fails.