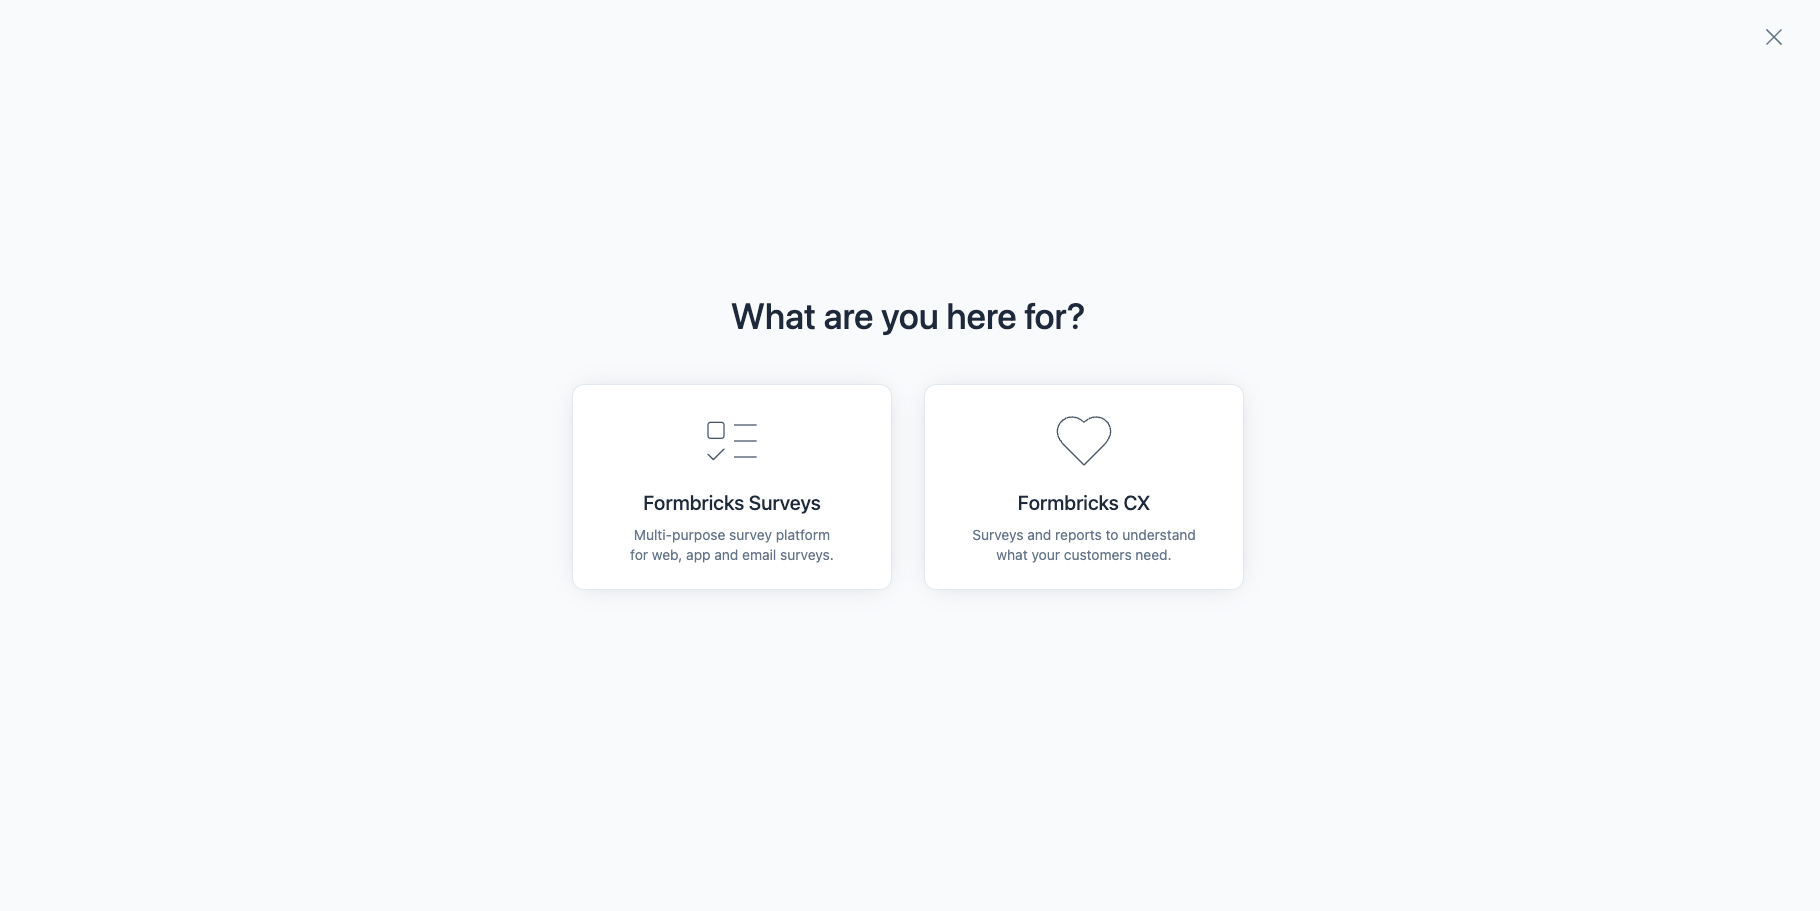
Choose 'In-product surveys'
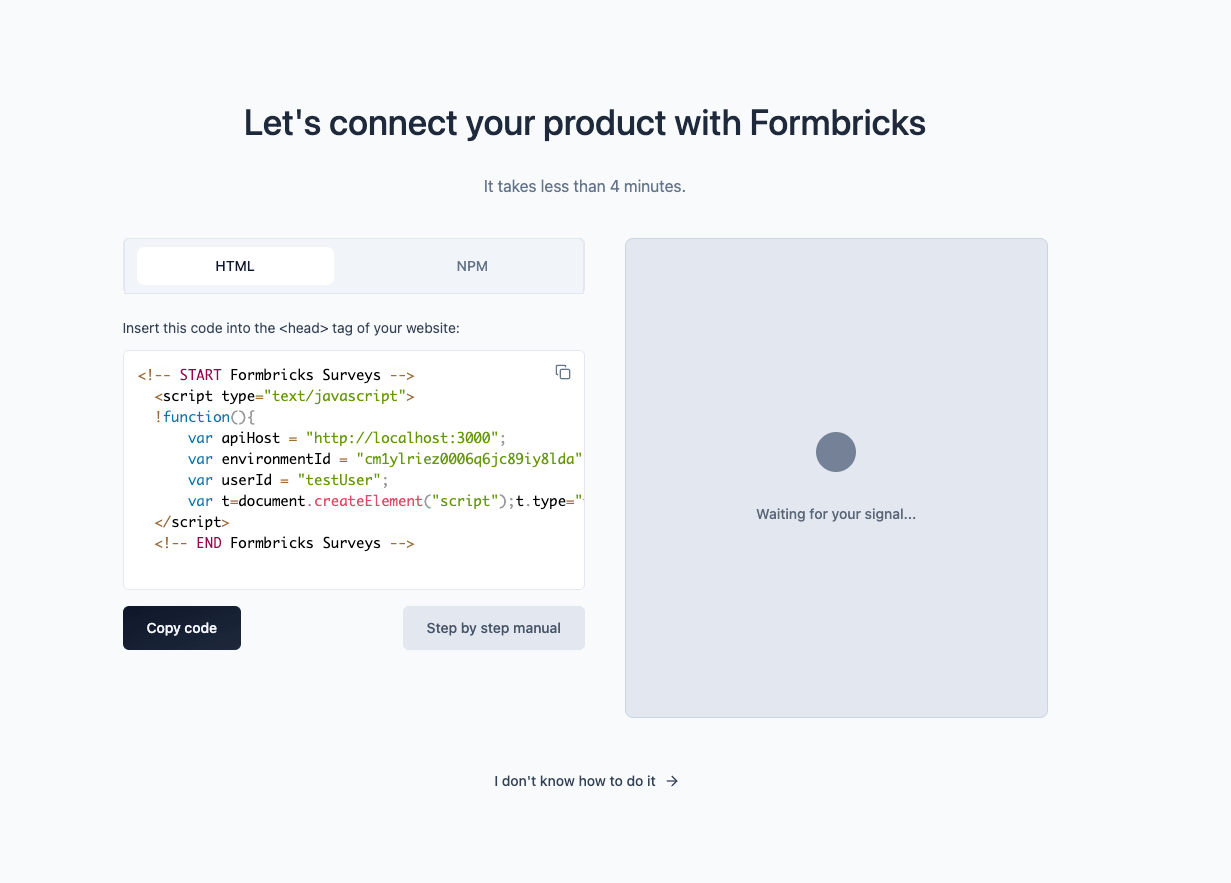
You can create In-product and Link Surveys with both options, but the onboarding will prompt you to connect your app/website to Formbricks.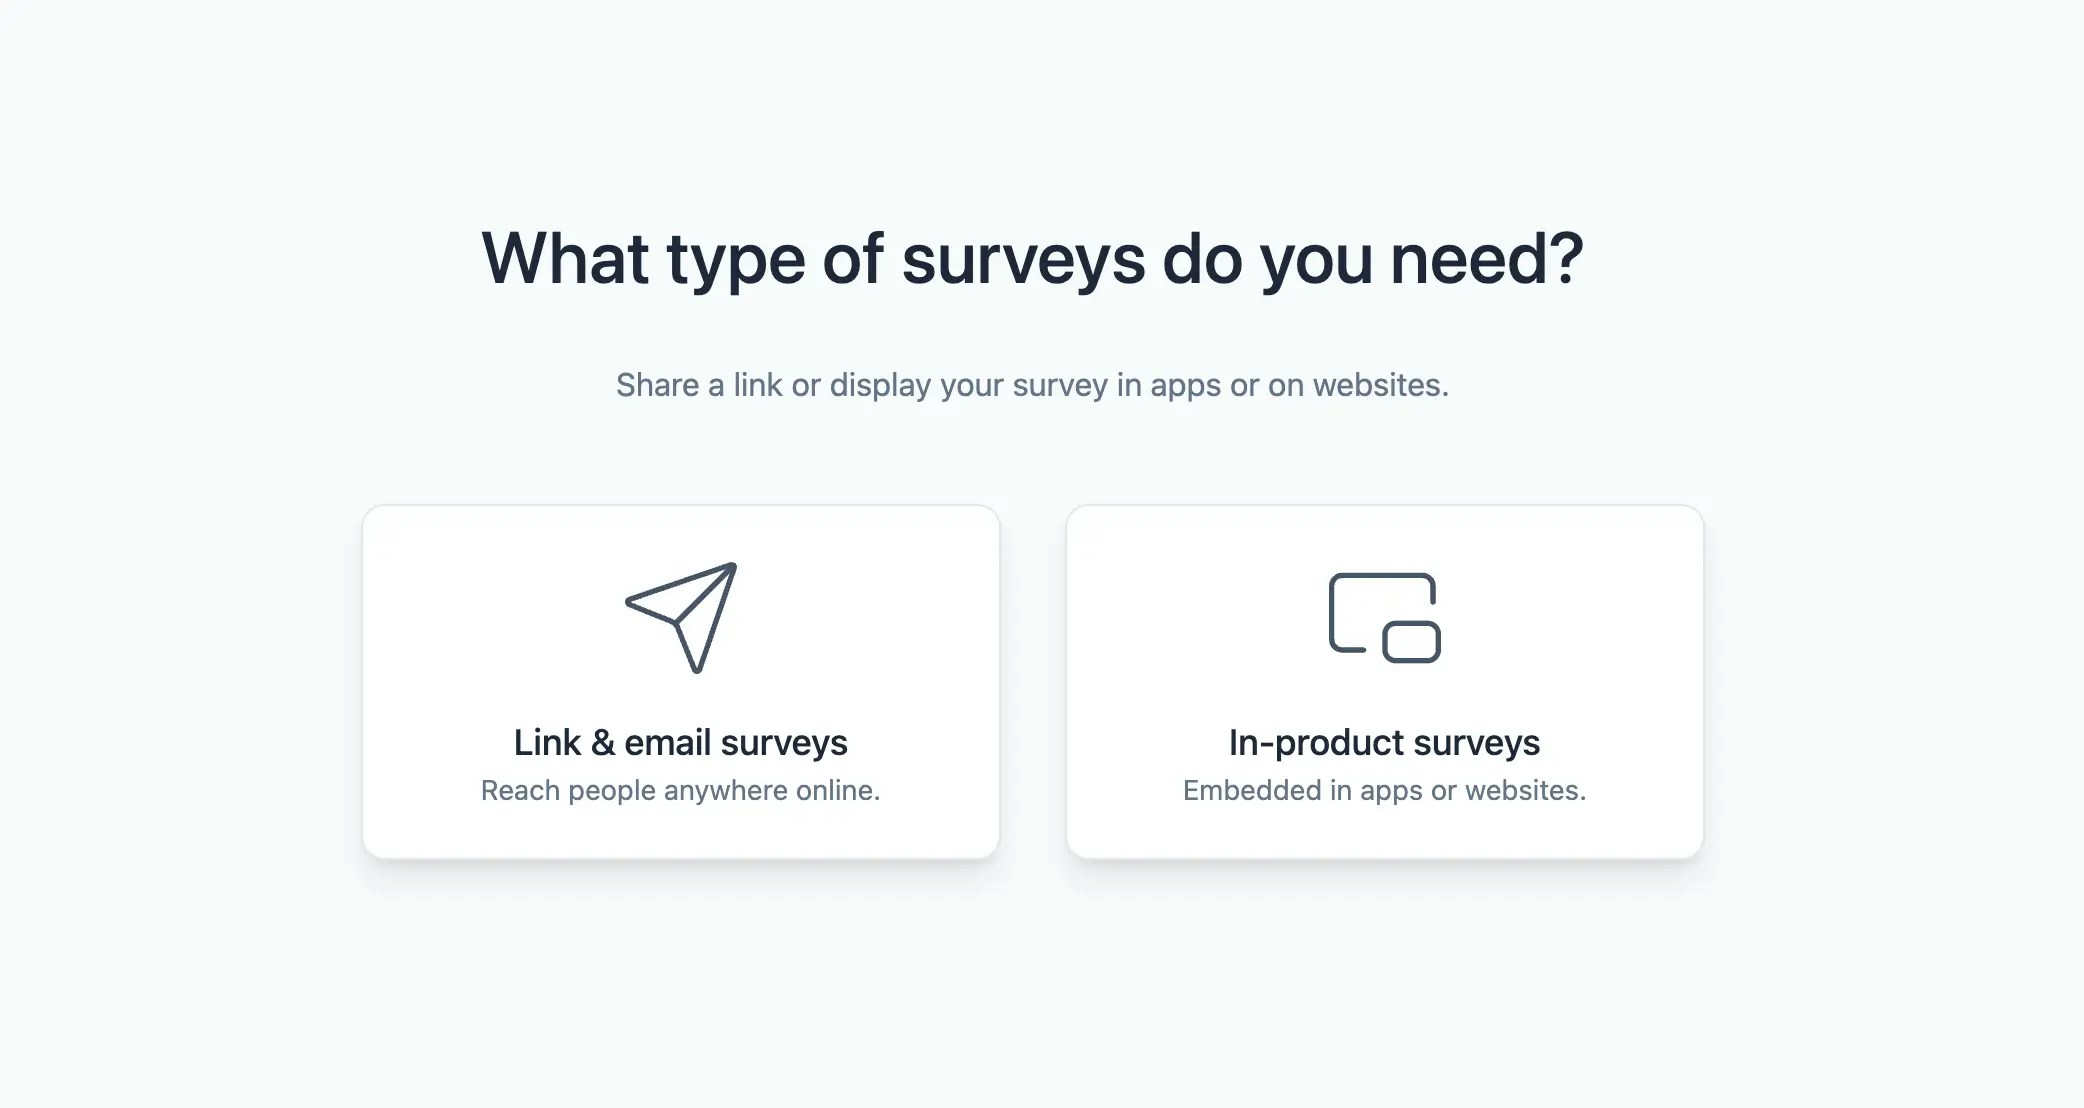

Confirm setup
As soon as Formbricks receives the first data point, you will see a message in the onboarding: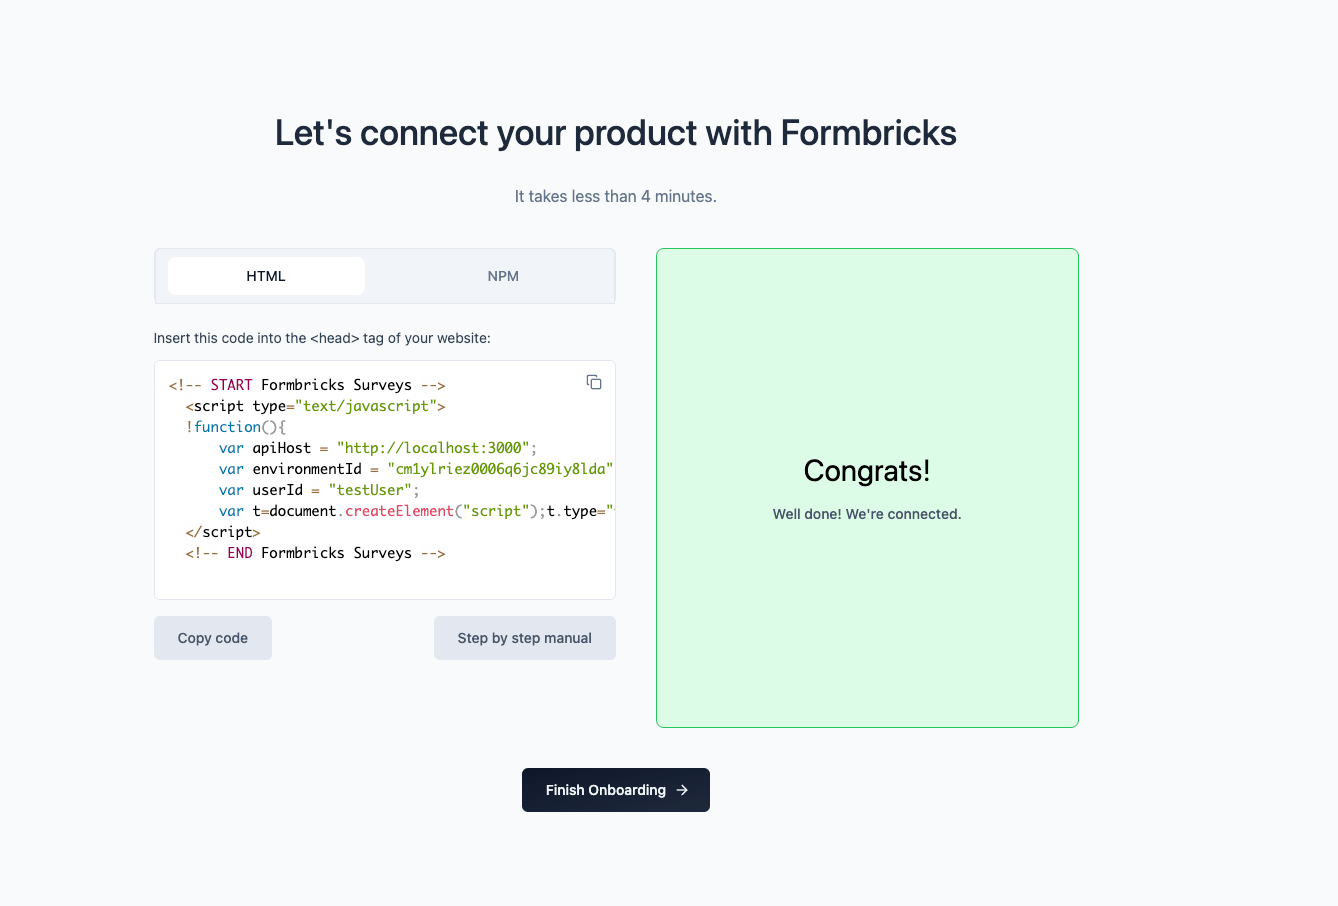 Onboarding is complete! Now let’s create our first survey as you should see templates to choose from after clicking on Next:
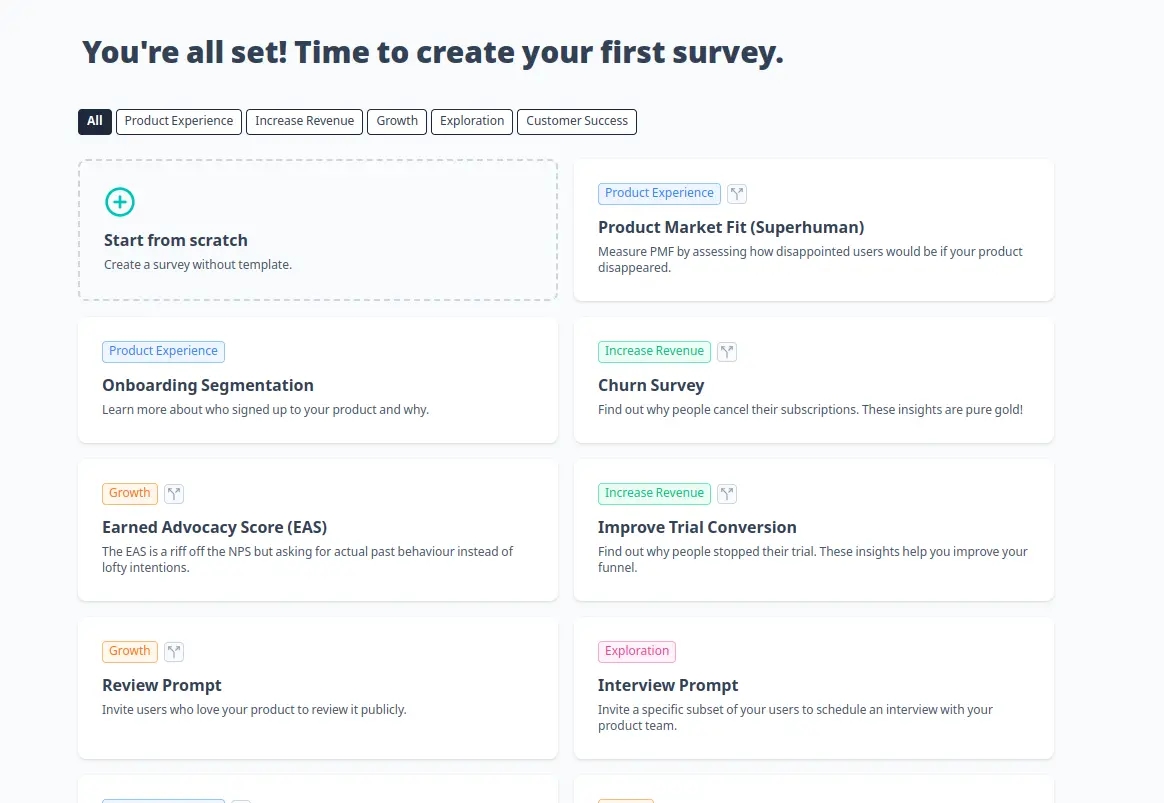
 Onboarding is complete! Now let’s create our first survey as you should see templates to choose from after clicking on Next:
Create your first survey
To be able to see a survey in your app, you need to create one. We’ll choose one of the templates and head over to the survey settings:Pick the Survey Type as Website & App Survey.
Create trigger to show survey
Scroll to Survey Trigger, click + Add Action, and select Page View. This ensures the survey appears when the Formbricks Widget detects any page load.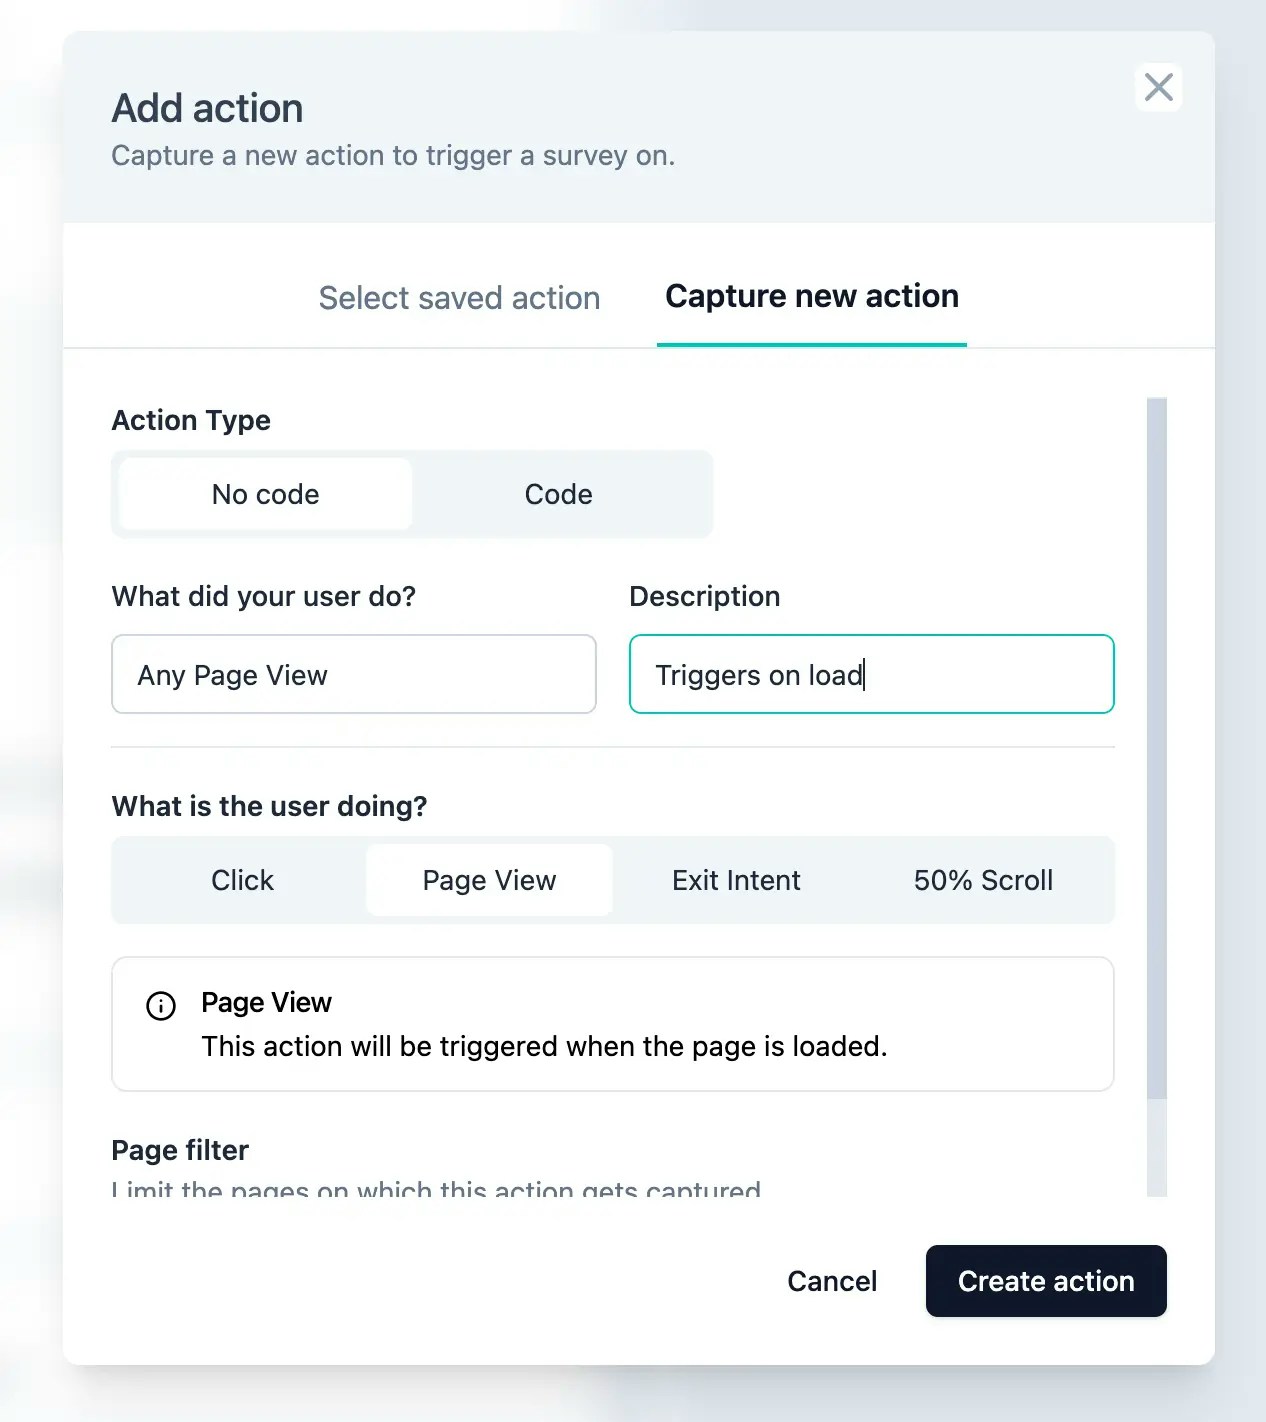

Set Recontact Options right
A common hiccup is users seeing one survey but it doesn’t appear again. This is due to the default settings we chose to avoid survey fatigue. While setting up, we recommend the following Recontact Options: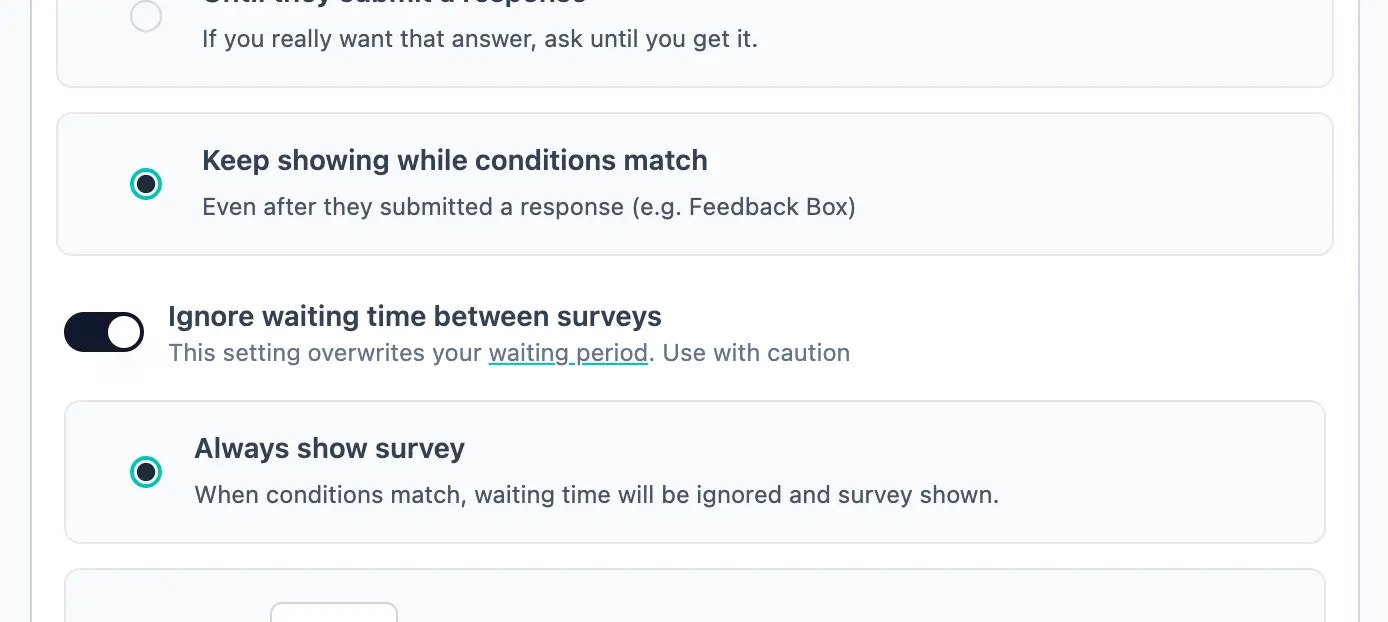

Please change this setting after testing your survey to avoid user fatigue.
Publish the survey
Publish the survey to make it available for the SDK to pull into the website or app where you want to show
it.
Understand caching behavior
For better scalability, we cache the request the SDK makes to the server. This allows you to use Formbricks
on websites with millions of visitors without high hosting cost.For troubleshooting, you can enable Debug
Mode to see detailed logs
in your browser console.
Important: Any changes to surveys, action classes, project settings, or environment configuration will
take up to 1 minute to reflect in your app/website due to server-side caching. This includes survey
modifications, new triggers, styling changes, and other updates.


