SAML Registration with Identity Providers
This guide explains the settings you need to use to configure SAML with your Identity Provider. Once configured, obtain an XML metadata file and use it to configure SAML in Formbricks.Note: Please do not add a trailing slash at the end of the URLs. Create them exactly as shown below.Assertion consumer service URL / Single Sign-On URL / Destination URL: https://app.formbricks.com/api/auth/saml/callback Entity ID / Identifier / Audience URI / Audience Restriction: https://saml.formbricks.com
Note: https://saml.formbricks.com is hardcoded in Formbricks — do not replace it with your instance URL. It is the fixed SP Entity ID and must match exactly as shown in SAML assertions.Response: Signed Assertion Signature: Signed Signature Algorithm: RSA-SHA256 Assertion Encryption: Unencrypted NameID Format: EmailAddress Application username: email Mapping Attributes / Attribute Statements:
-
Name claim:
If your IdP has a
nameclaim, set the following claims to populate the name field:Many IdPs do not have anameclaim. If not, you can use different claims to populate the name field. The order of precedence isname-> other options ->email. Other options:Refer to the table below for the different claims you can use for each IdP.Above provided claims may differ based on your configuration and the IdP you are using. Please refer to the documentation of your IdP for the correct claims.
SAML With Okta
Create an application with your SAML provider
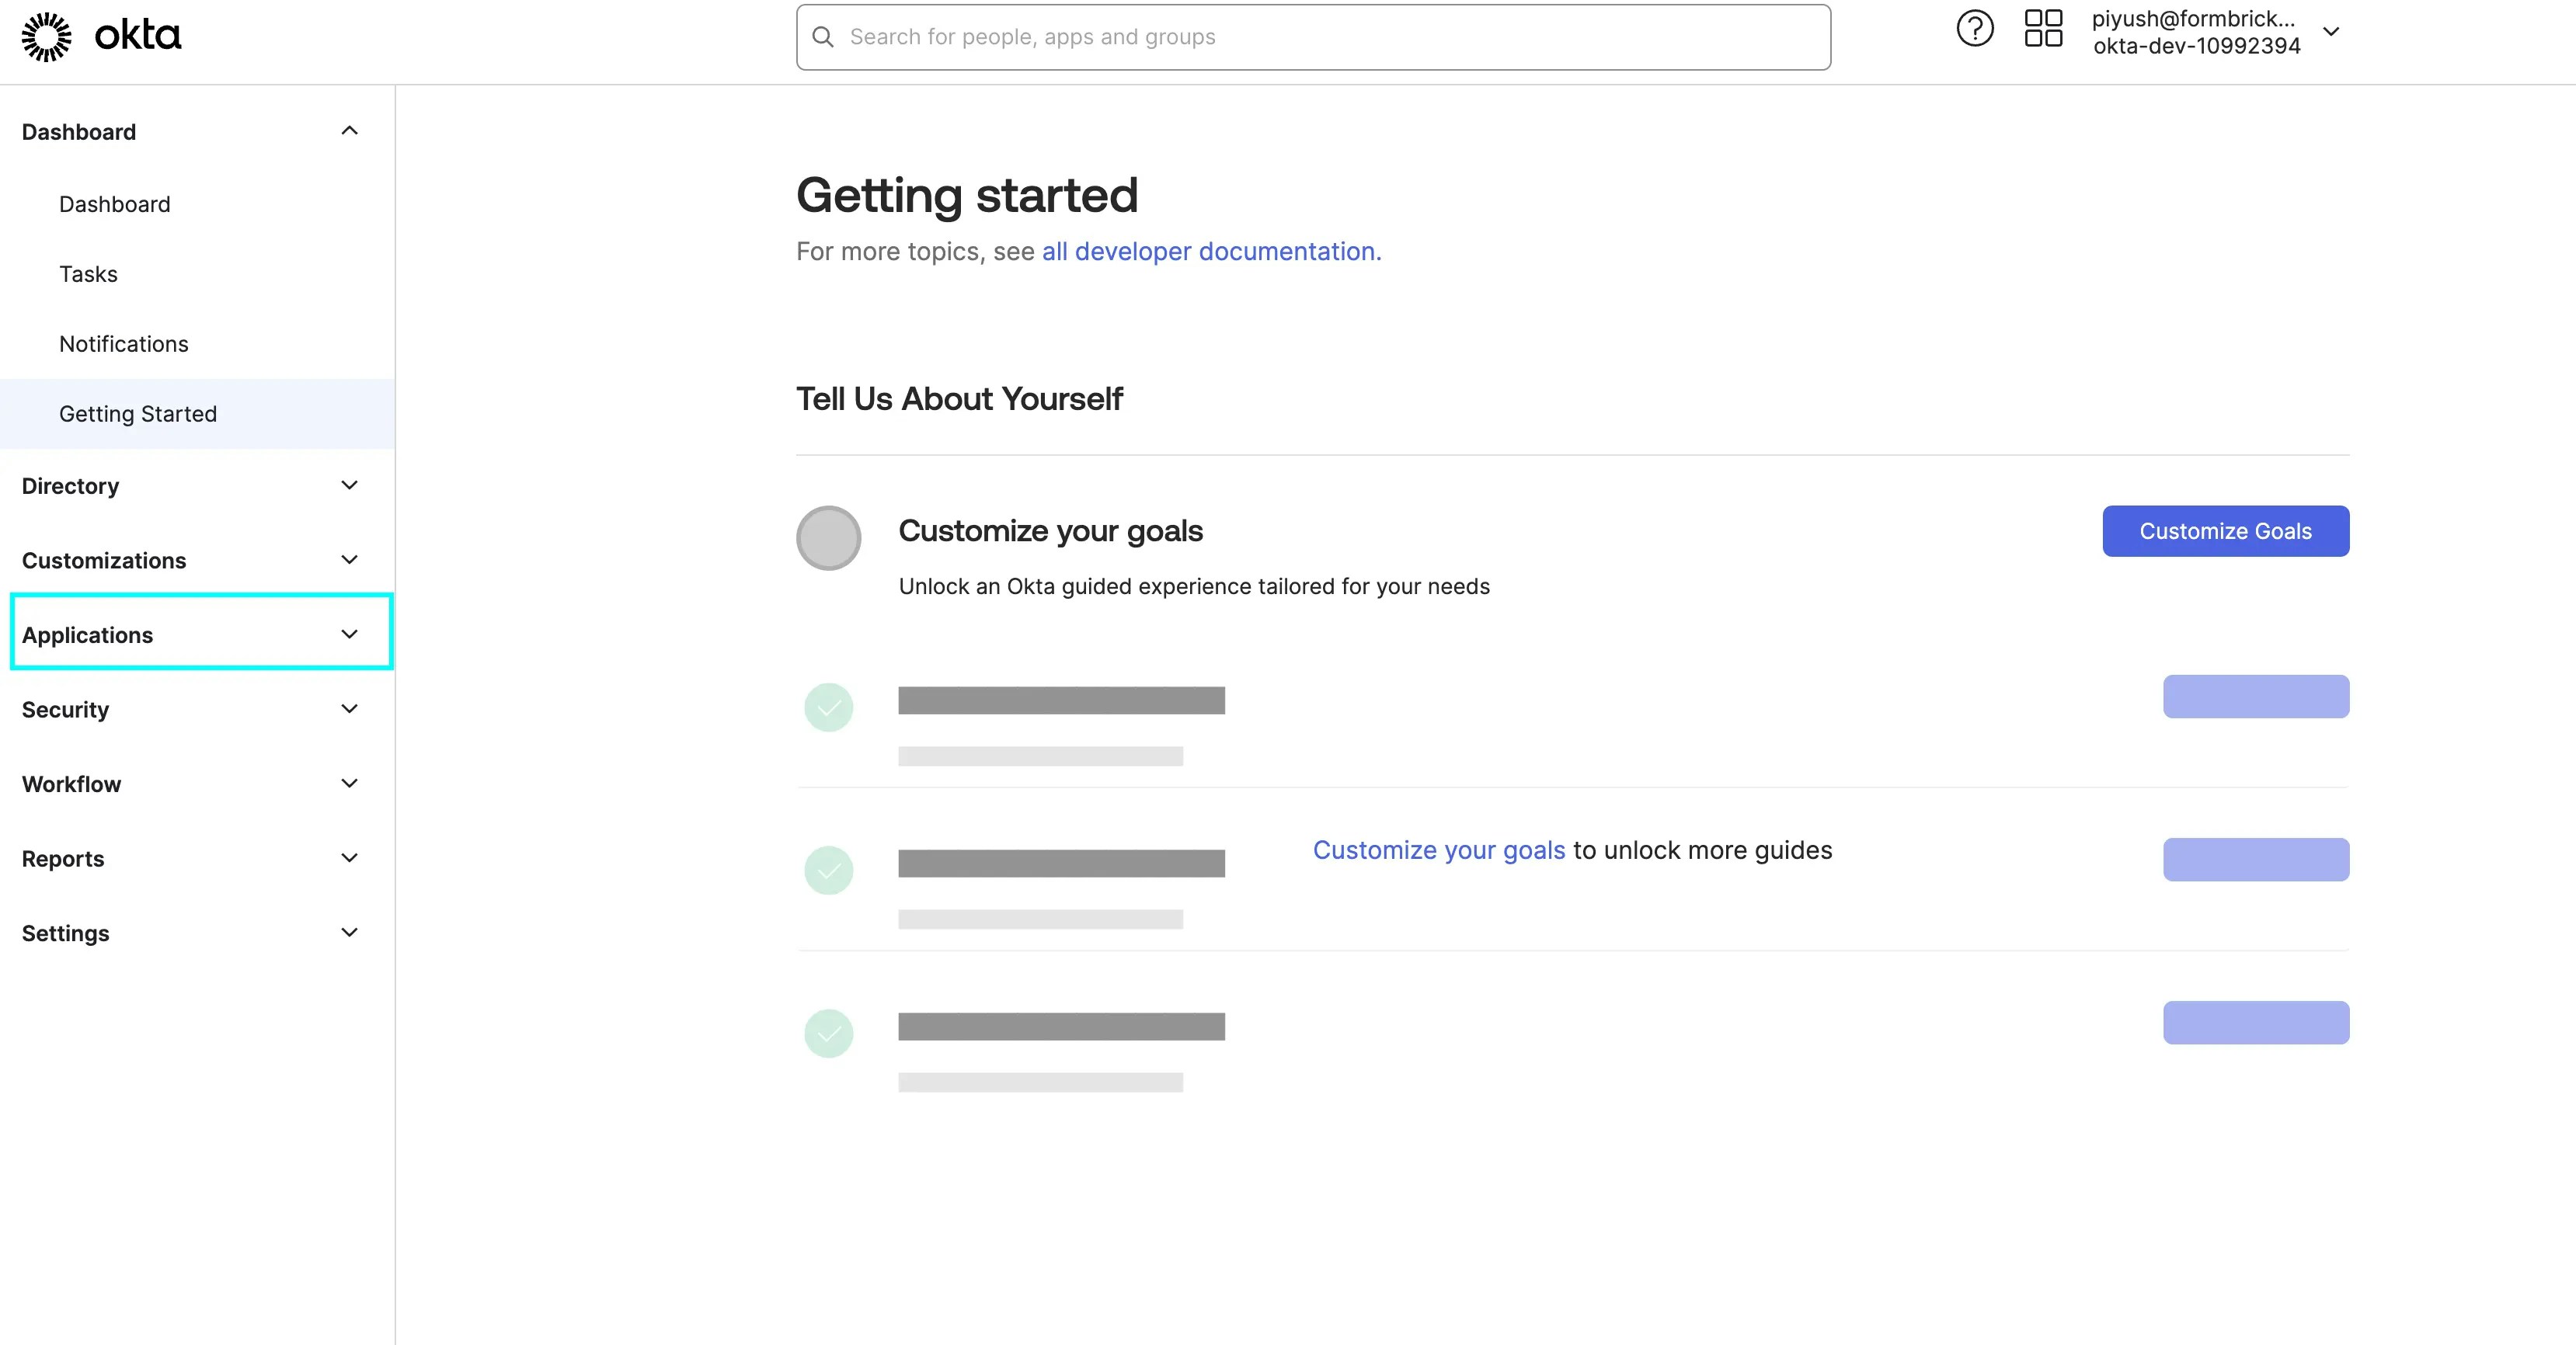
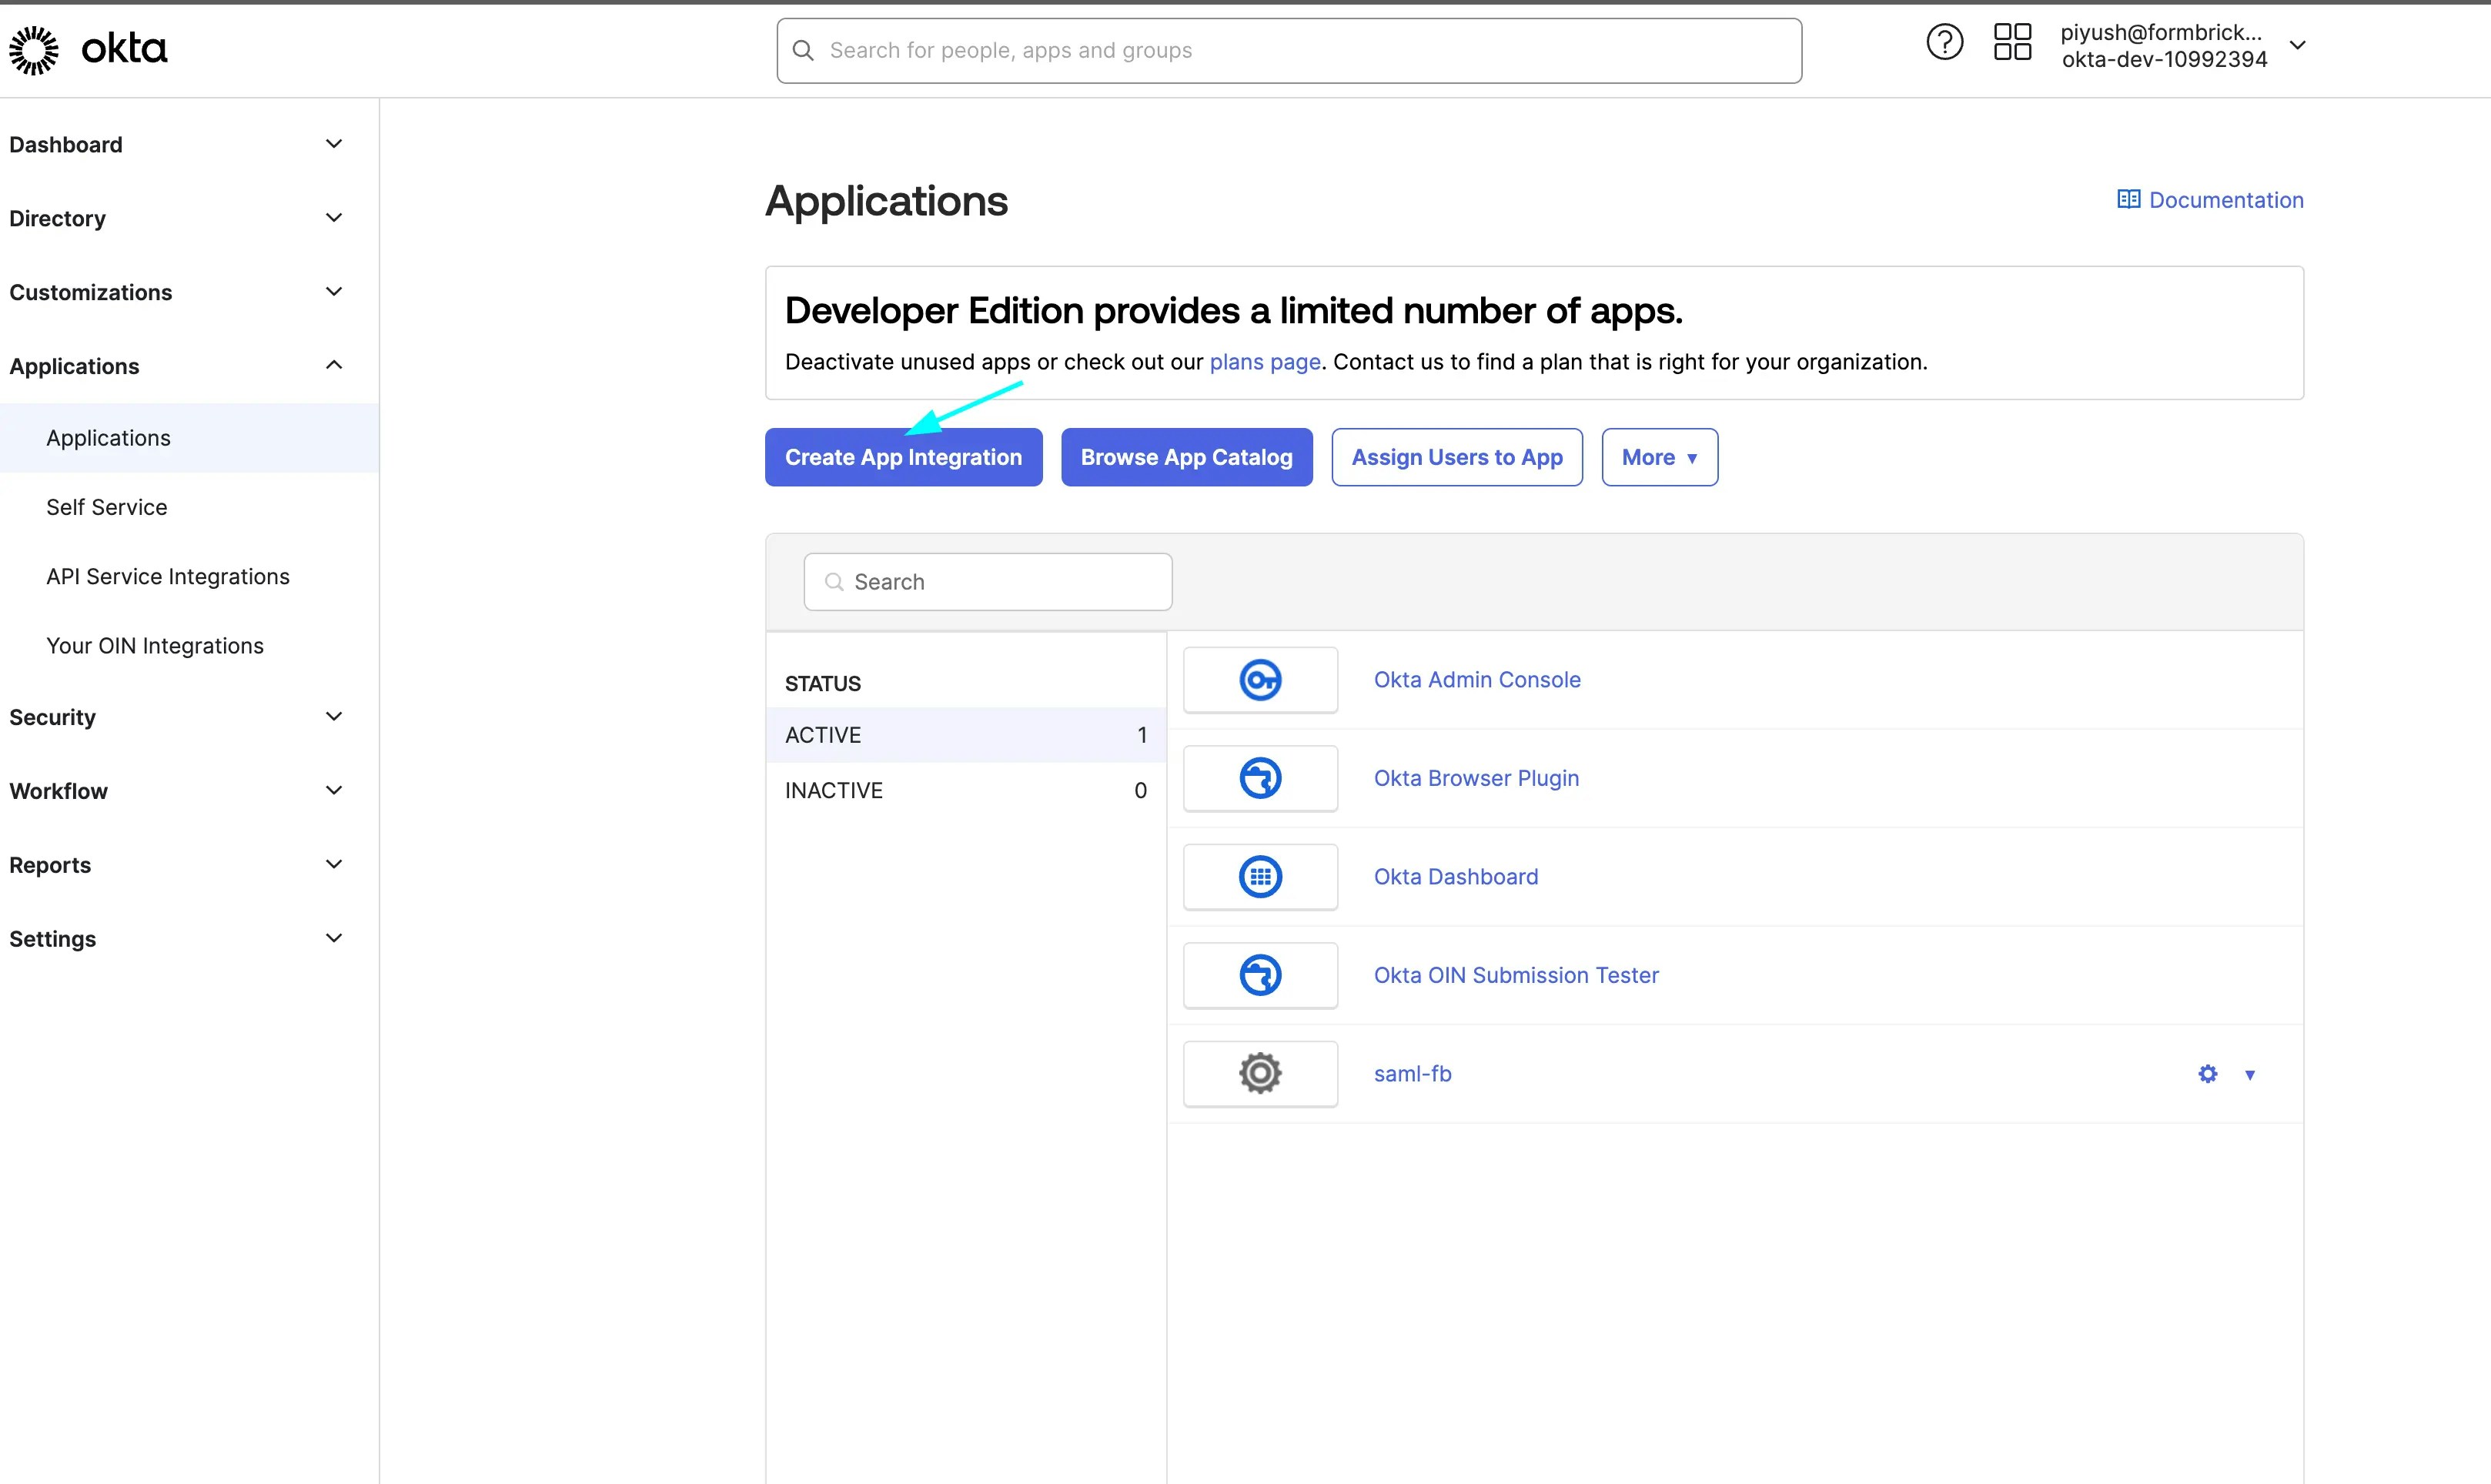
Click on Create App Integration
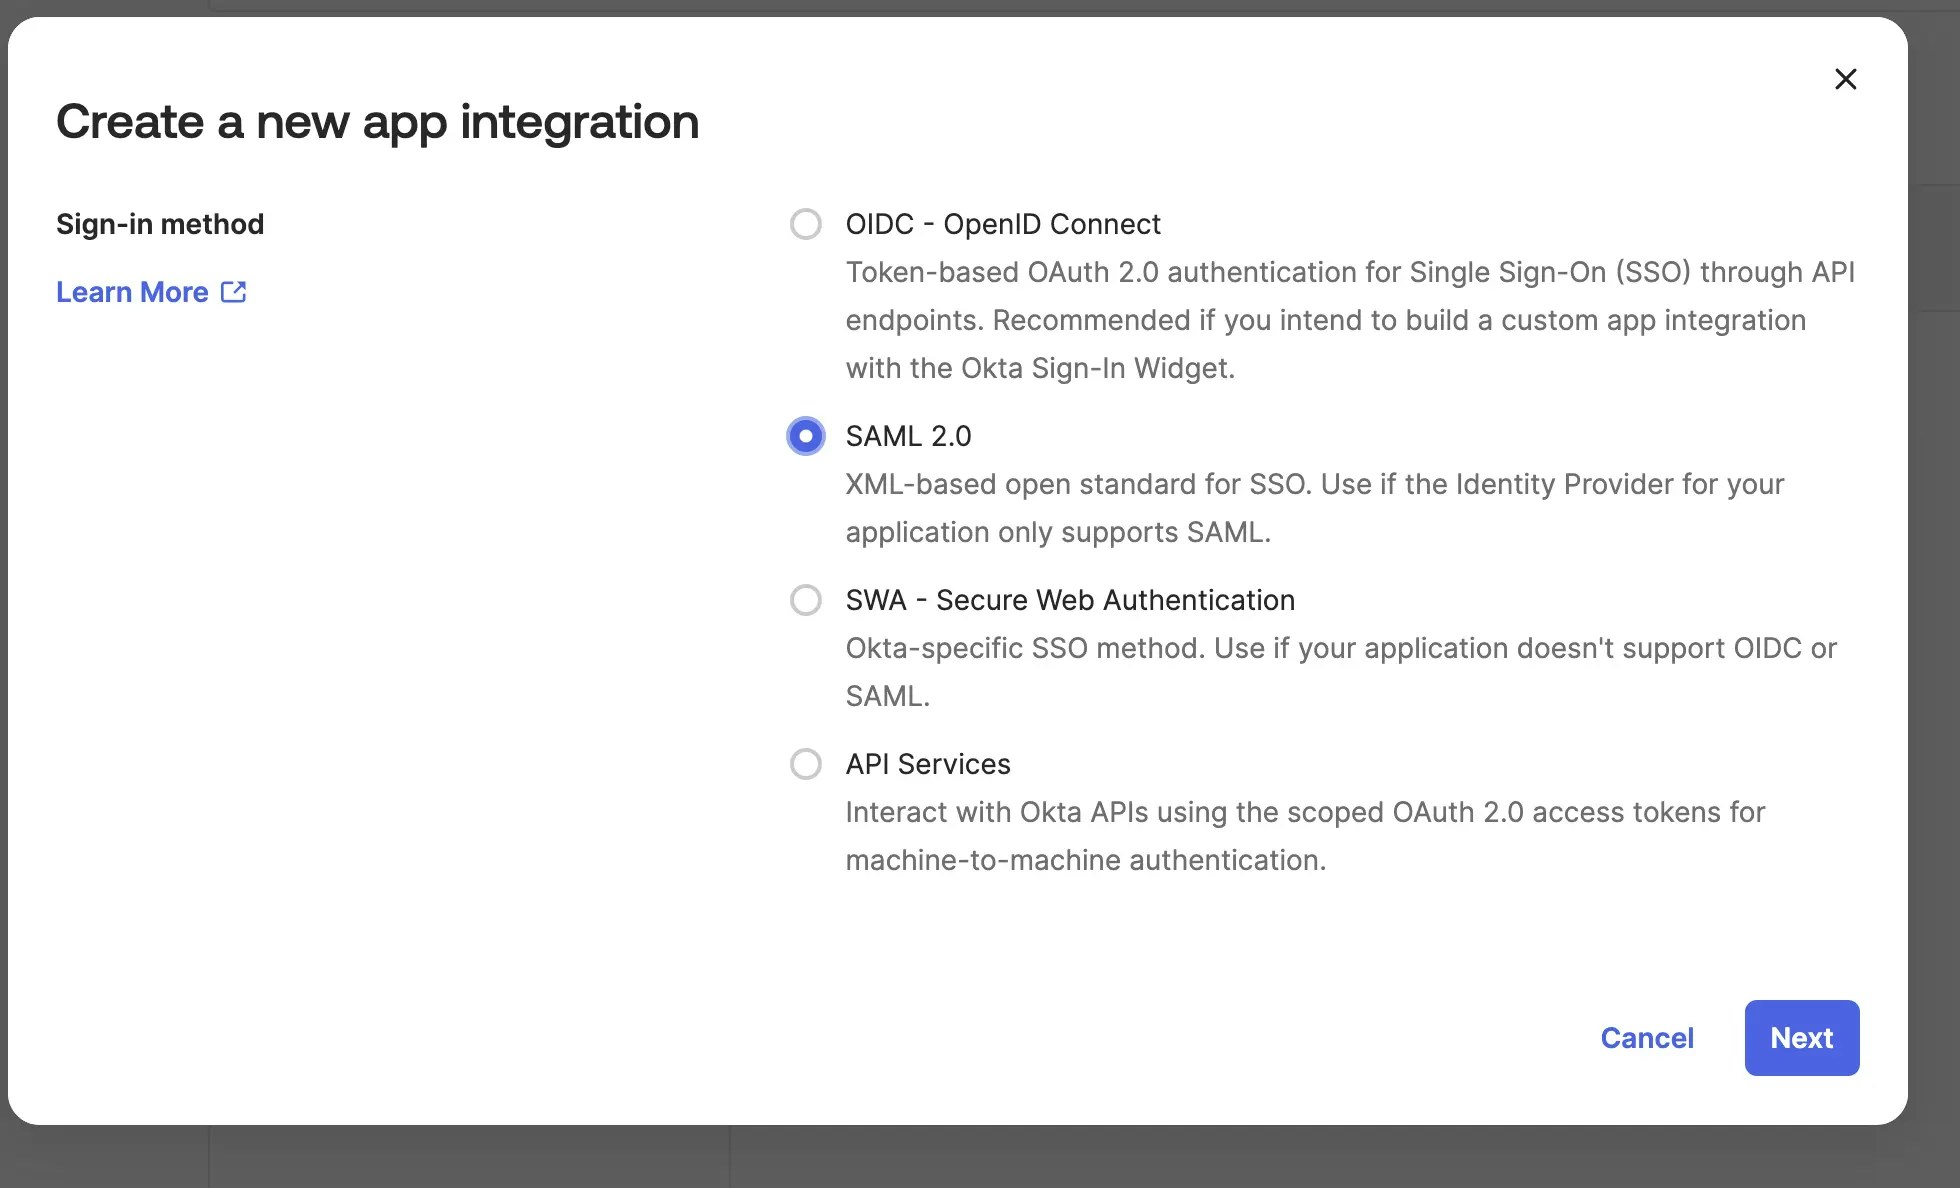
Select SAML 2.0 in the modal form, and click Next
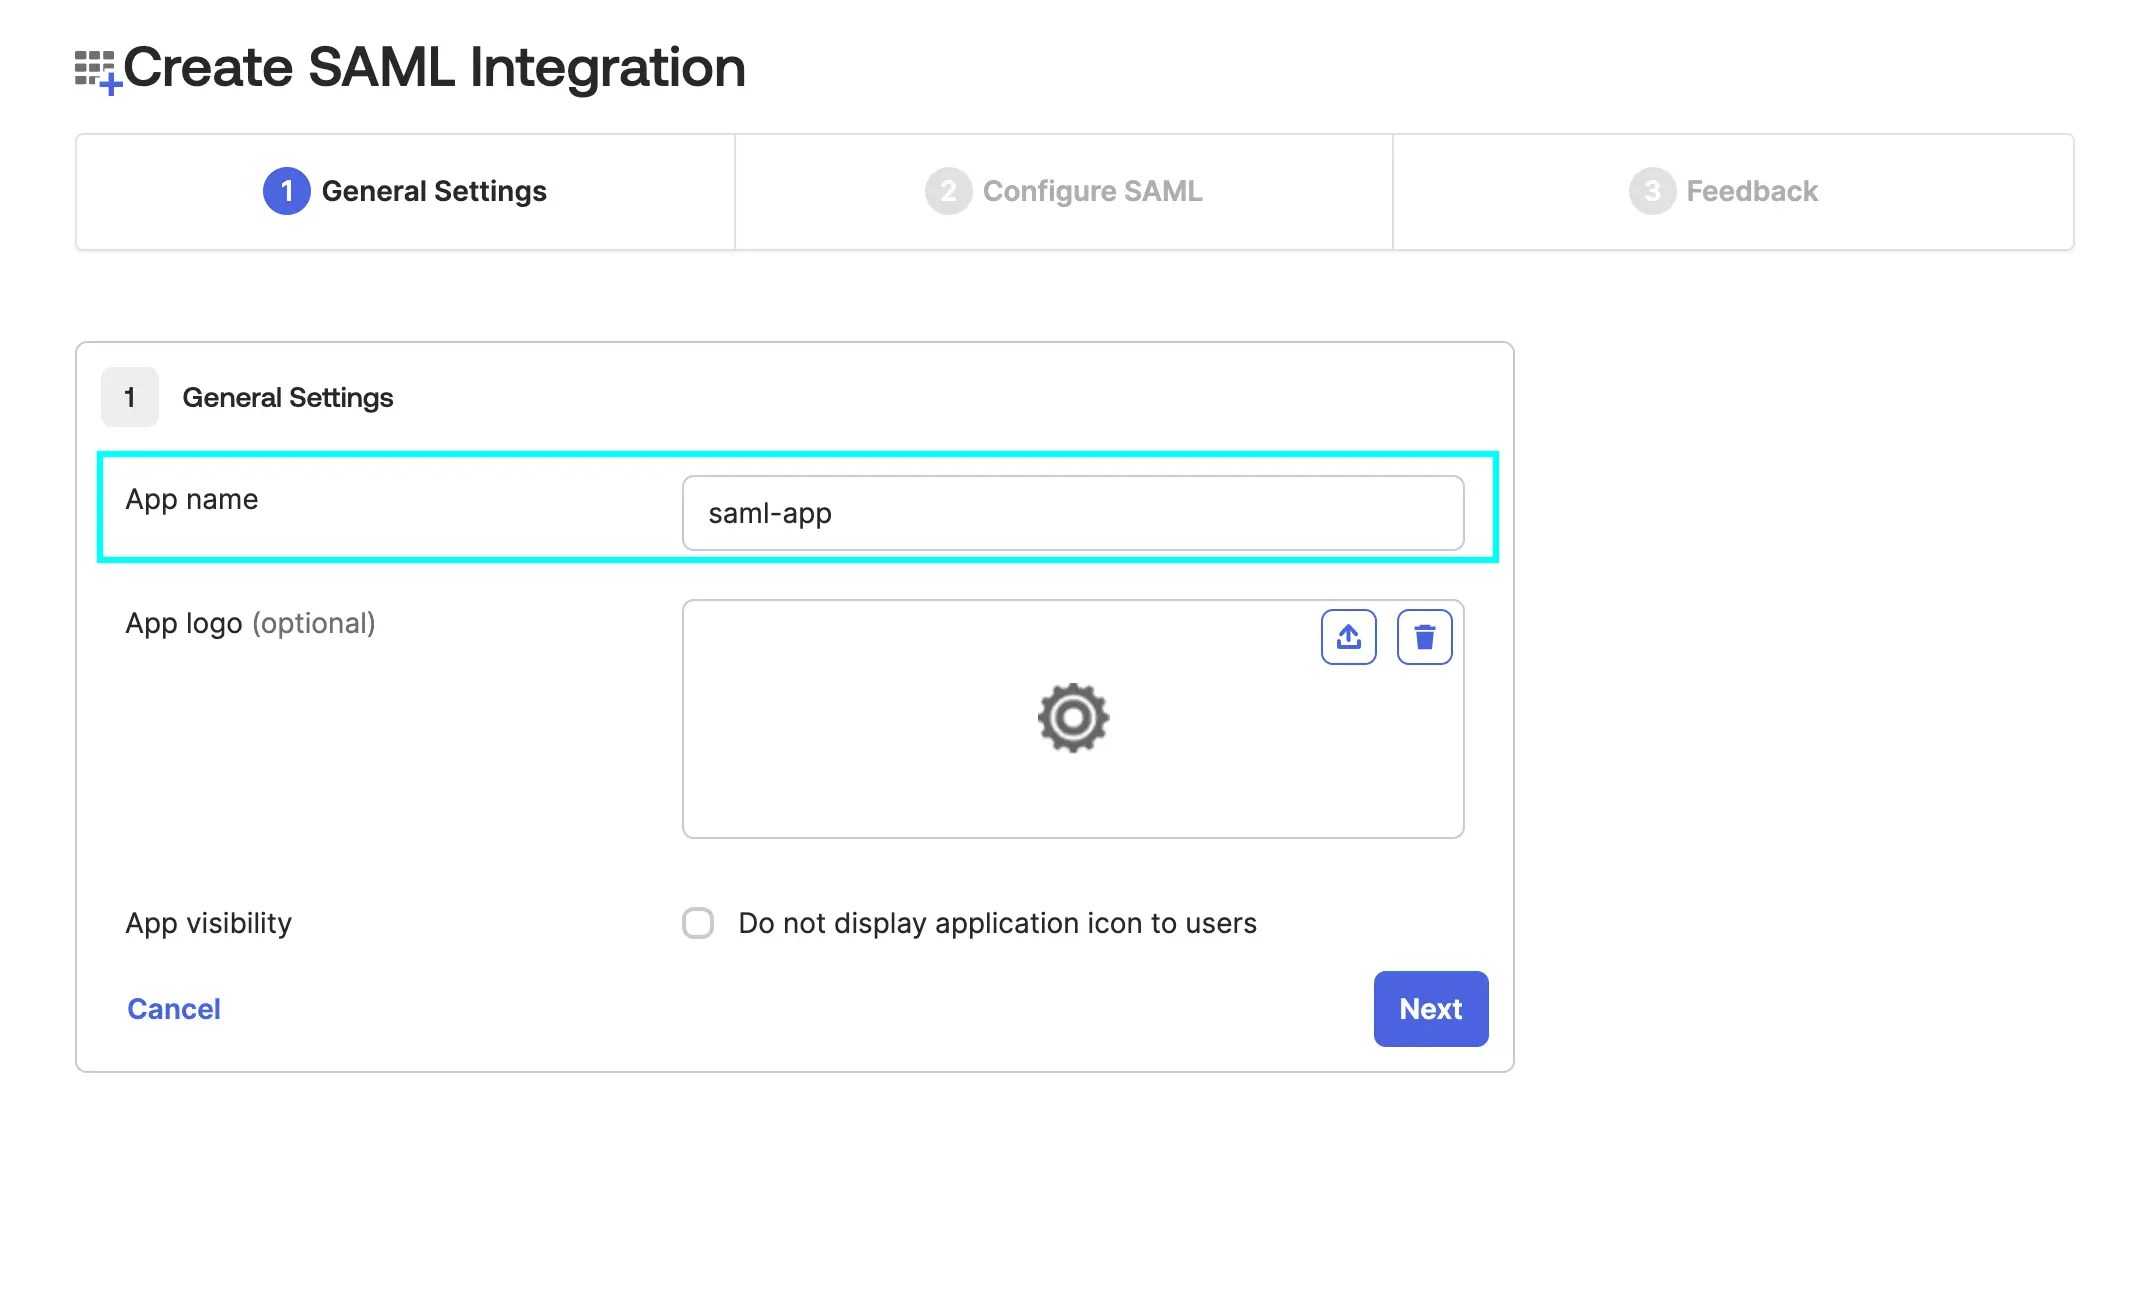
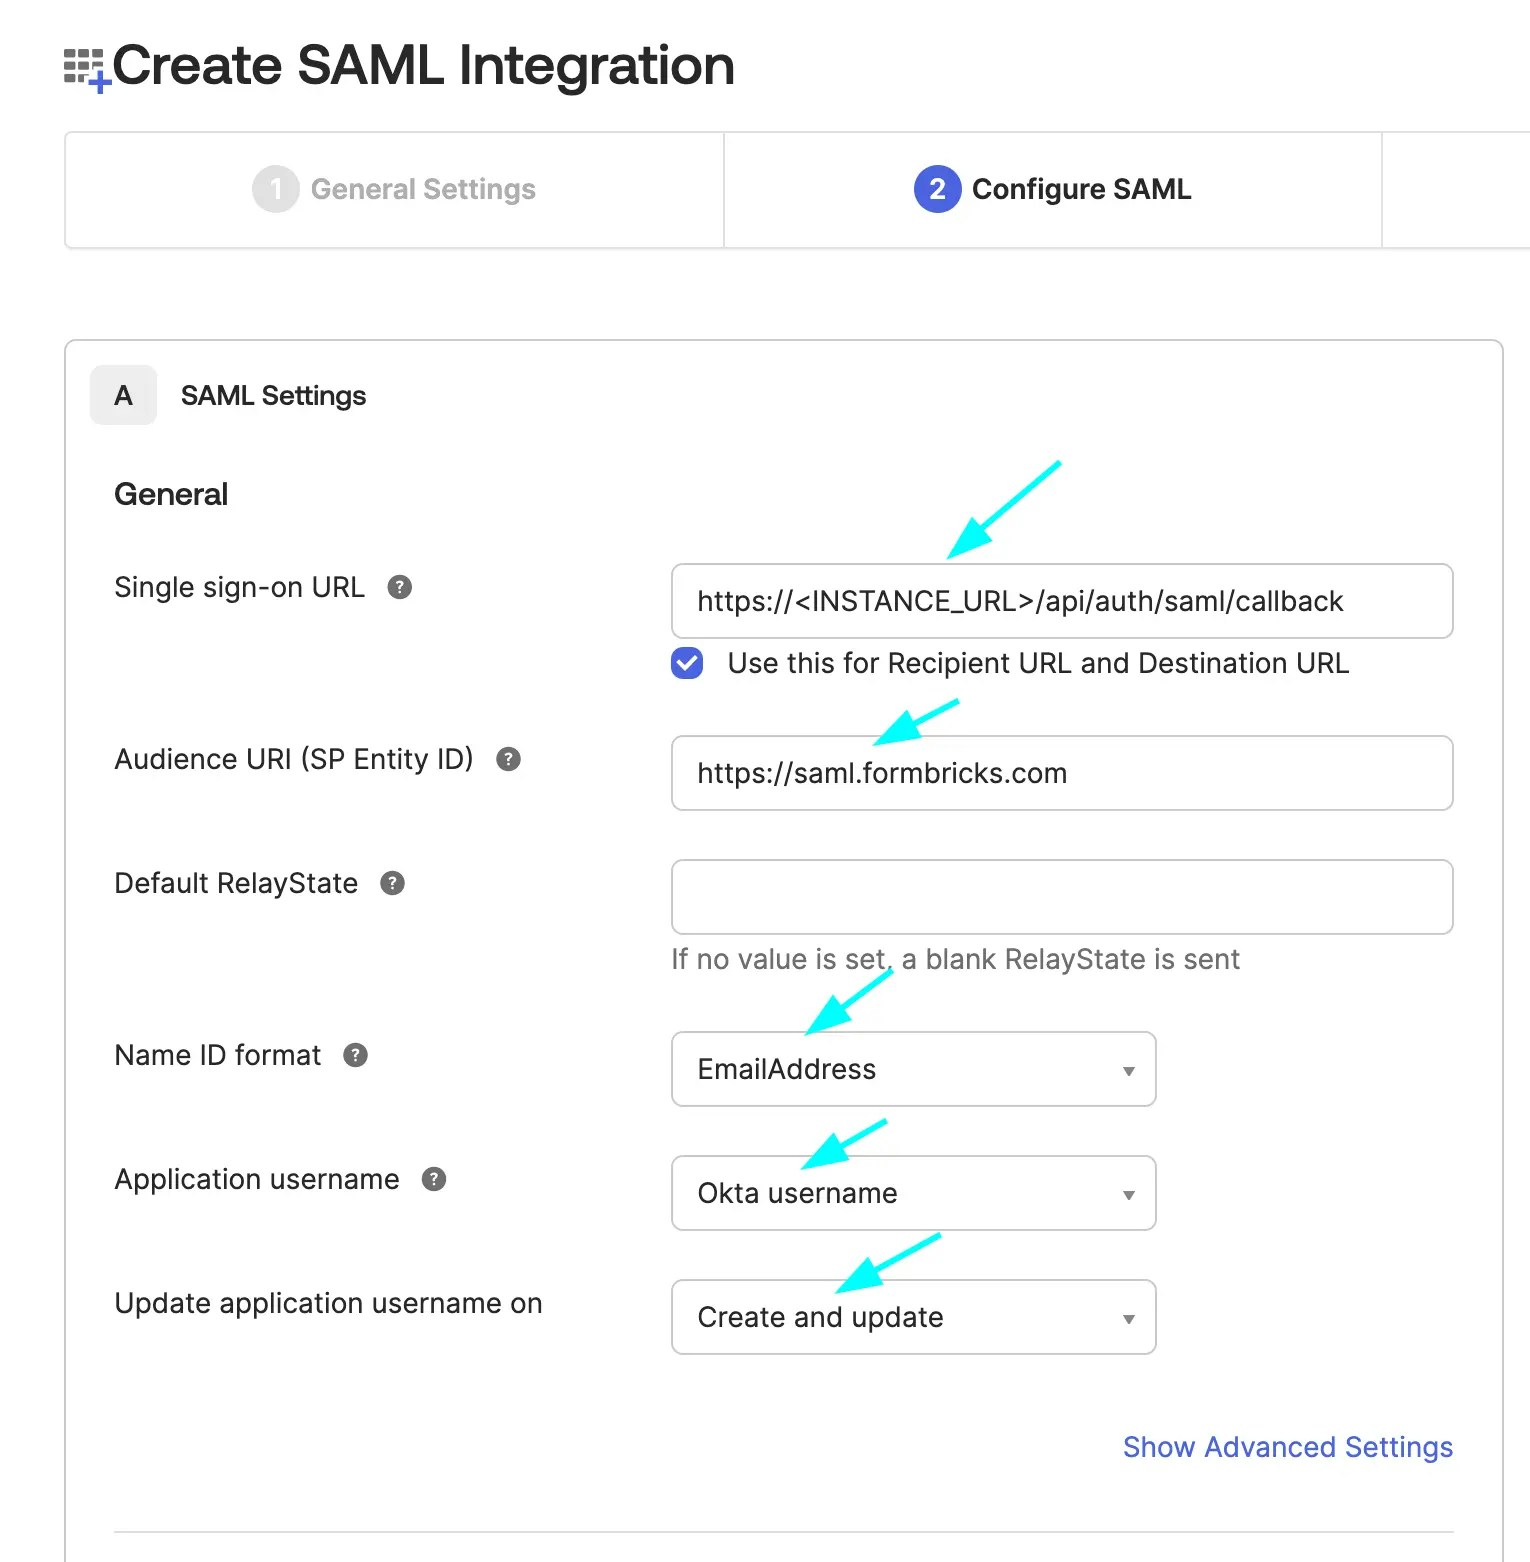
Fill the general settings as shown and click Next
Enter the SAML Integration Settings as shown and click Next
- Single Sign-On URL:
https://<your-formbricks-instance>/api/auth/saml/callbackorhttp://localhost:3000/api/auth/saml/callback(if you are running Formbricks locally) - Audience URI (SP Entity ID):
https://saml.formbricks.com(hardcoded; do not replace with your instance URL)
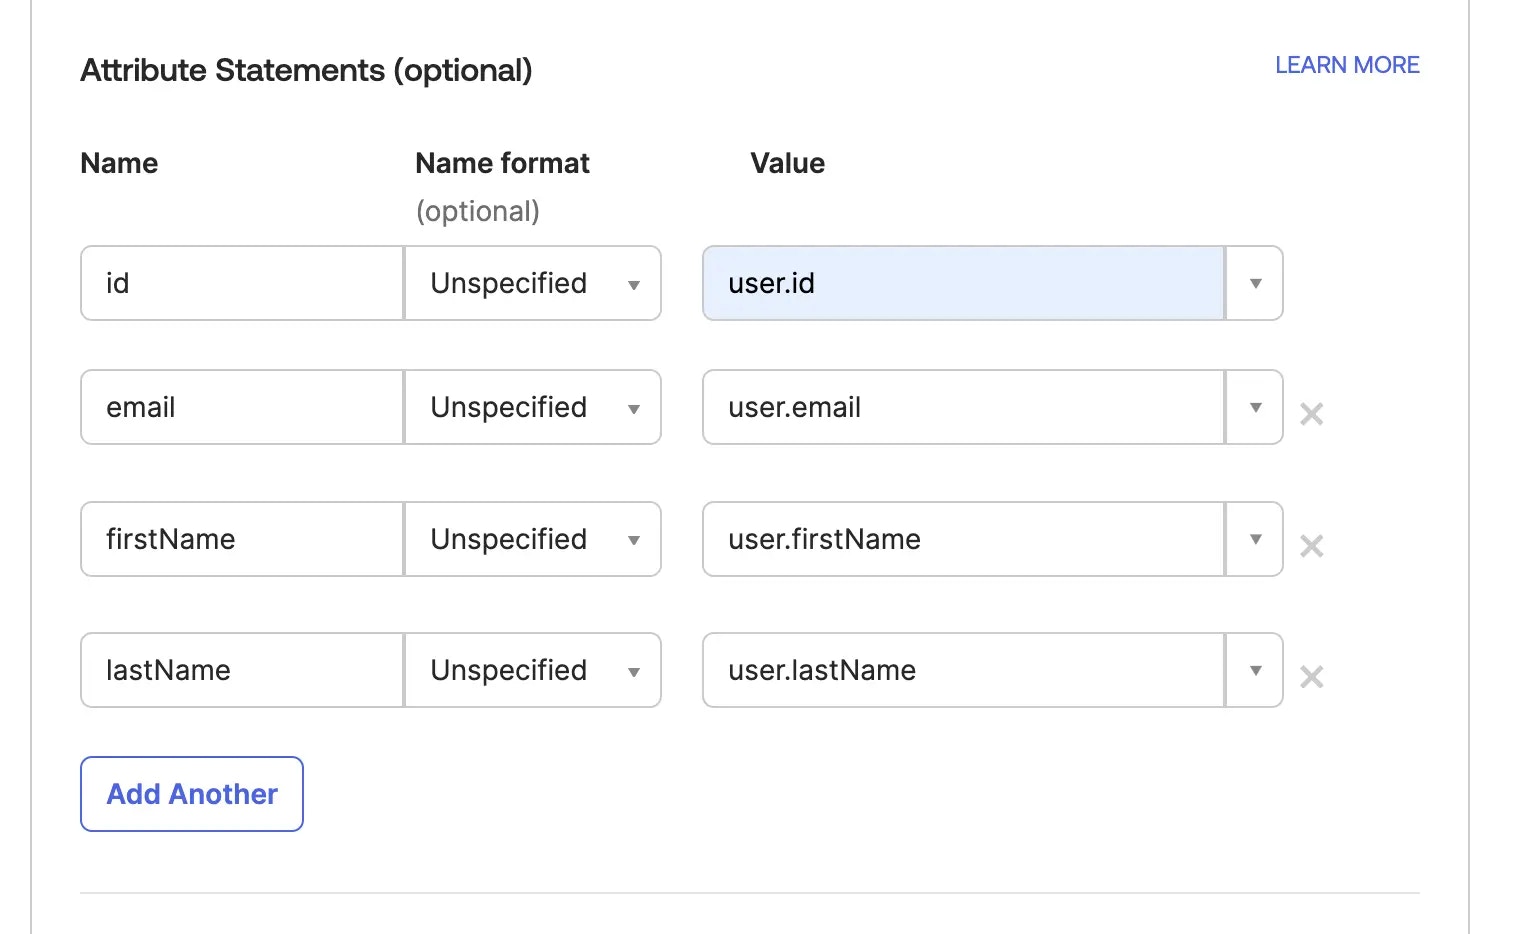
Fill the fields mapping as shown and click Next
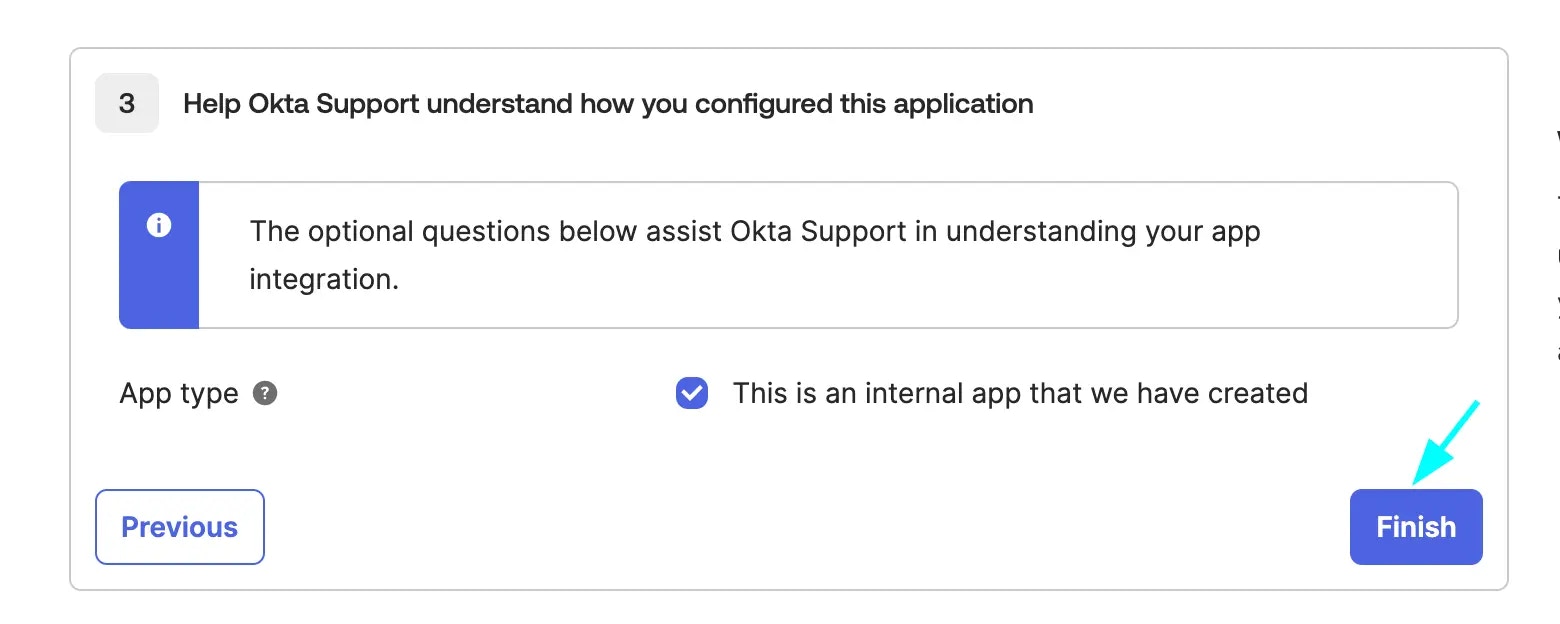
Check the internal app checkbox and click Finish
Check that the app is created successfully
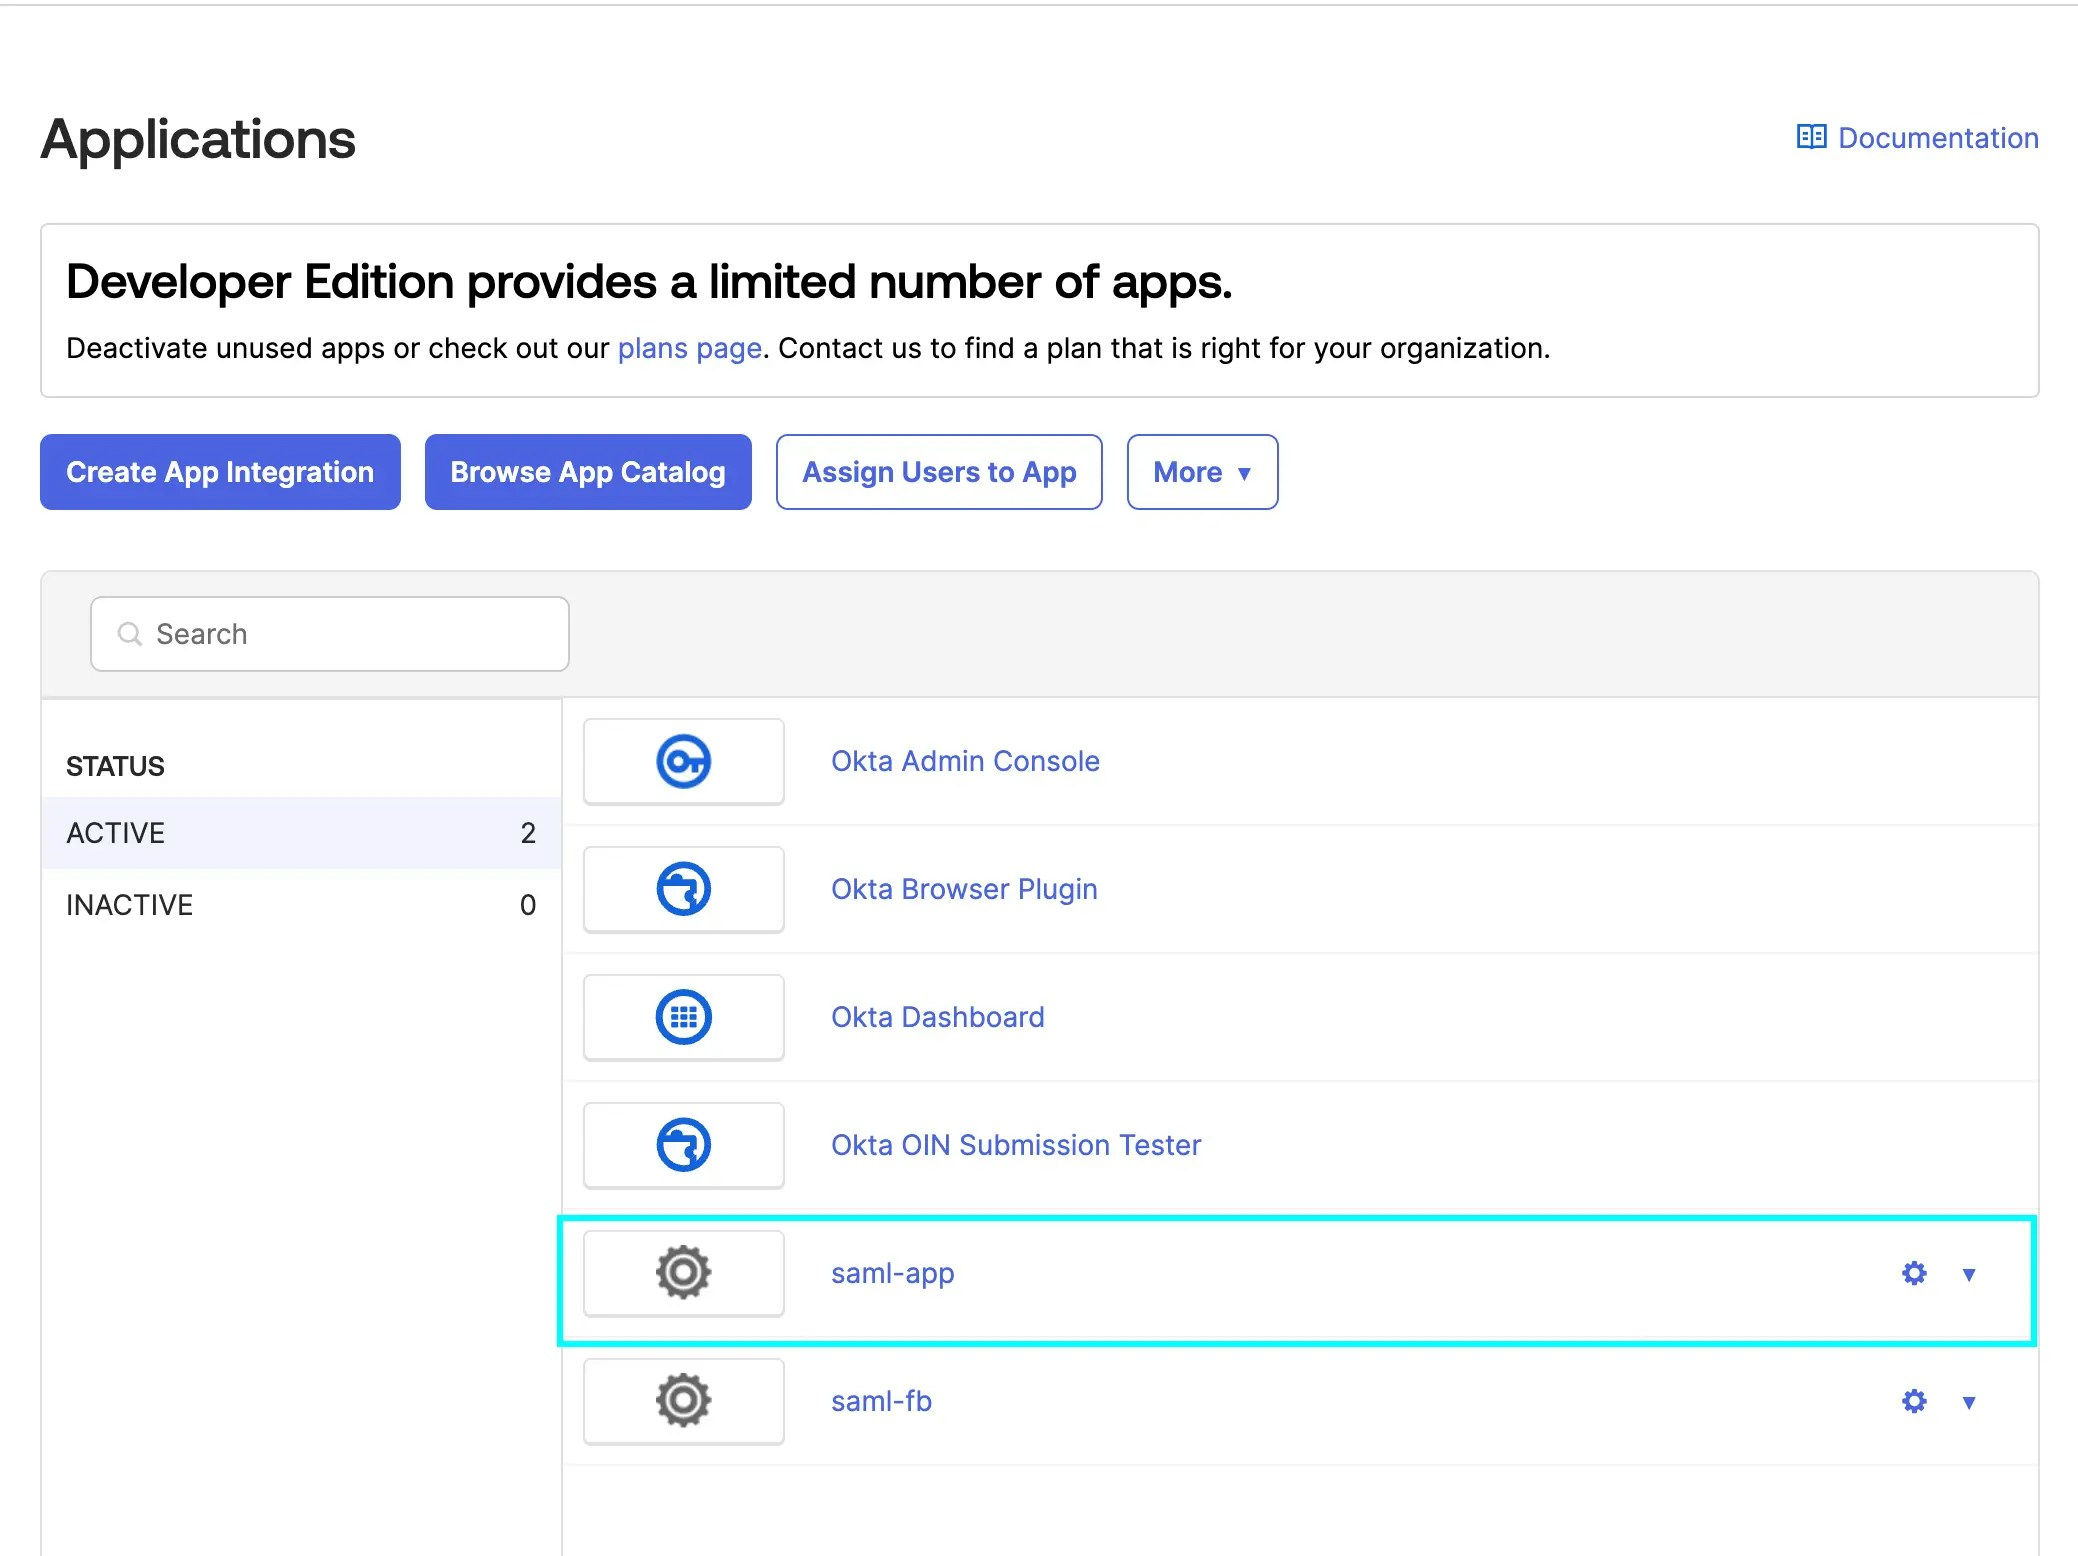
Click on the app and head over to the Assignments tab
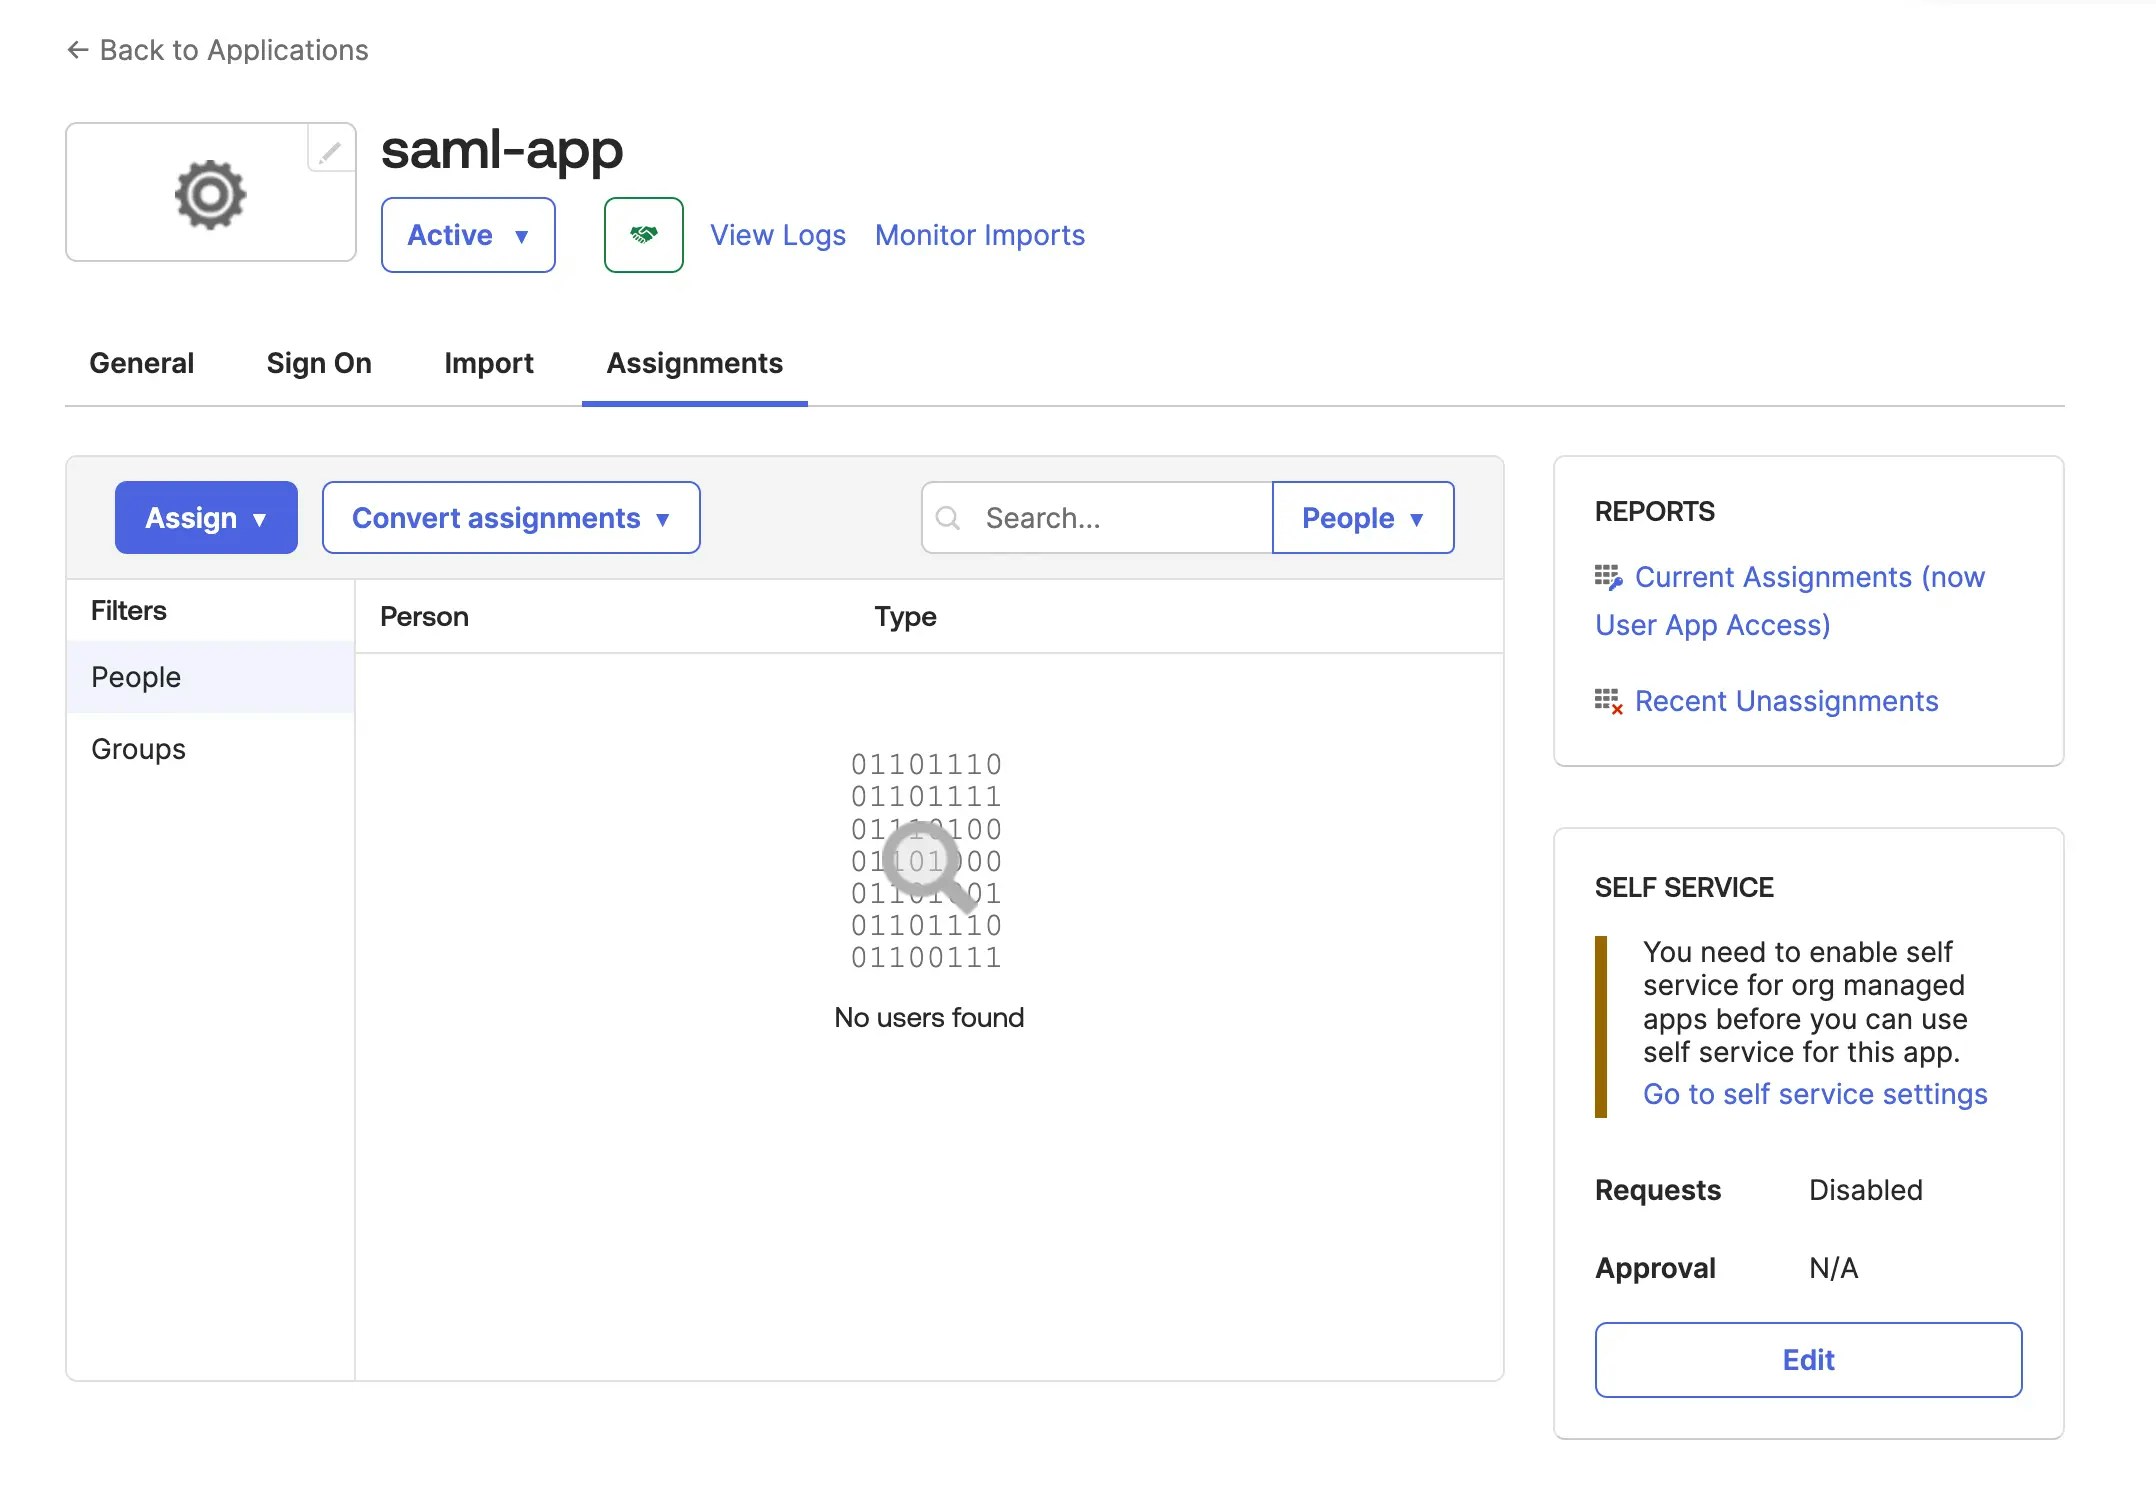
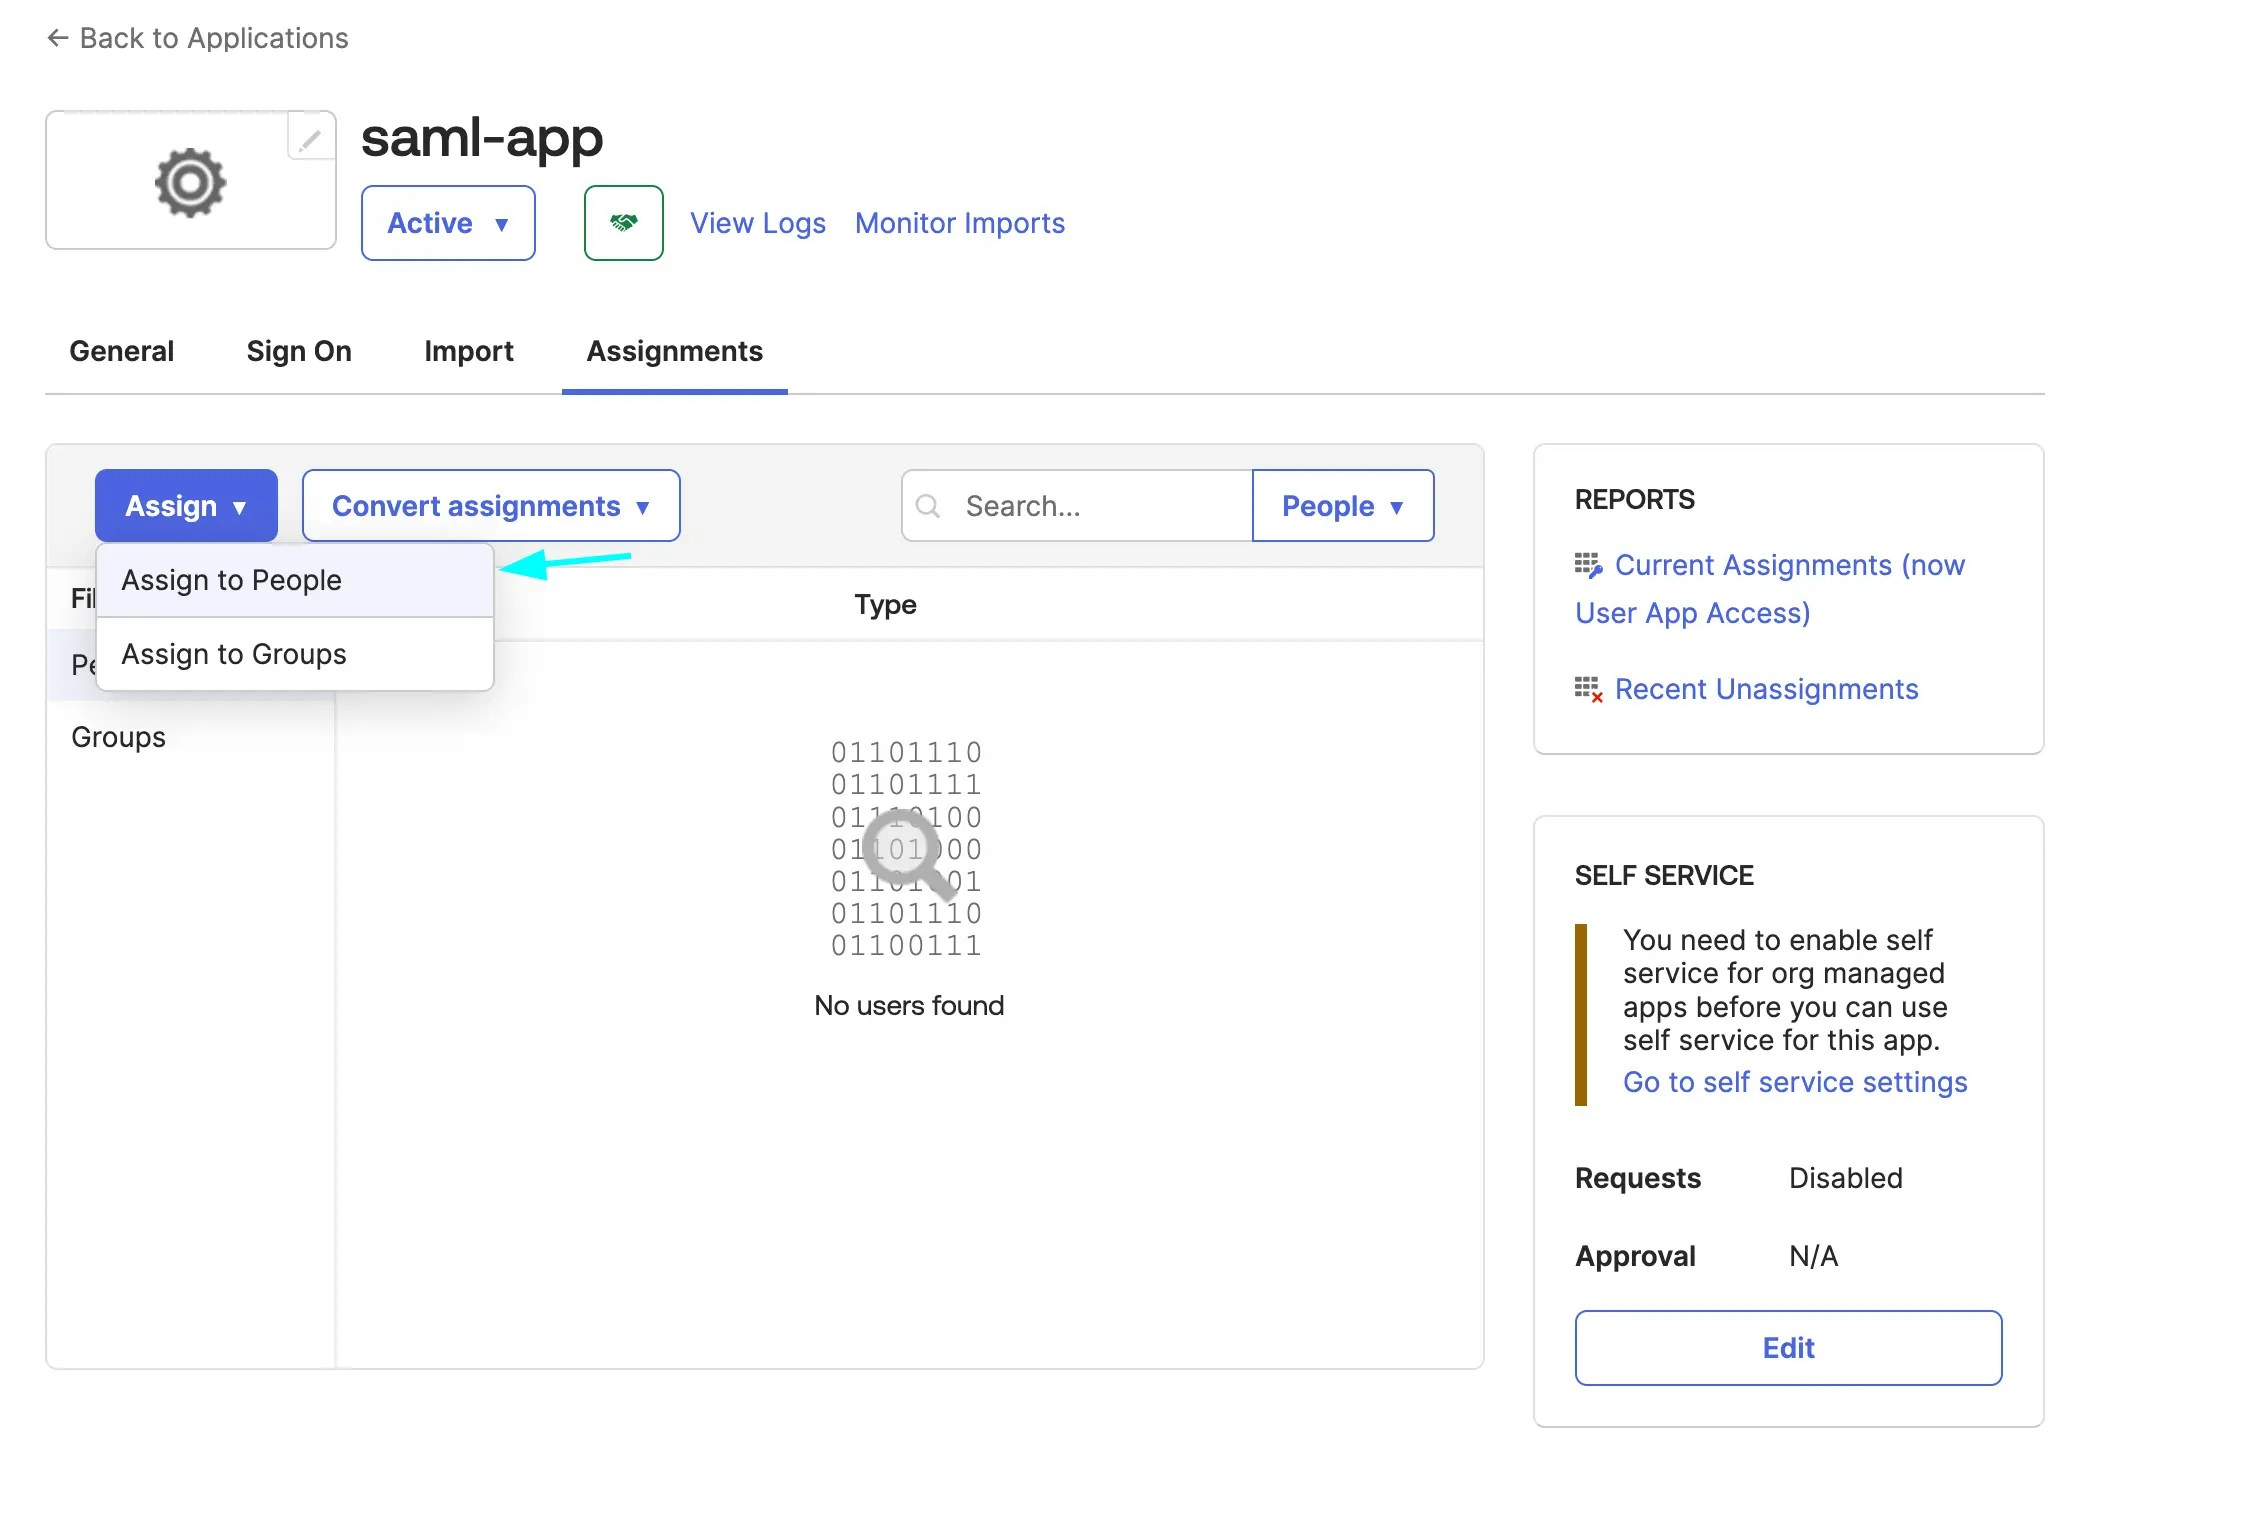
Click on Assign button and select Assign to People
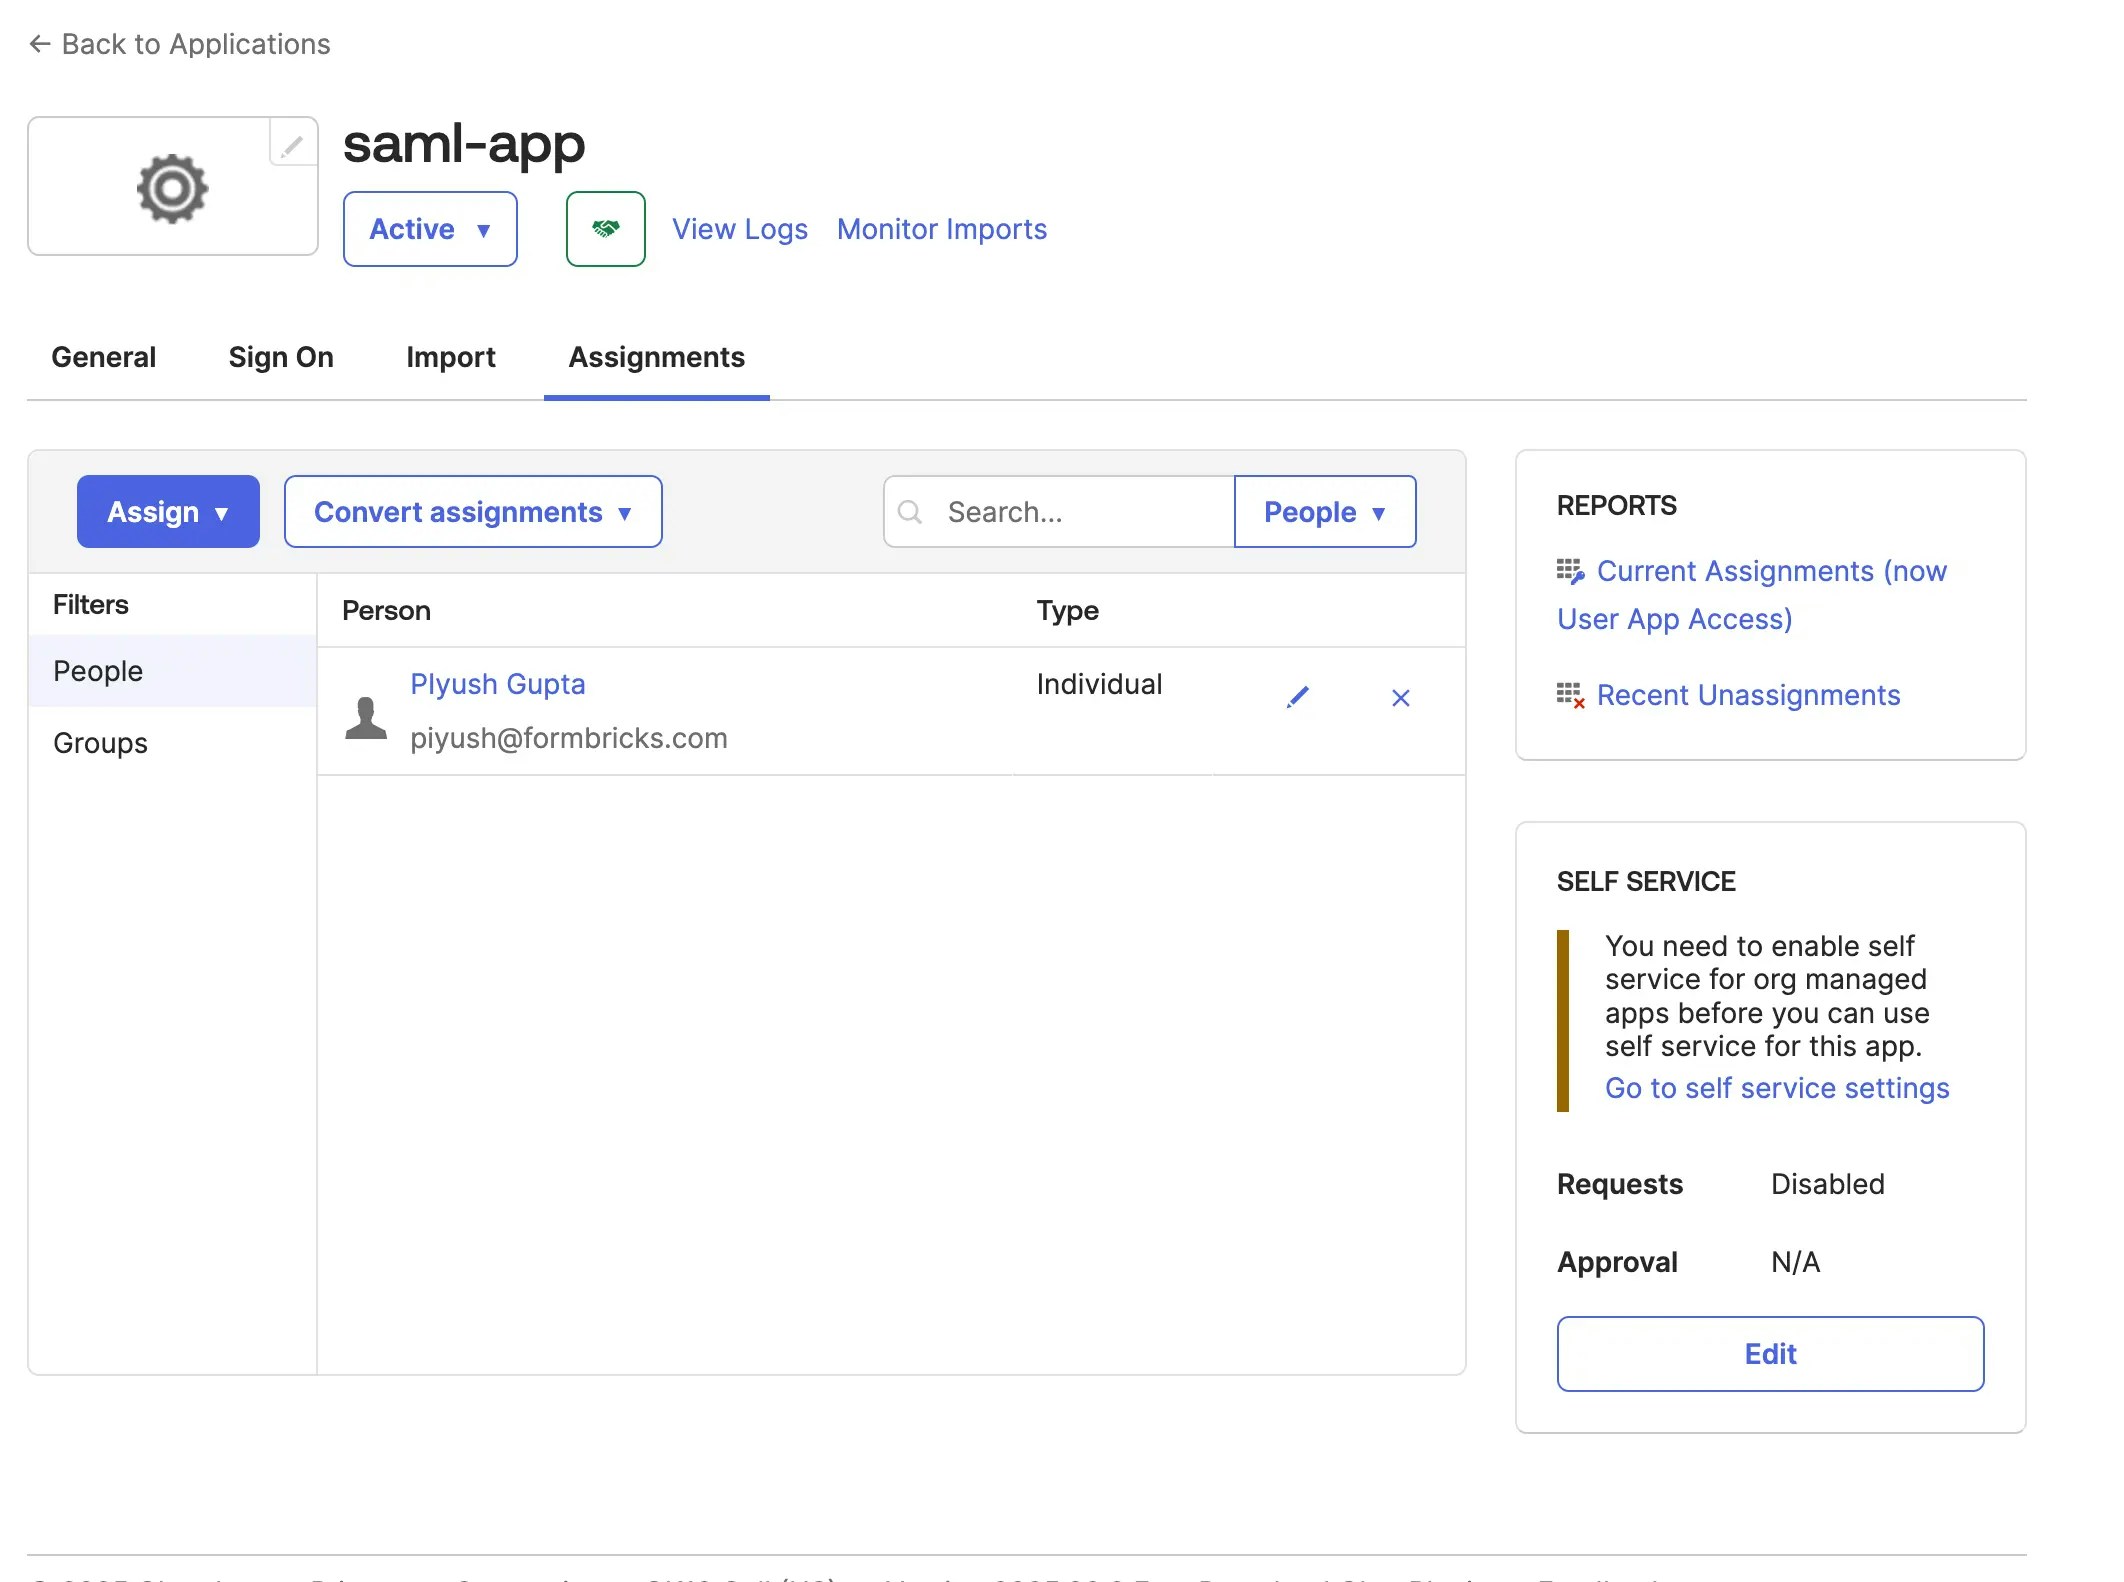
Select the users you want to assign the app to and click Assign
Head over to the Sign On tab and click on the 'view SAML setup instructions' button

Scroll to the bottom and copy the IDP metadata
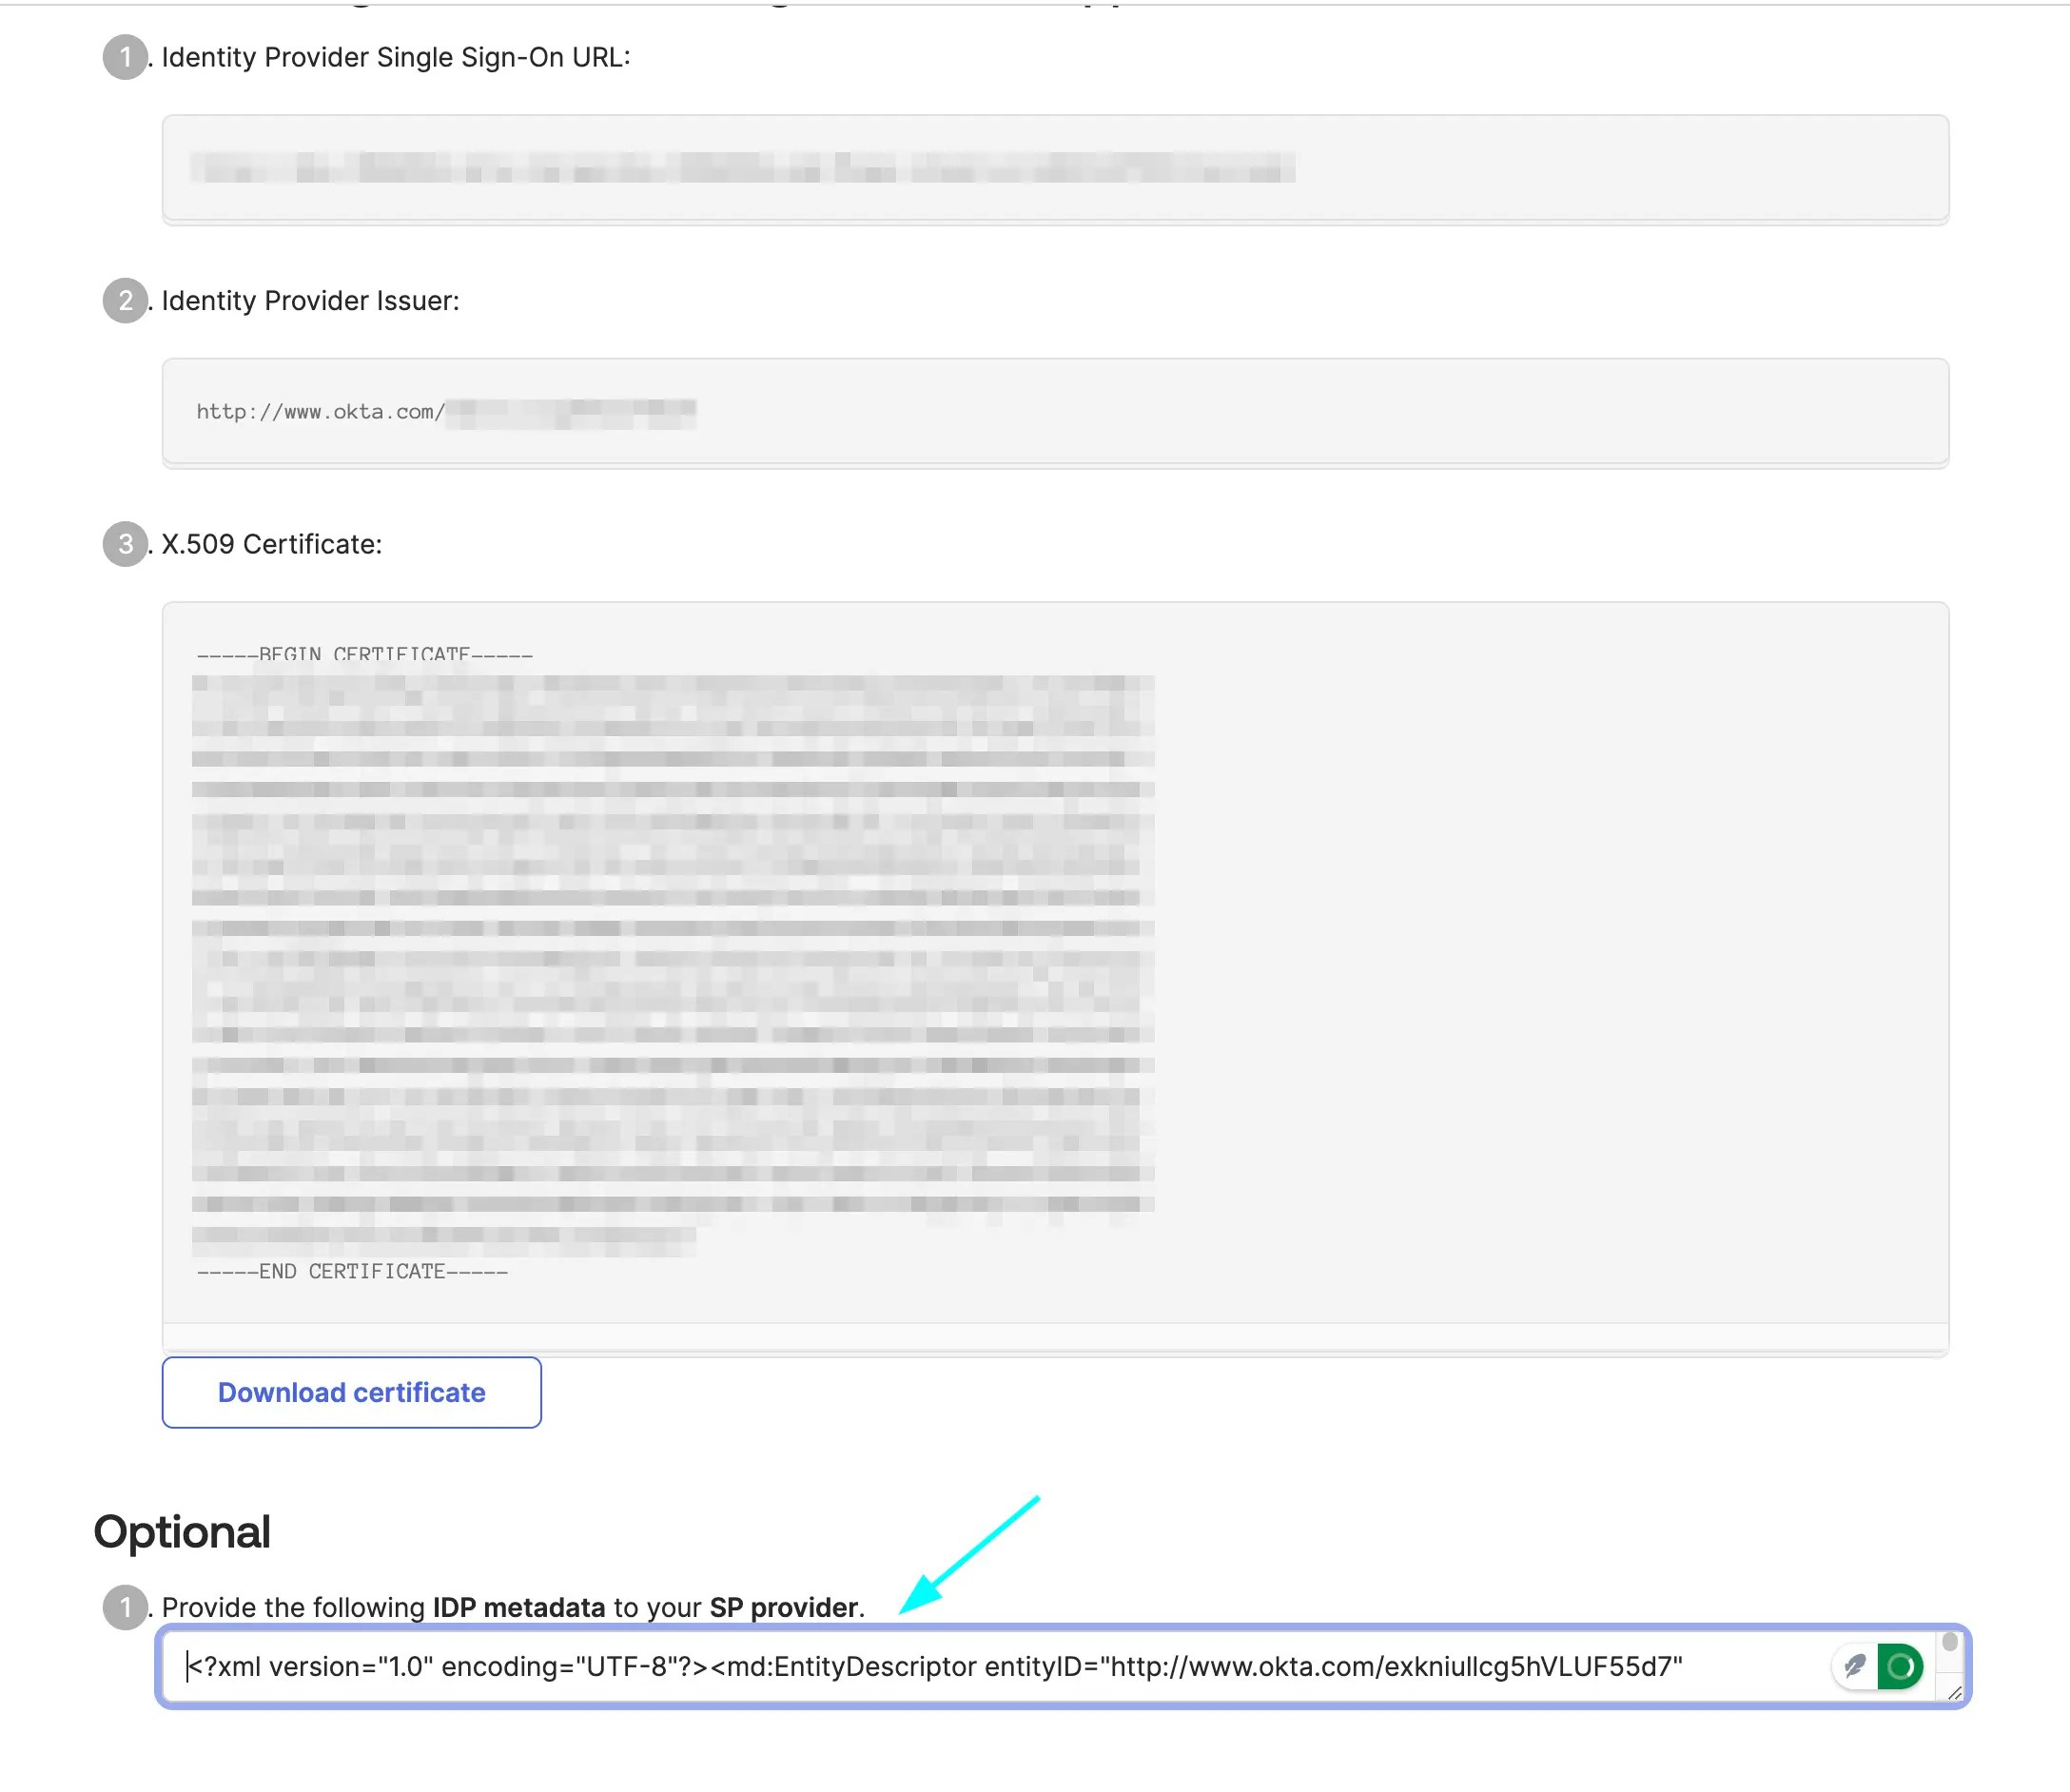
Copy the IDP metadata and paste it in the `connection.xml` file in the `formbricks/saml-connection` (use `formbricks/apps/web/saml-connection` for development) directory